1.2 OS Installation
This section covers the installation of the operating system for your offline machine used to generate the validator keys.
The guide uses the latest Ubuntu LTS release to ensure compatibility with the key generation tools and provides a stable, secure environment for generating your validator keys. It’s the quickest and easiest setup for an offline machine using a USB drive. However, you could also use MacOS or Windows.
1. Download and Preparation
Follow these steps to prepare your bootable USB device from a machine that connected to the internet:
1. Download Ubuntu: Get the latest official Ubuntu version from Ubuntu 22.04.2 LTS.
2. Create a Bootable USB Drive: Use the ISO file to create a bootable device:
- Windows: Rufus Guide for Ubuntu
- Linux: Disk Creator Guide for Ubuntu
- macOS Etcher Guide for Ubuntu
3. Finalize USB Preparation:
- Disconnect the USB drive from your current computer.
- Reconnect the USB drive to your offline machine when ready.
2. System Installation
In this phase, Ubuntu will be installed on your offline machine. Keeping the system offline is crucial for ensuring the security and integrity of the key generation process as outlined in detail within the previous Precautions page.
Make sure to never connect to the internet during the installation process. Do not connect an Ethernet cable.
Steps have been done on an Intel NUC. Key combinations or commands may be different across devices.
2.1 Enter the BIOS: Power your machine, attach keyboard and monitor, and follow these steps to enter the BIOs menu.
- Connect your bootable USB device to the machine.
- Turn on the machine using the power button.
- Press
F2on your keyboard during boot to enter the BIOS setup.
2.2 Change Boot Order: Adjust the boot priority to ensure the machine boots from the USB drive.
- Navigate to
Boot->Boot Priorityin the BIOS. - Set
Boot Option #1to your USB device. - Set
Boot Option #2to your internal SSD.
2.3 Operating System Startup: After configuring the BIOS settings, start the OS from the bootable USB device.
- Press
F10to save changes and exit the BIOS. - Wait for the system to boot from the USB drive.
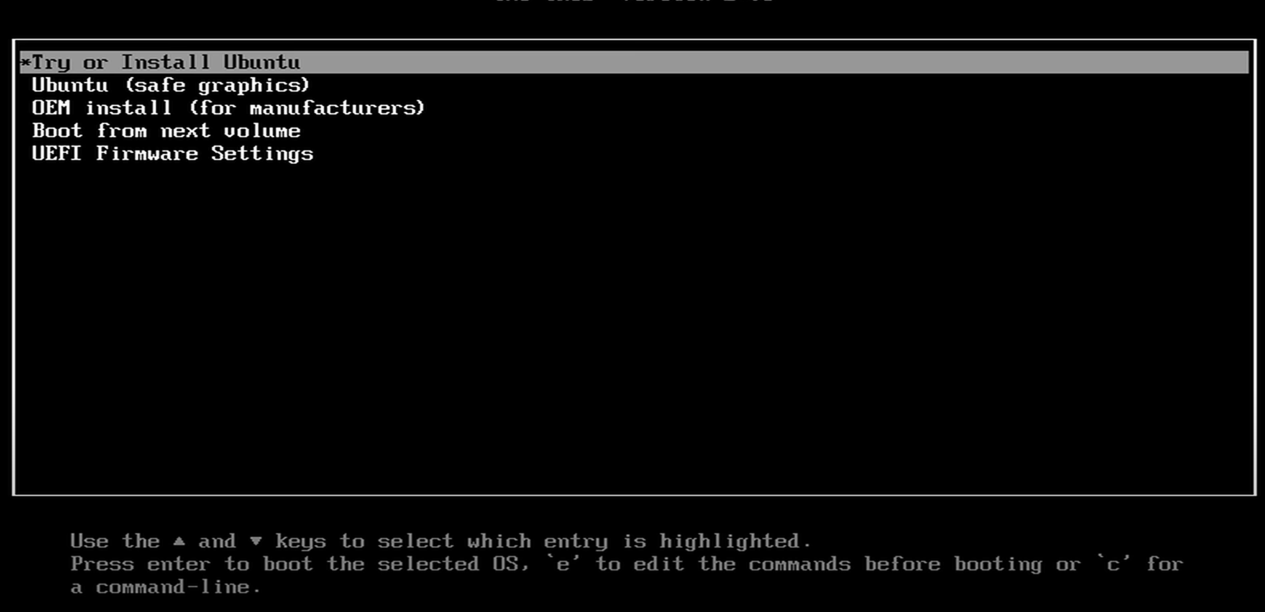
- Select Try or Install Ubuntu Server from the boot menu.
3. Ubuntu Installation
Once the machine boots from the USB drive, the Ubuntu installation environment will launch. Follow these steps to ensure a minimal and secure installation without unneccesary software bloating the system or previous data still being on the device.
Further details about Operating Systems and Disk Management can be found in the 🧠 Theory section.
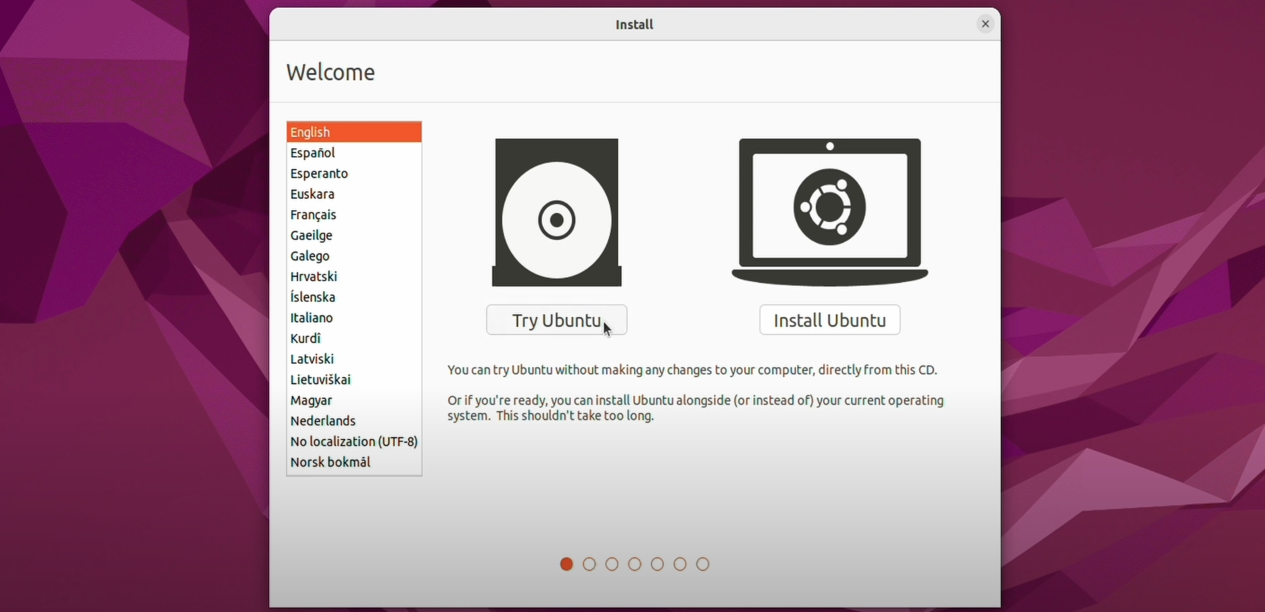
- System Language: Choose your preferred language for the operating system.
- Keyboard Configuration: Select the appropriate keyboard layout.
- Updates and Software: Choose Minimal Installation to speed up installation and reduce unnecessary load.
- Installation Type: Select Erase disk and install Ubuntu to ensure a clean installation.
- Time Zones: Choose any time zone; this sets the default system clock.
- Login Data: Enter your name, username, and password for the system.
- Finish the setup and remove the bootable USB stick when prompted.
- Do not download updates while installing Ubuntu since the device is offline.
- Do not install third-party software for graphics and Wi-Fi hardware to reduce unnecessary load.