2.3 Component Assembly
This sequence will walk you through all the steps I followed while installing the hardware components for my node and includes installing memory, storage devices, antennas, and hard disks.
Before you start building, ground yourself by touching a metal object, like a heater, to discharge any static electricity and prevent damage to sensitive technical components.
Attaching the Components
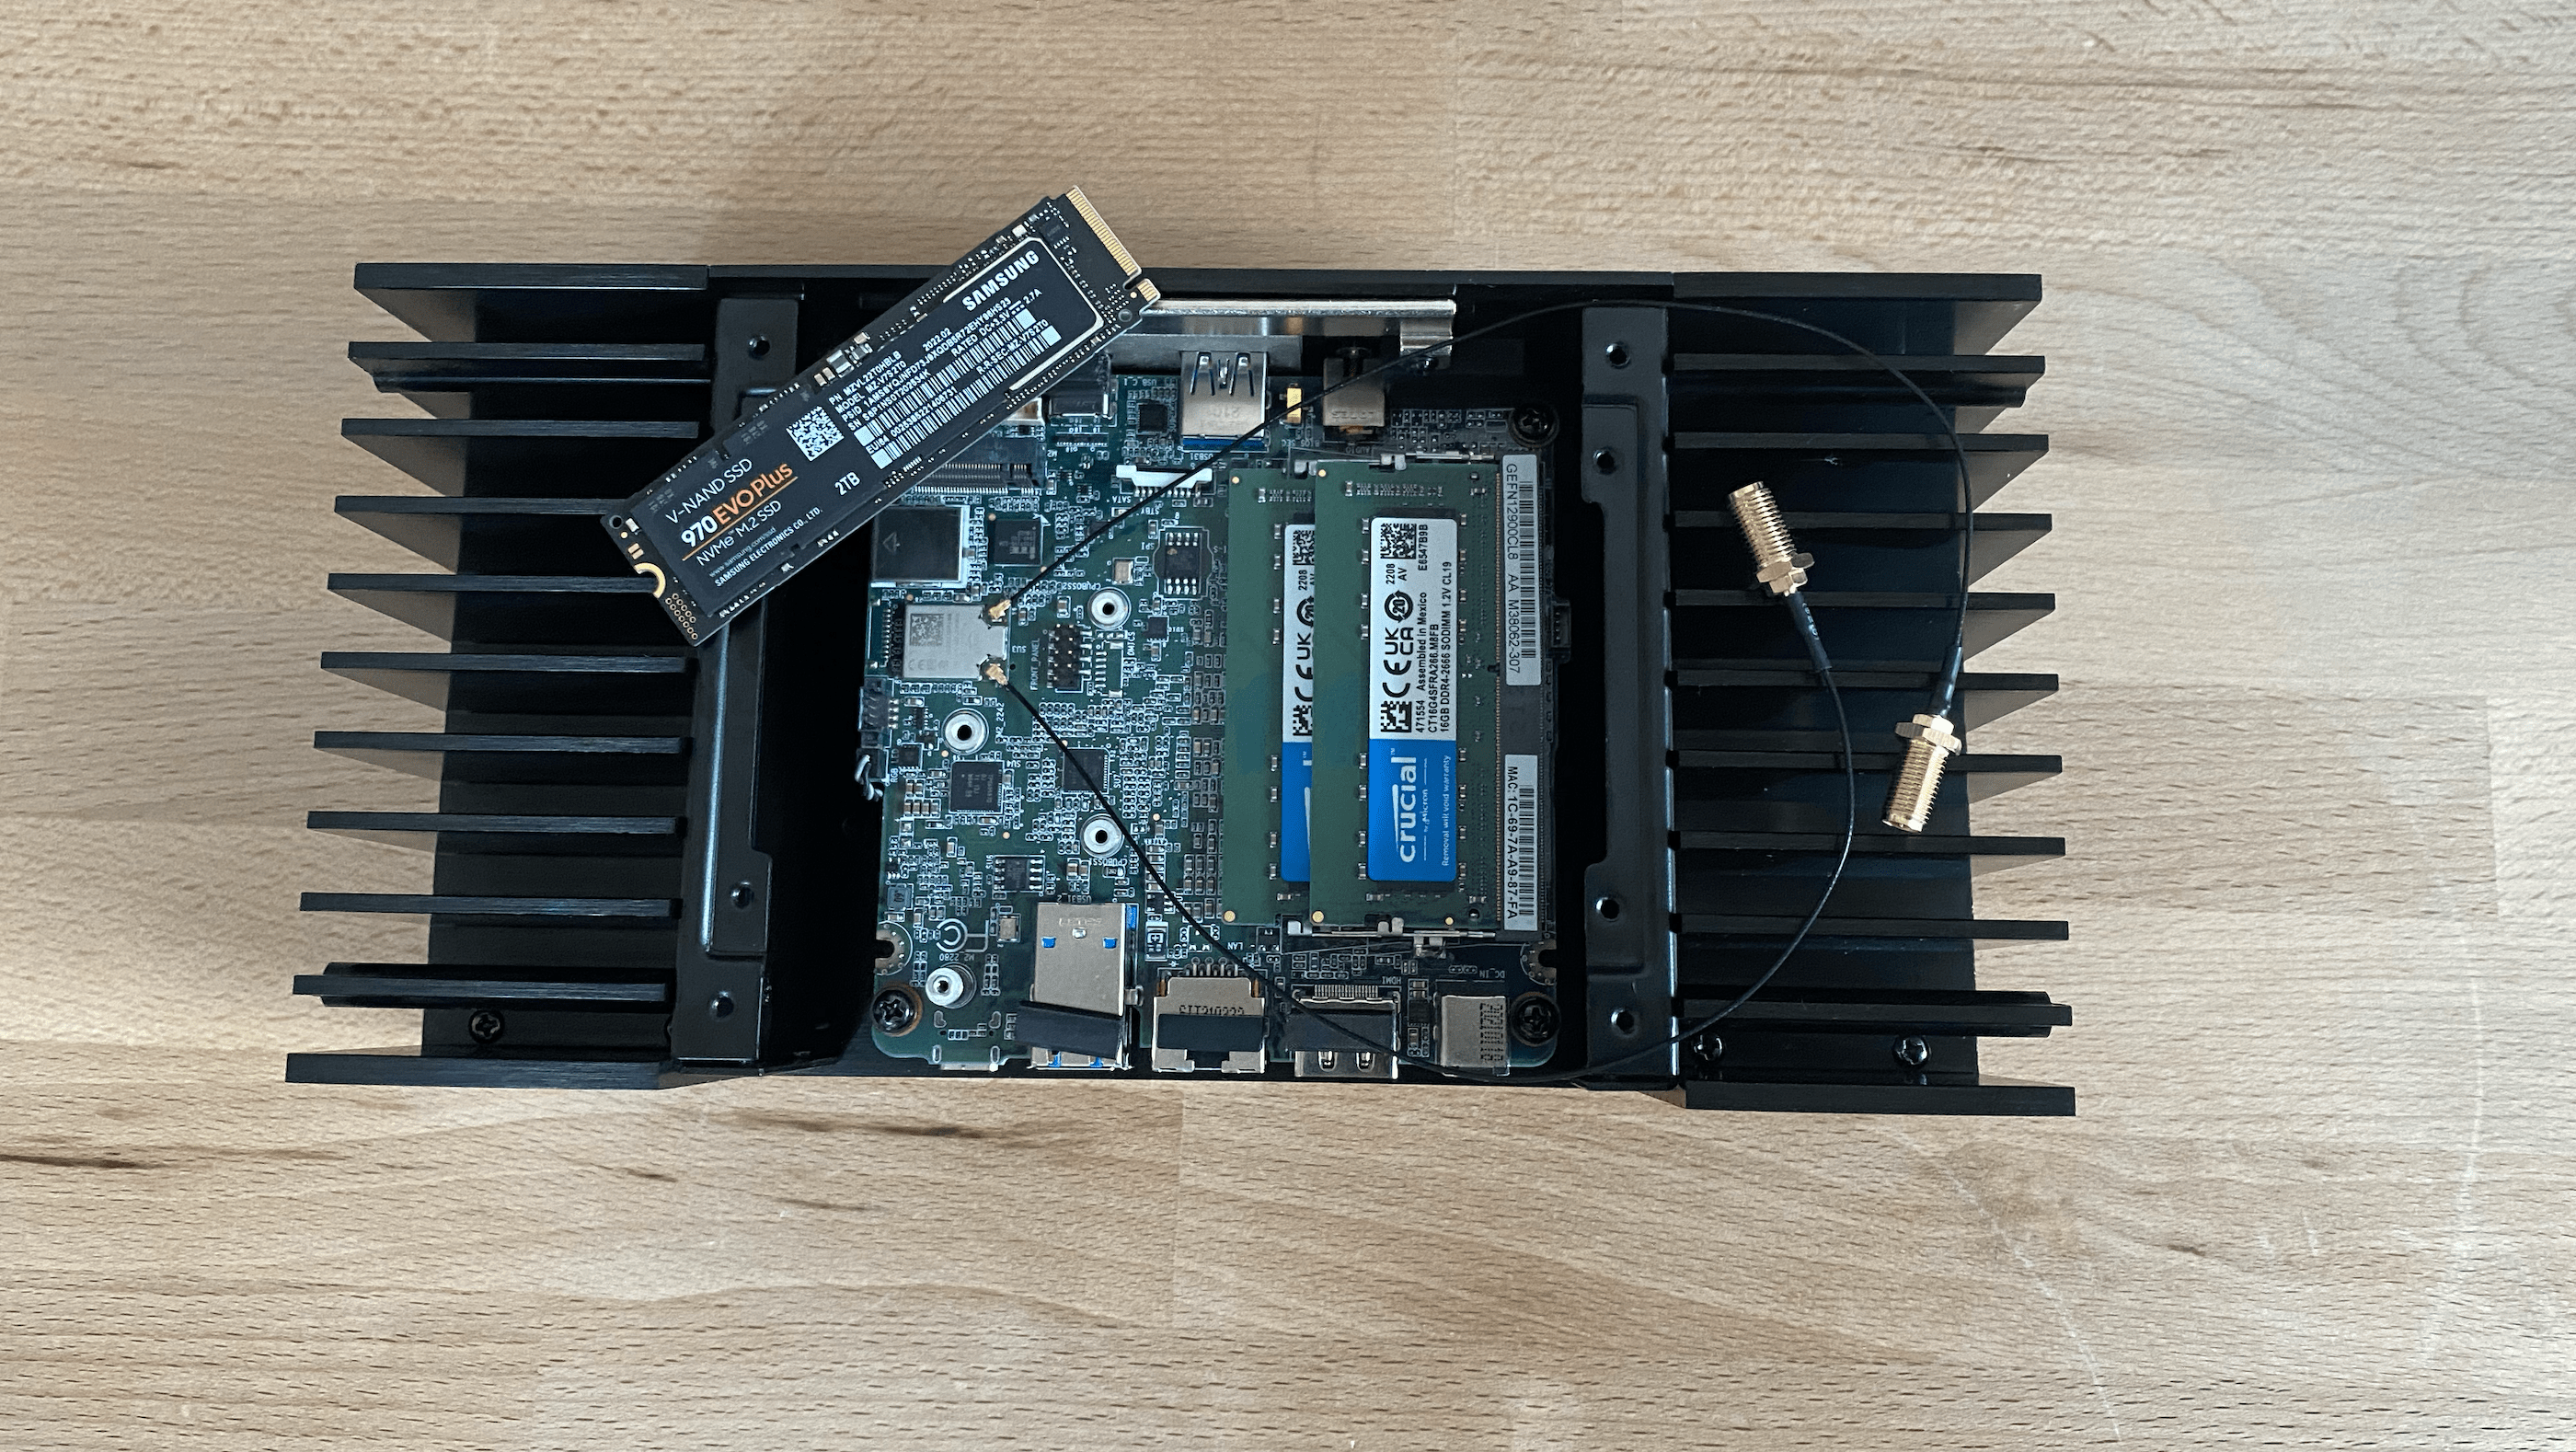
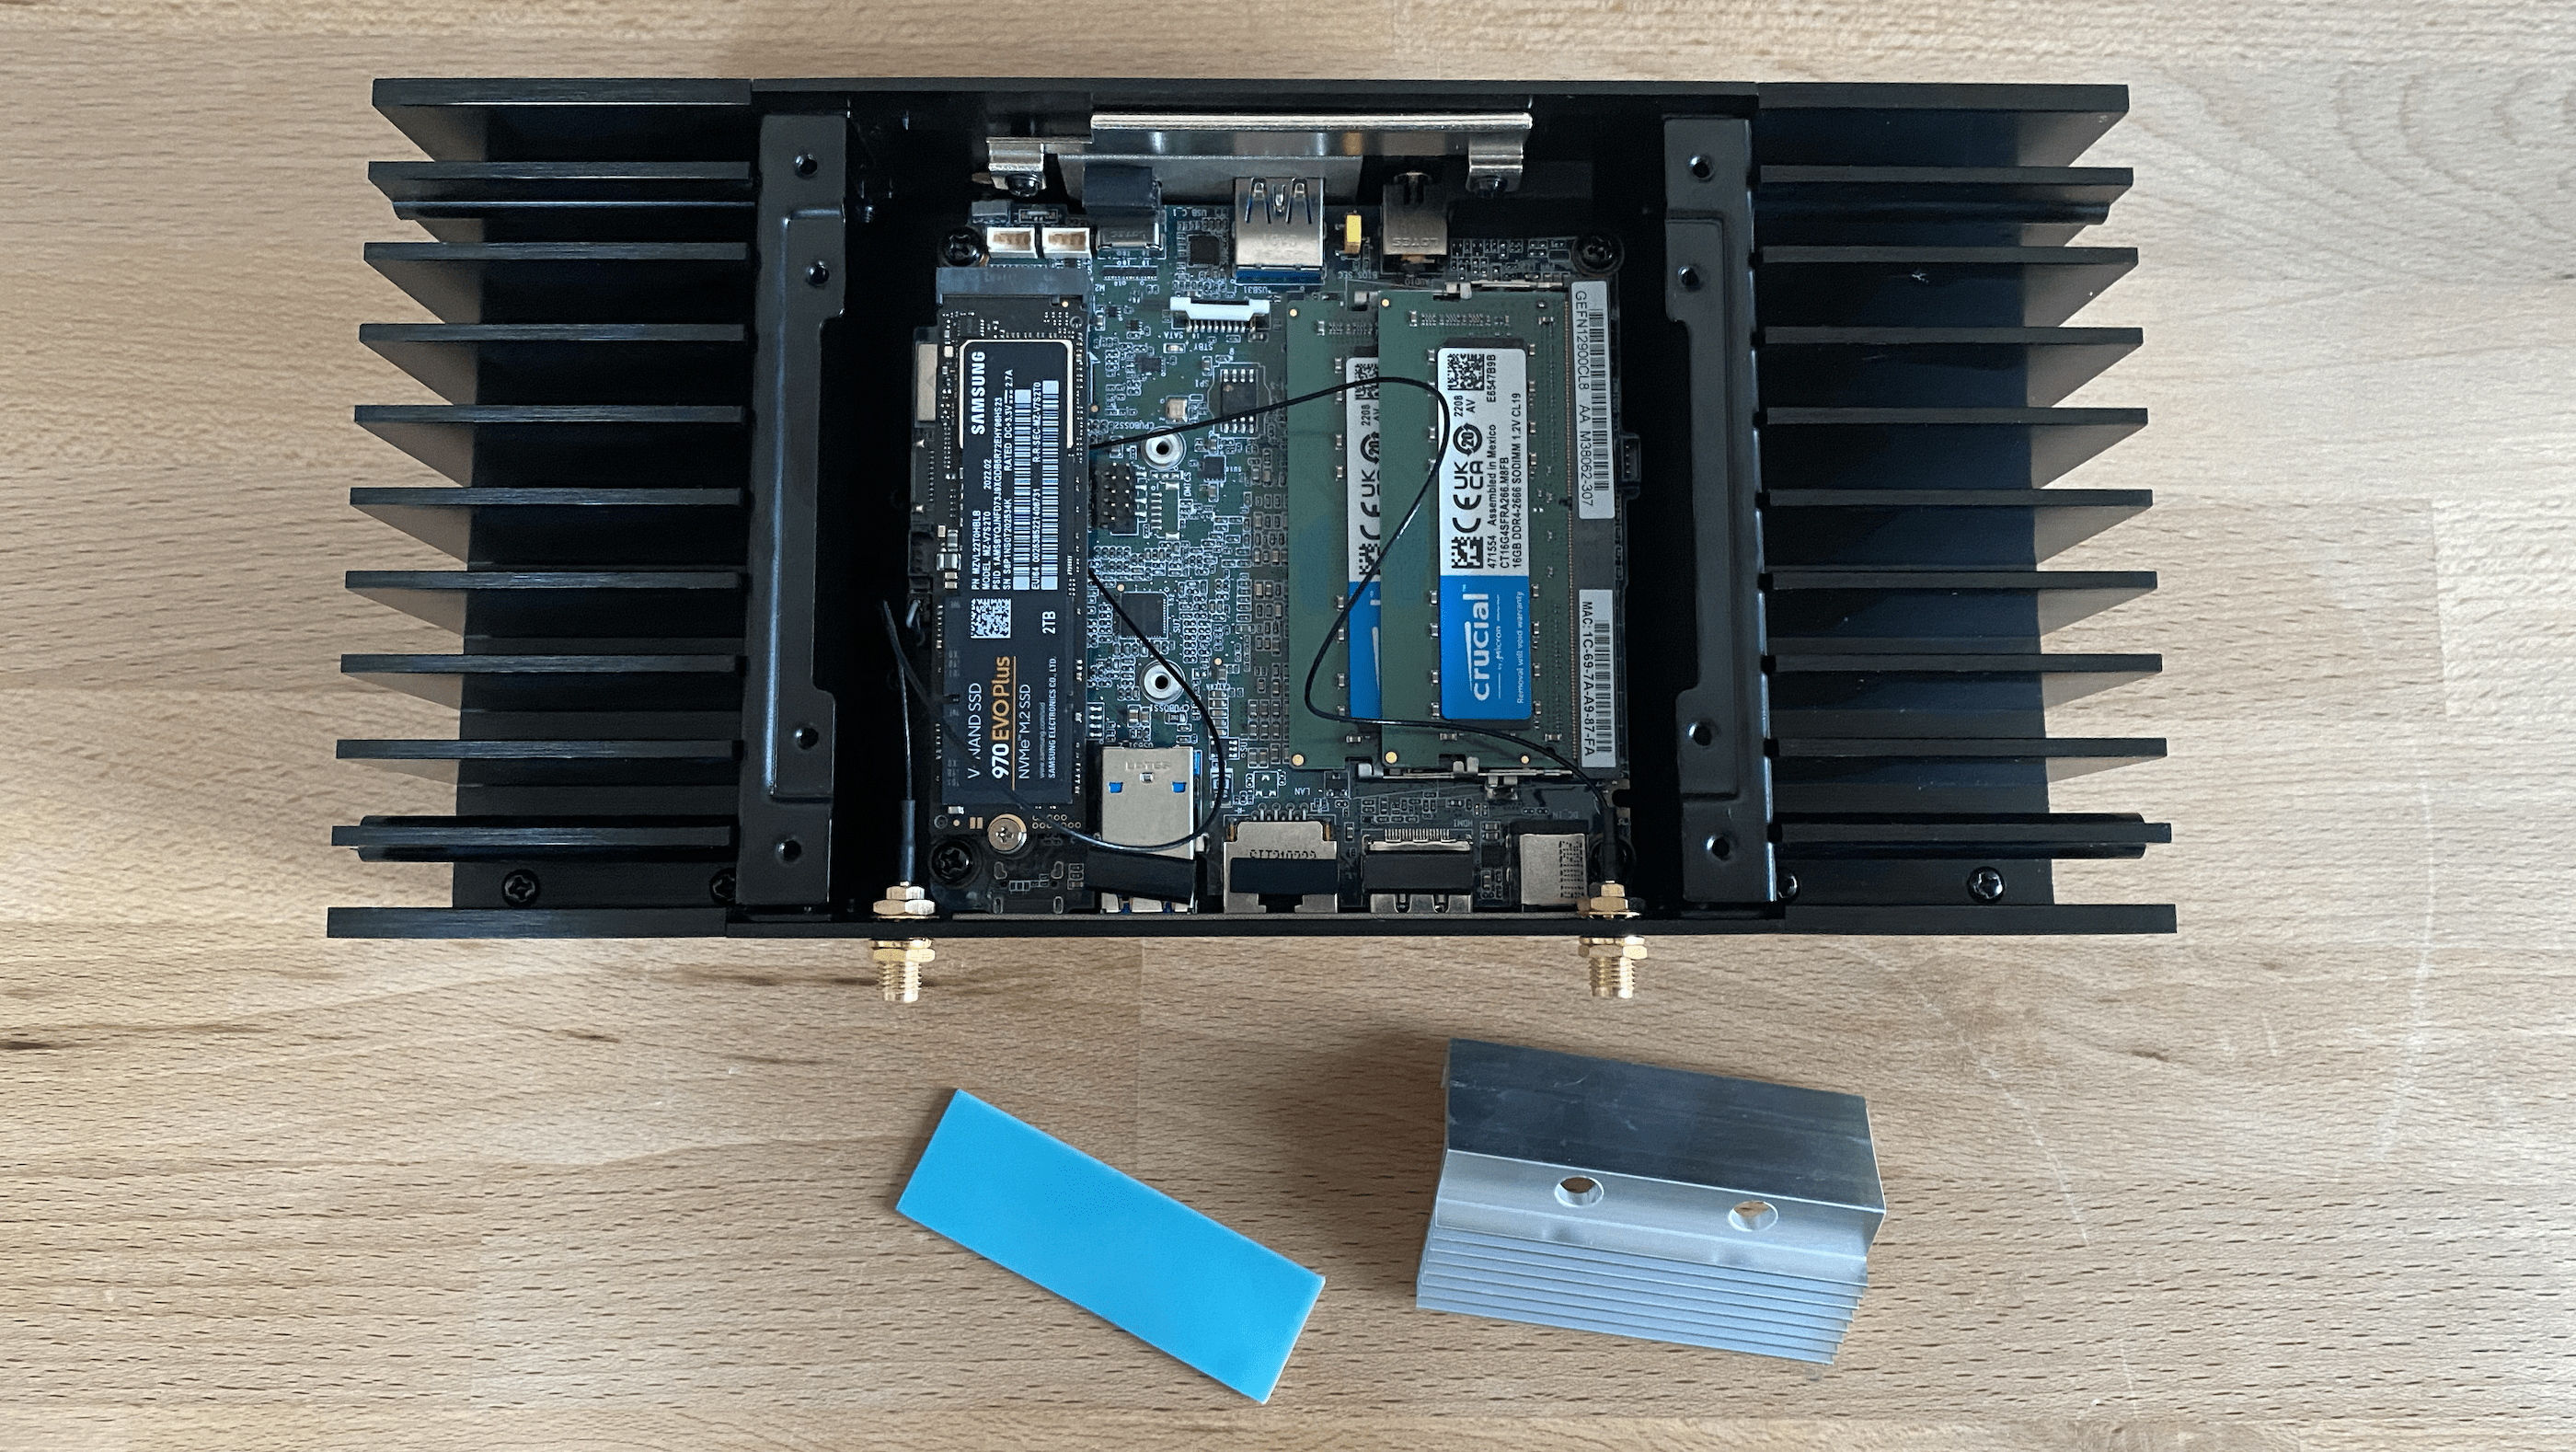
1. Open the Case: Remove the screws from the bottom of the NUC and gently open the case.
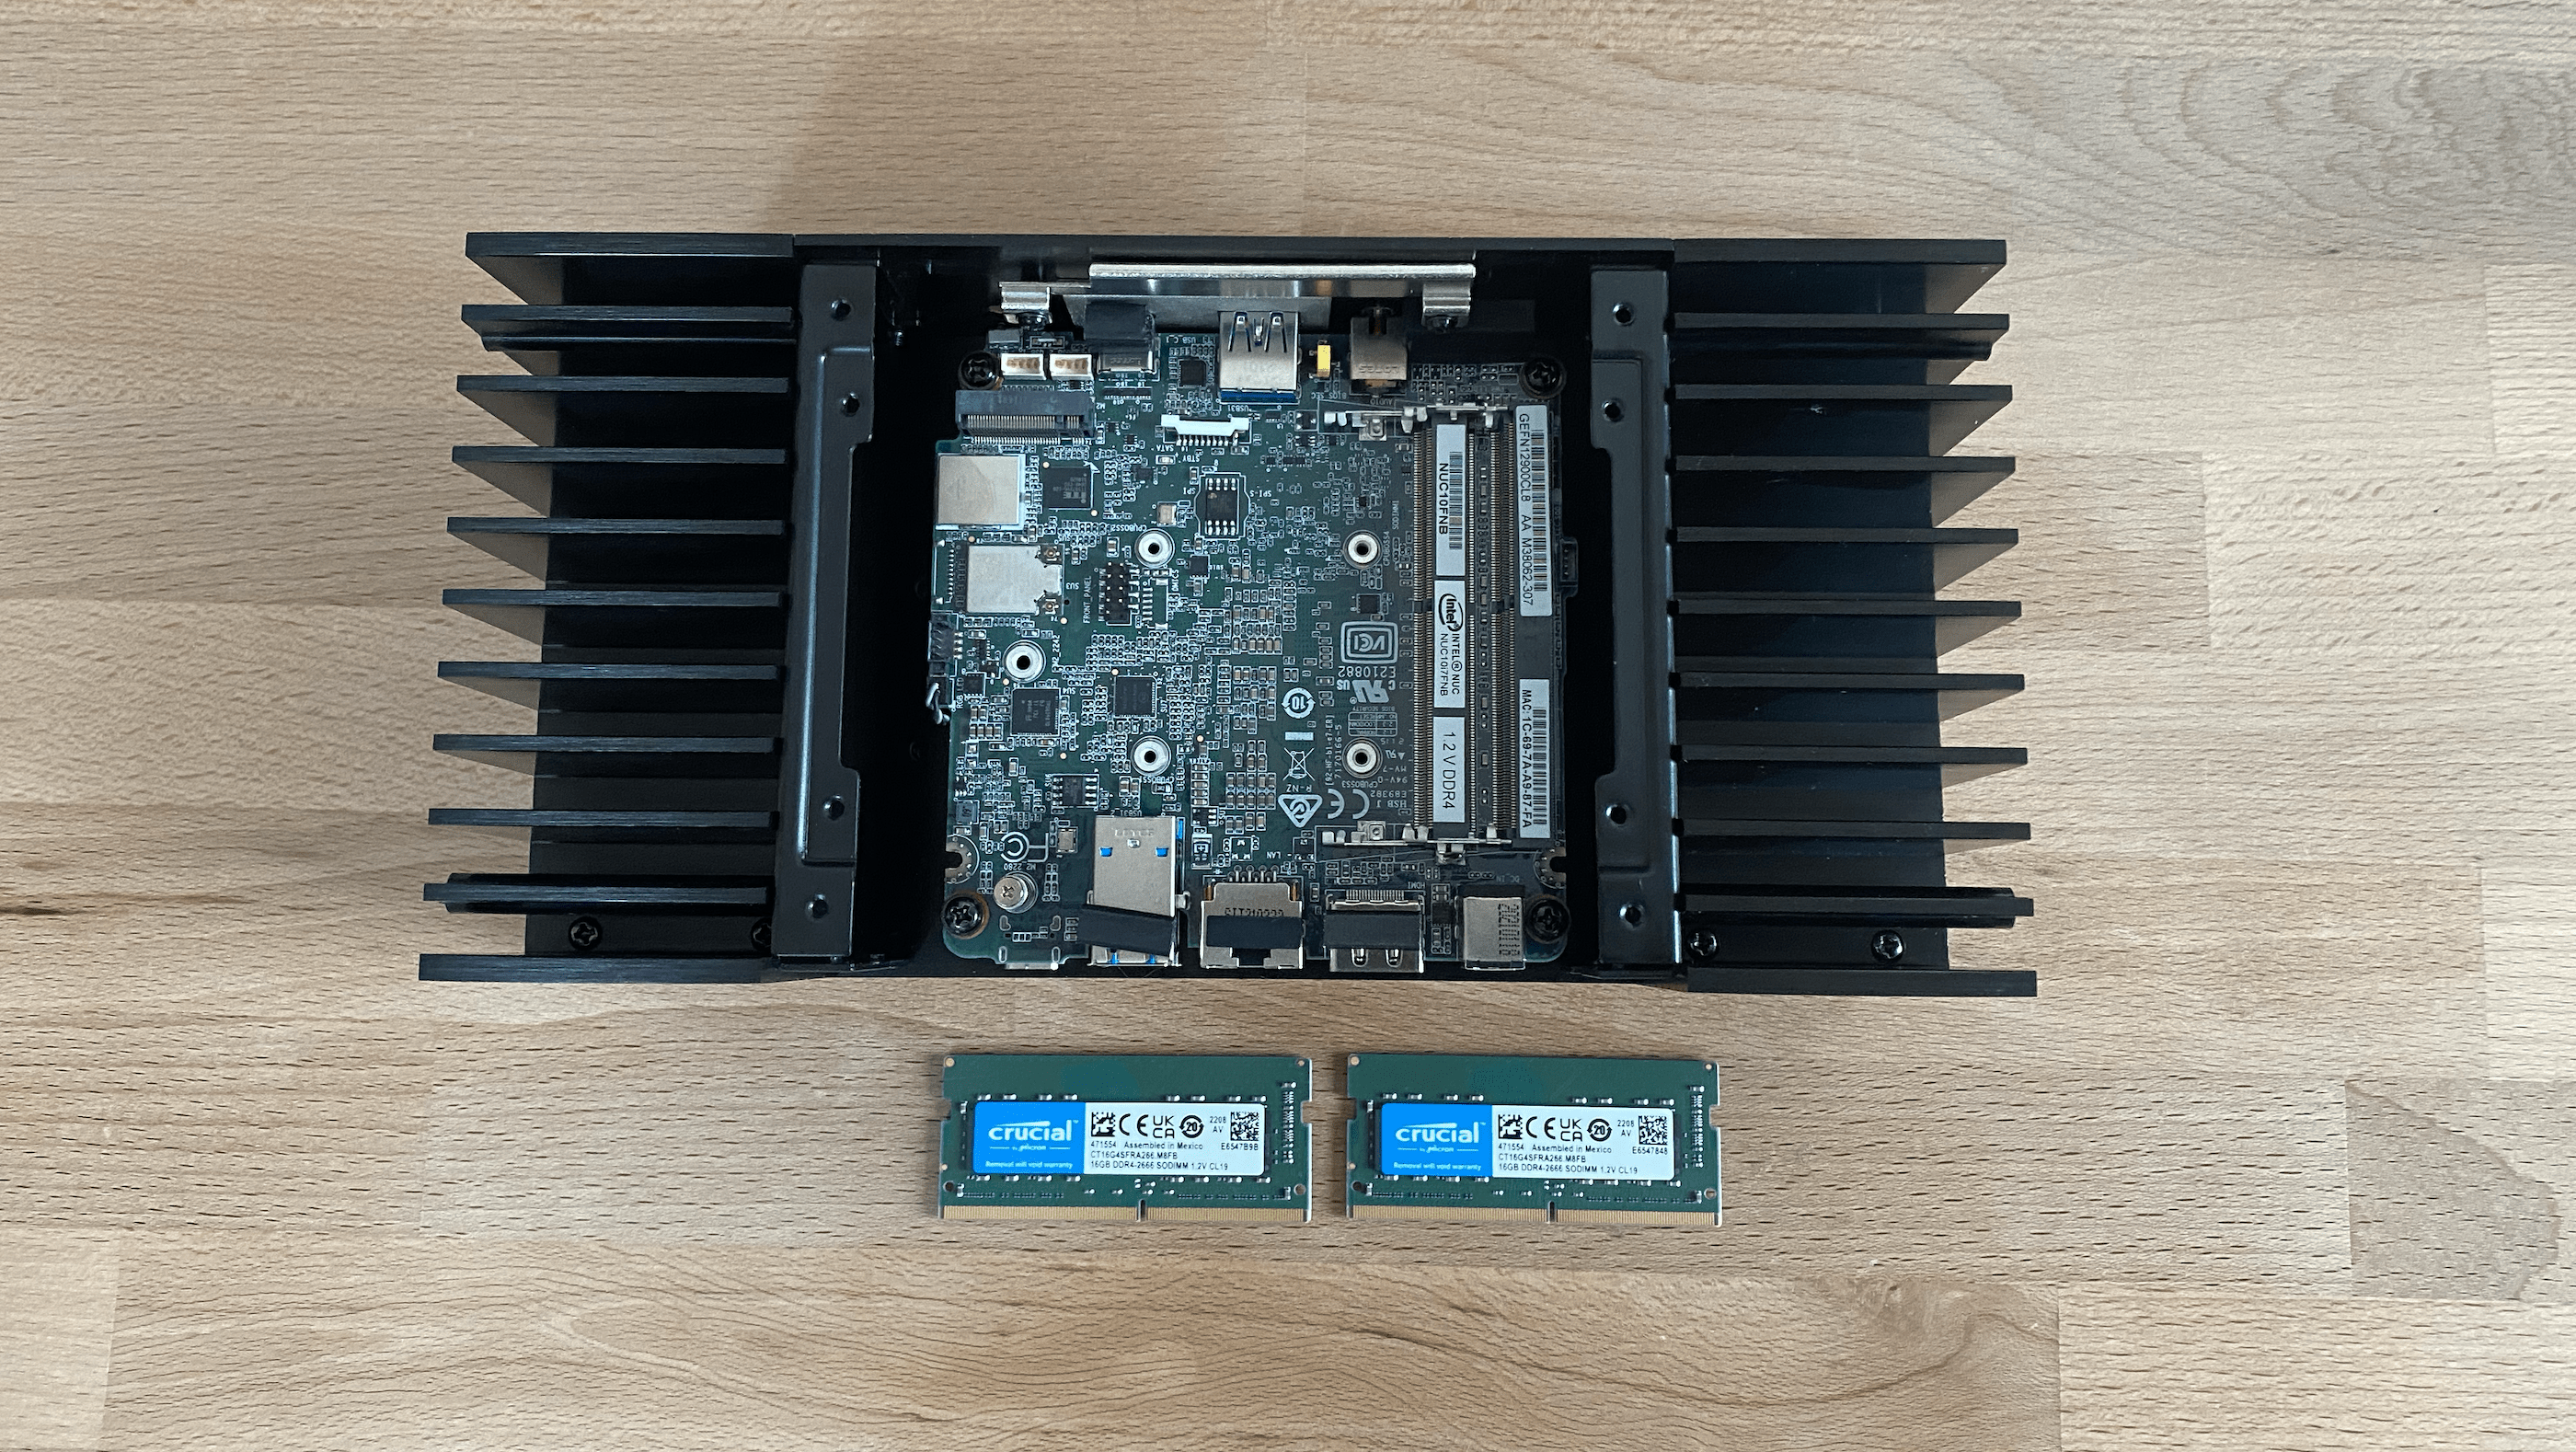
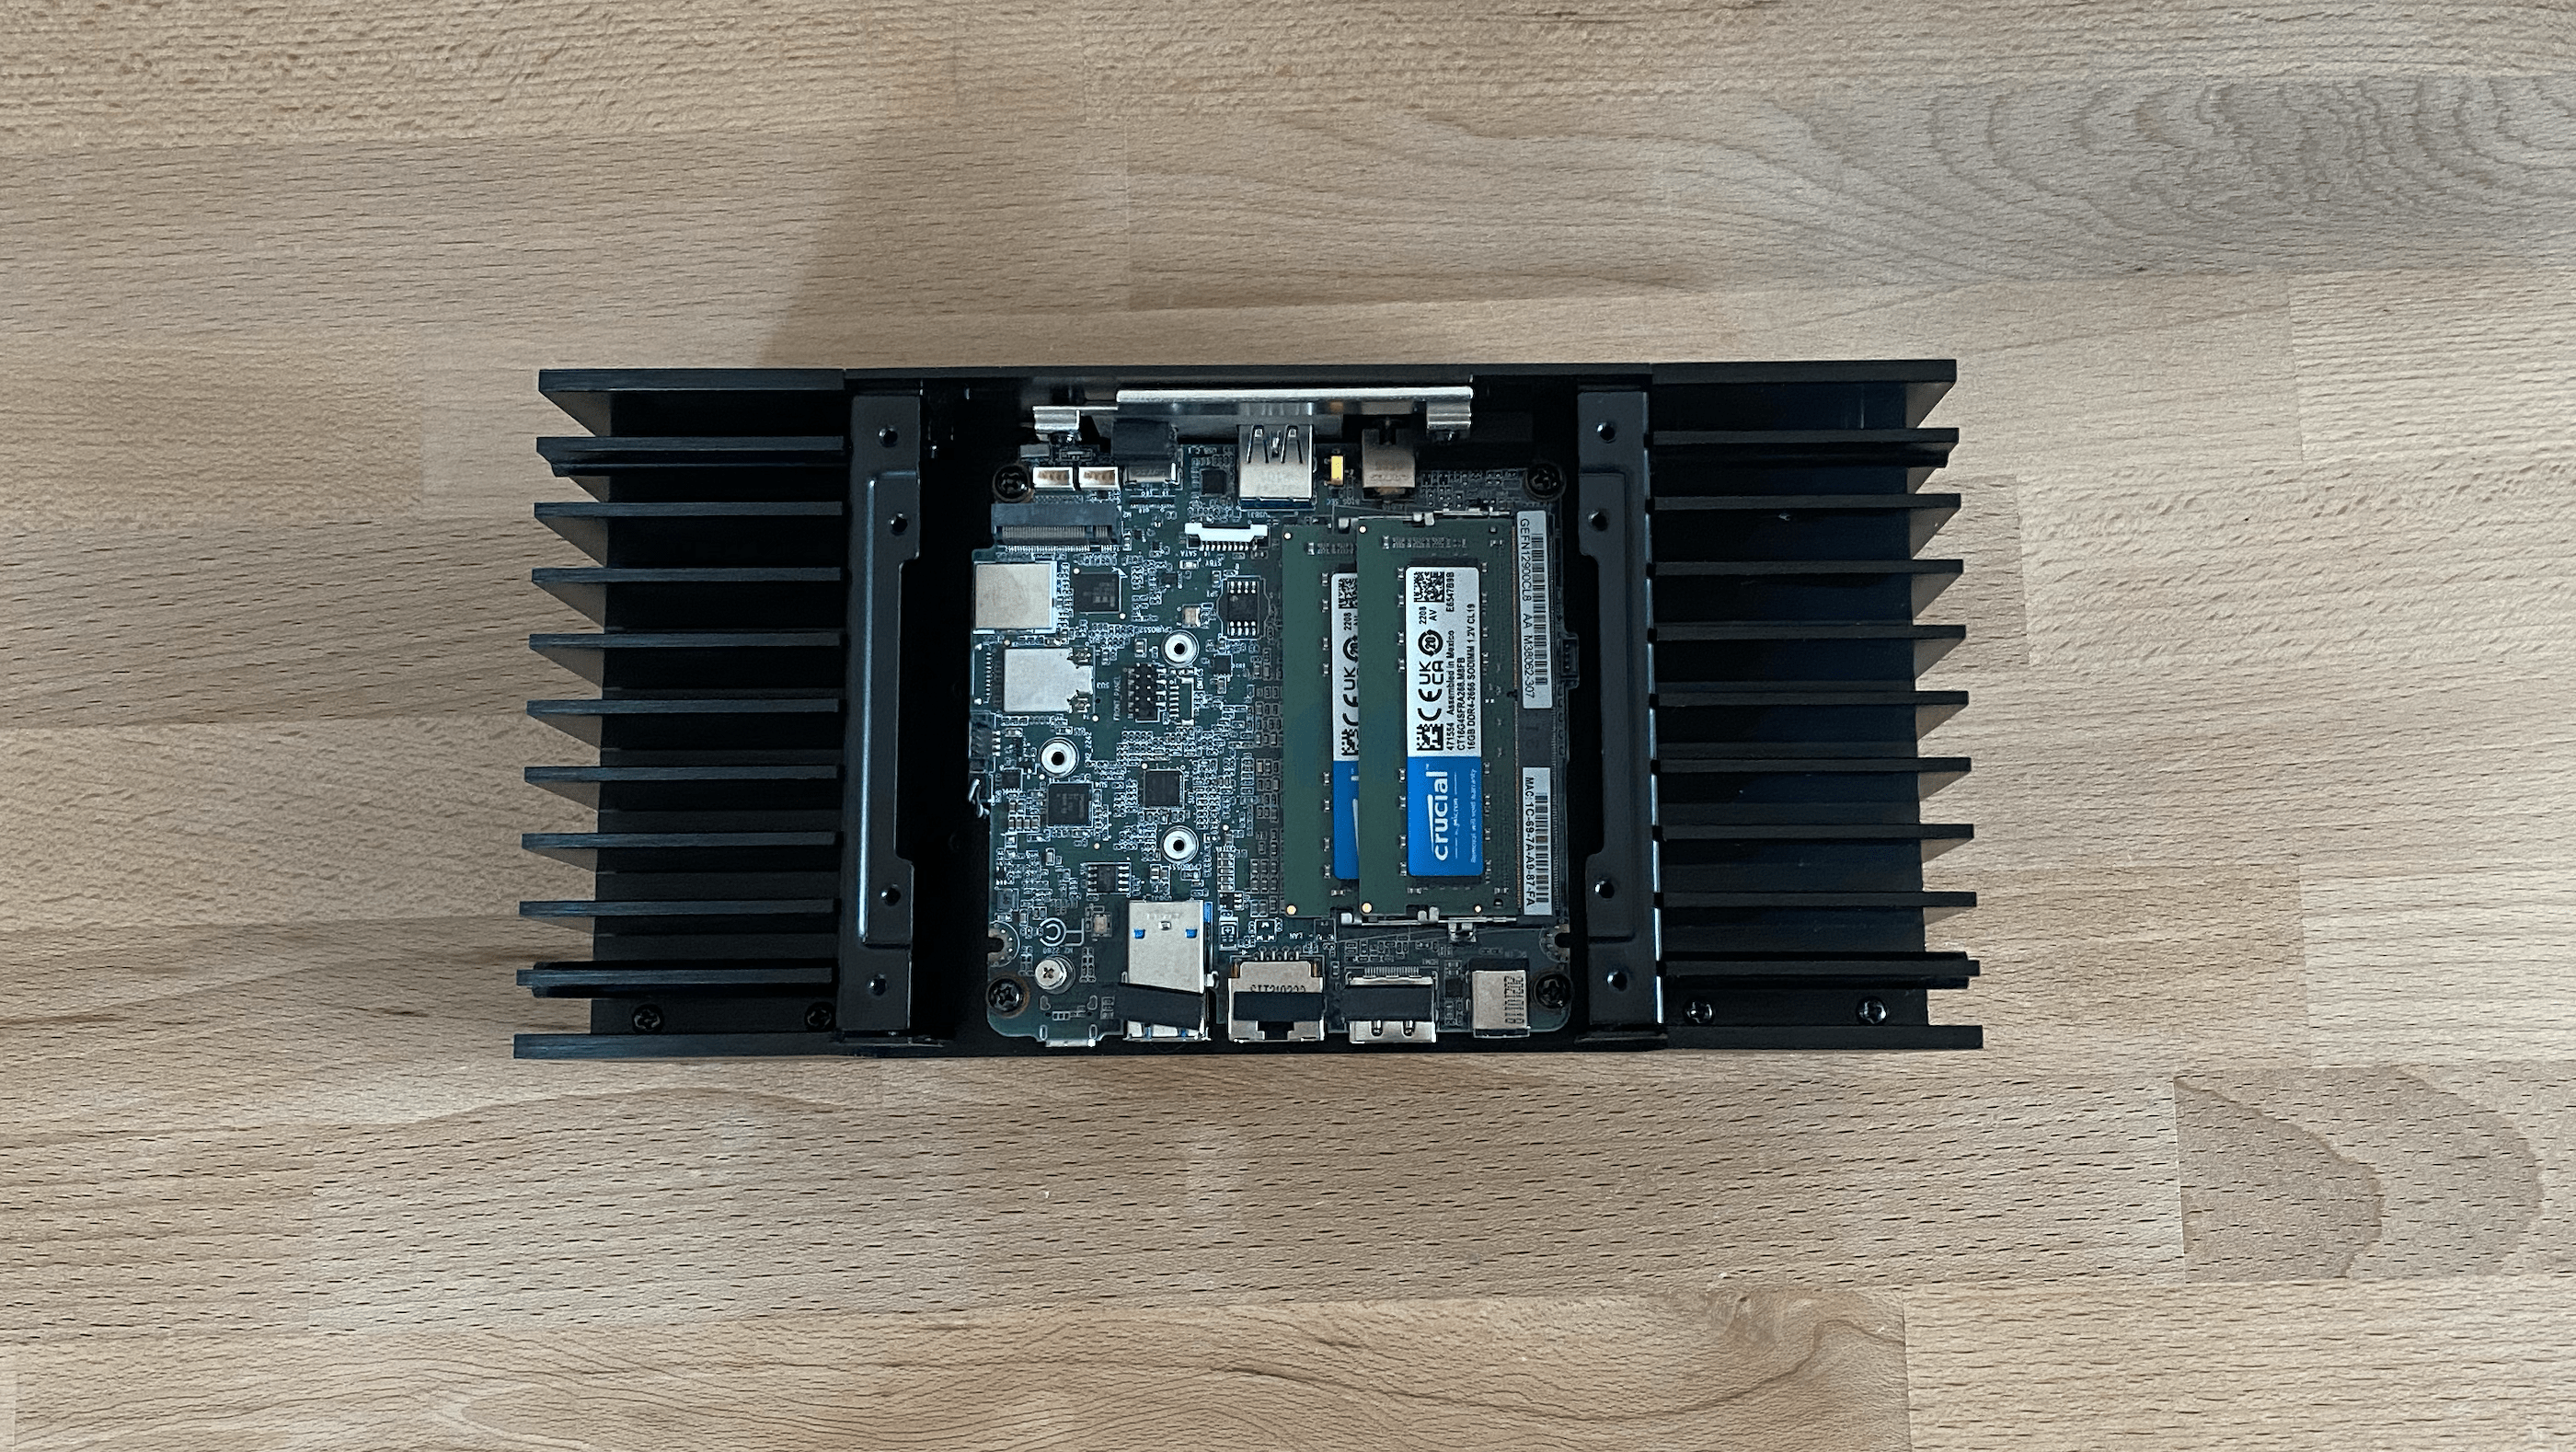
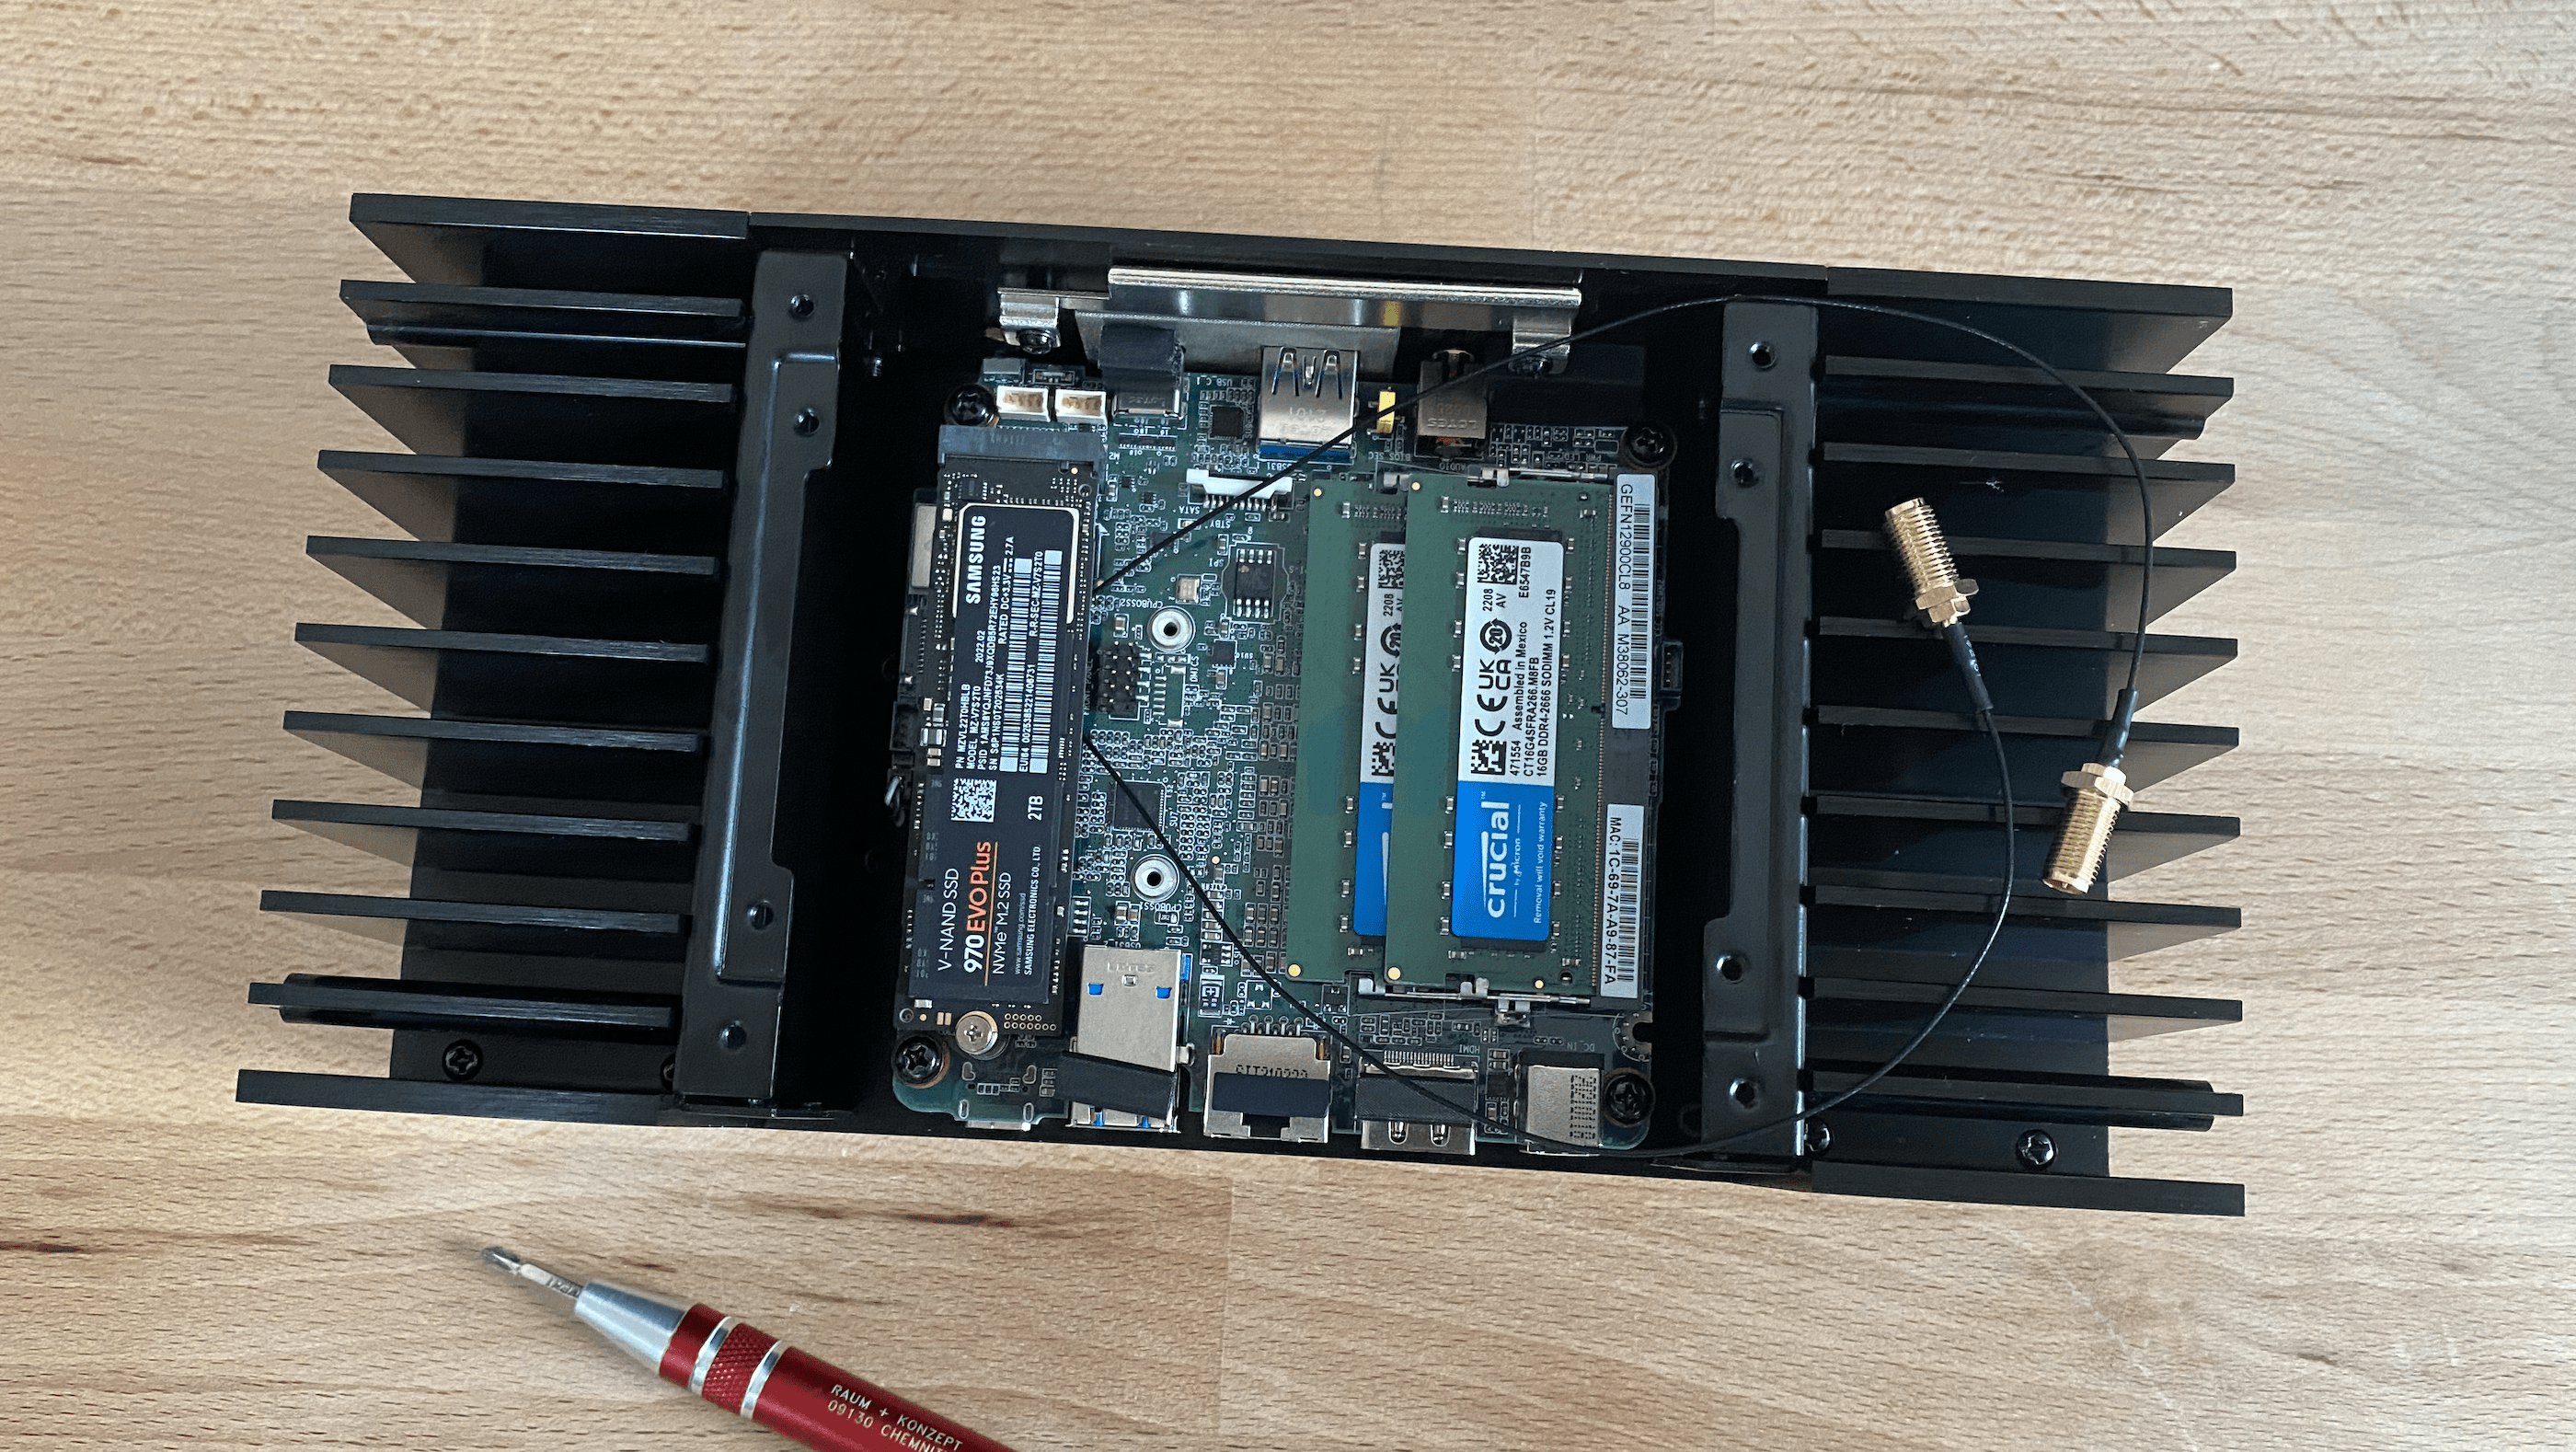
2. Unscrew the Memory Holder: Unpack the memory bars and insert them one on top of the other into the provided holder.
3. Unpack Antenna Connection Cables: If you plan to use the WiFi down the line, now is the time to insert the connectors.
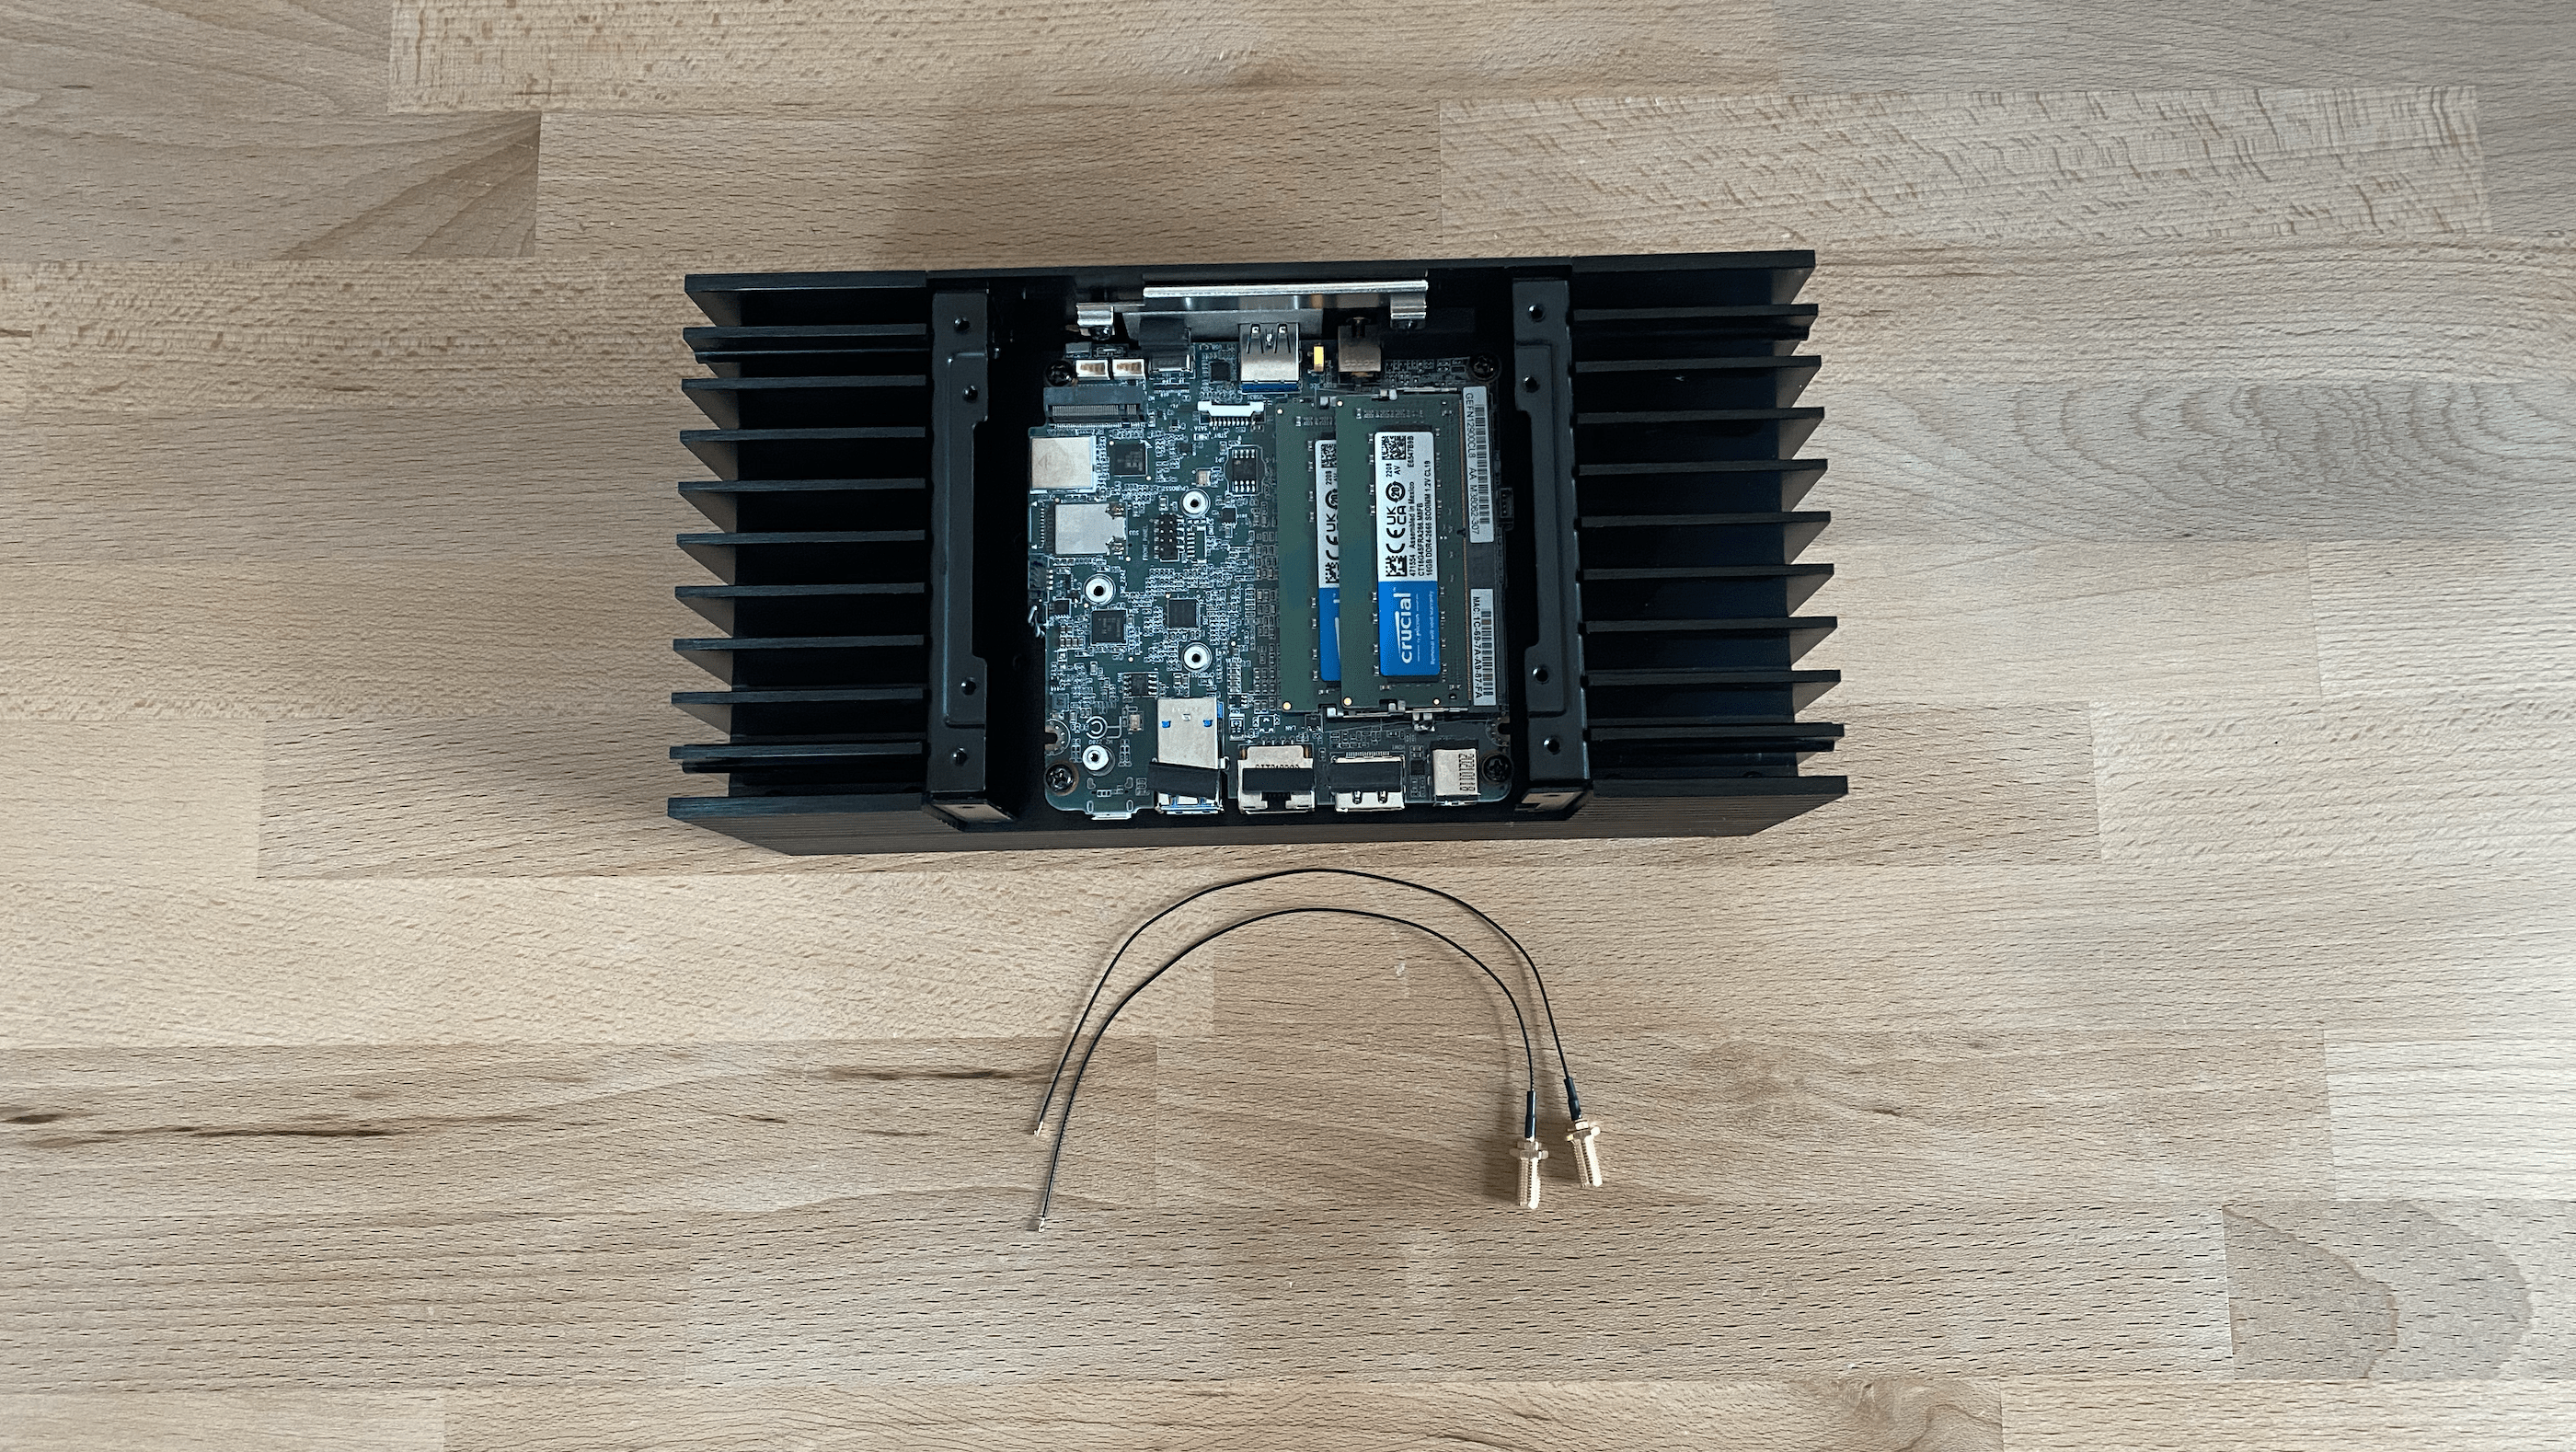
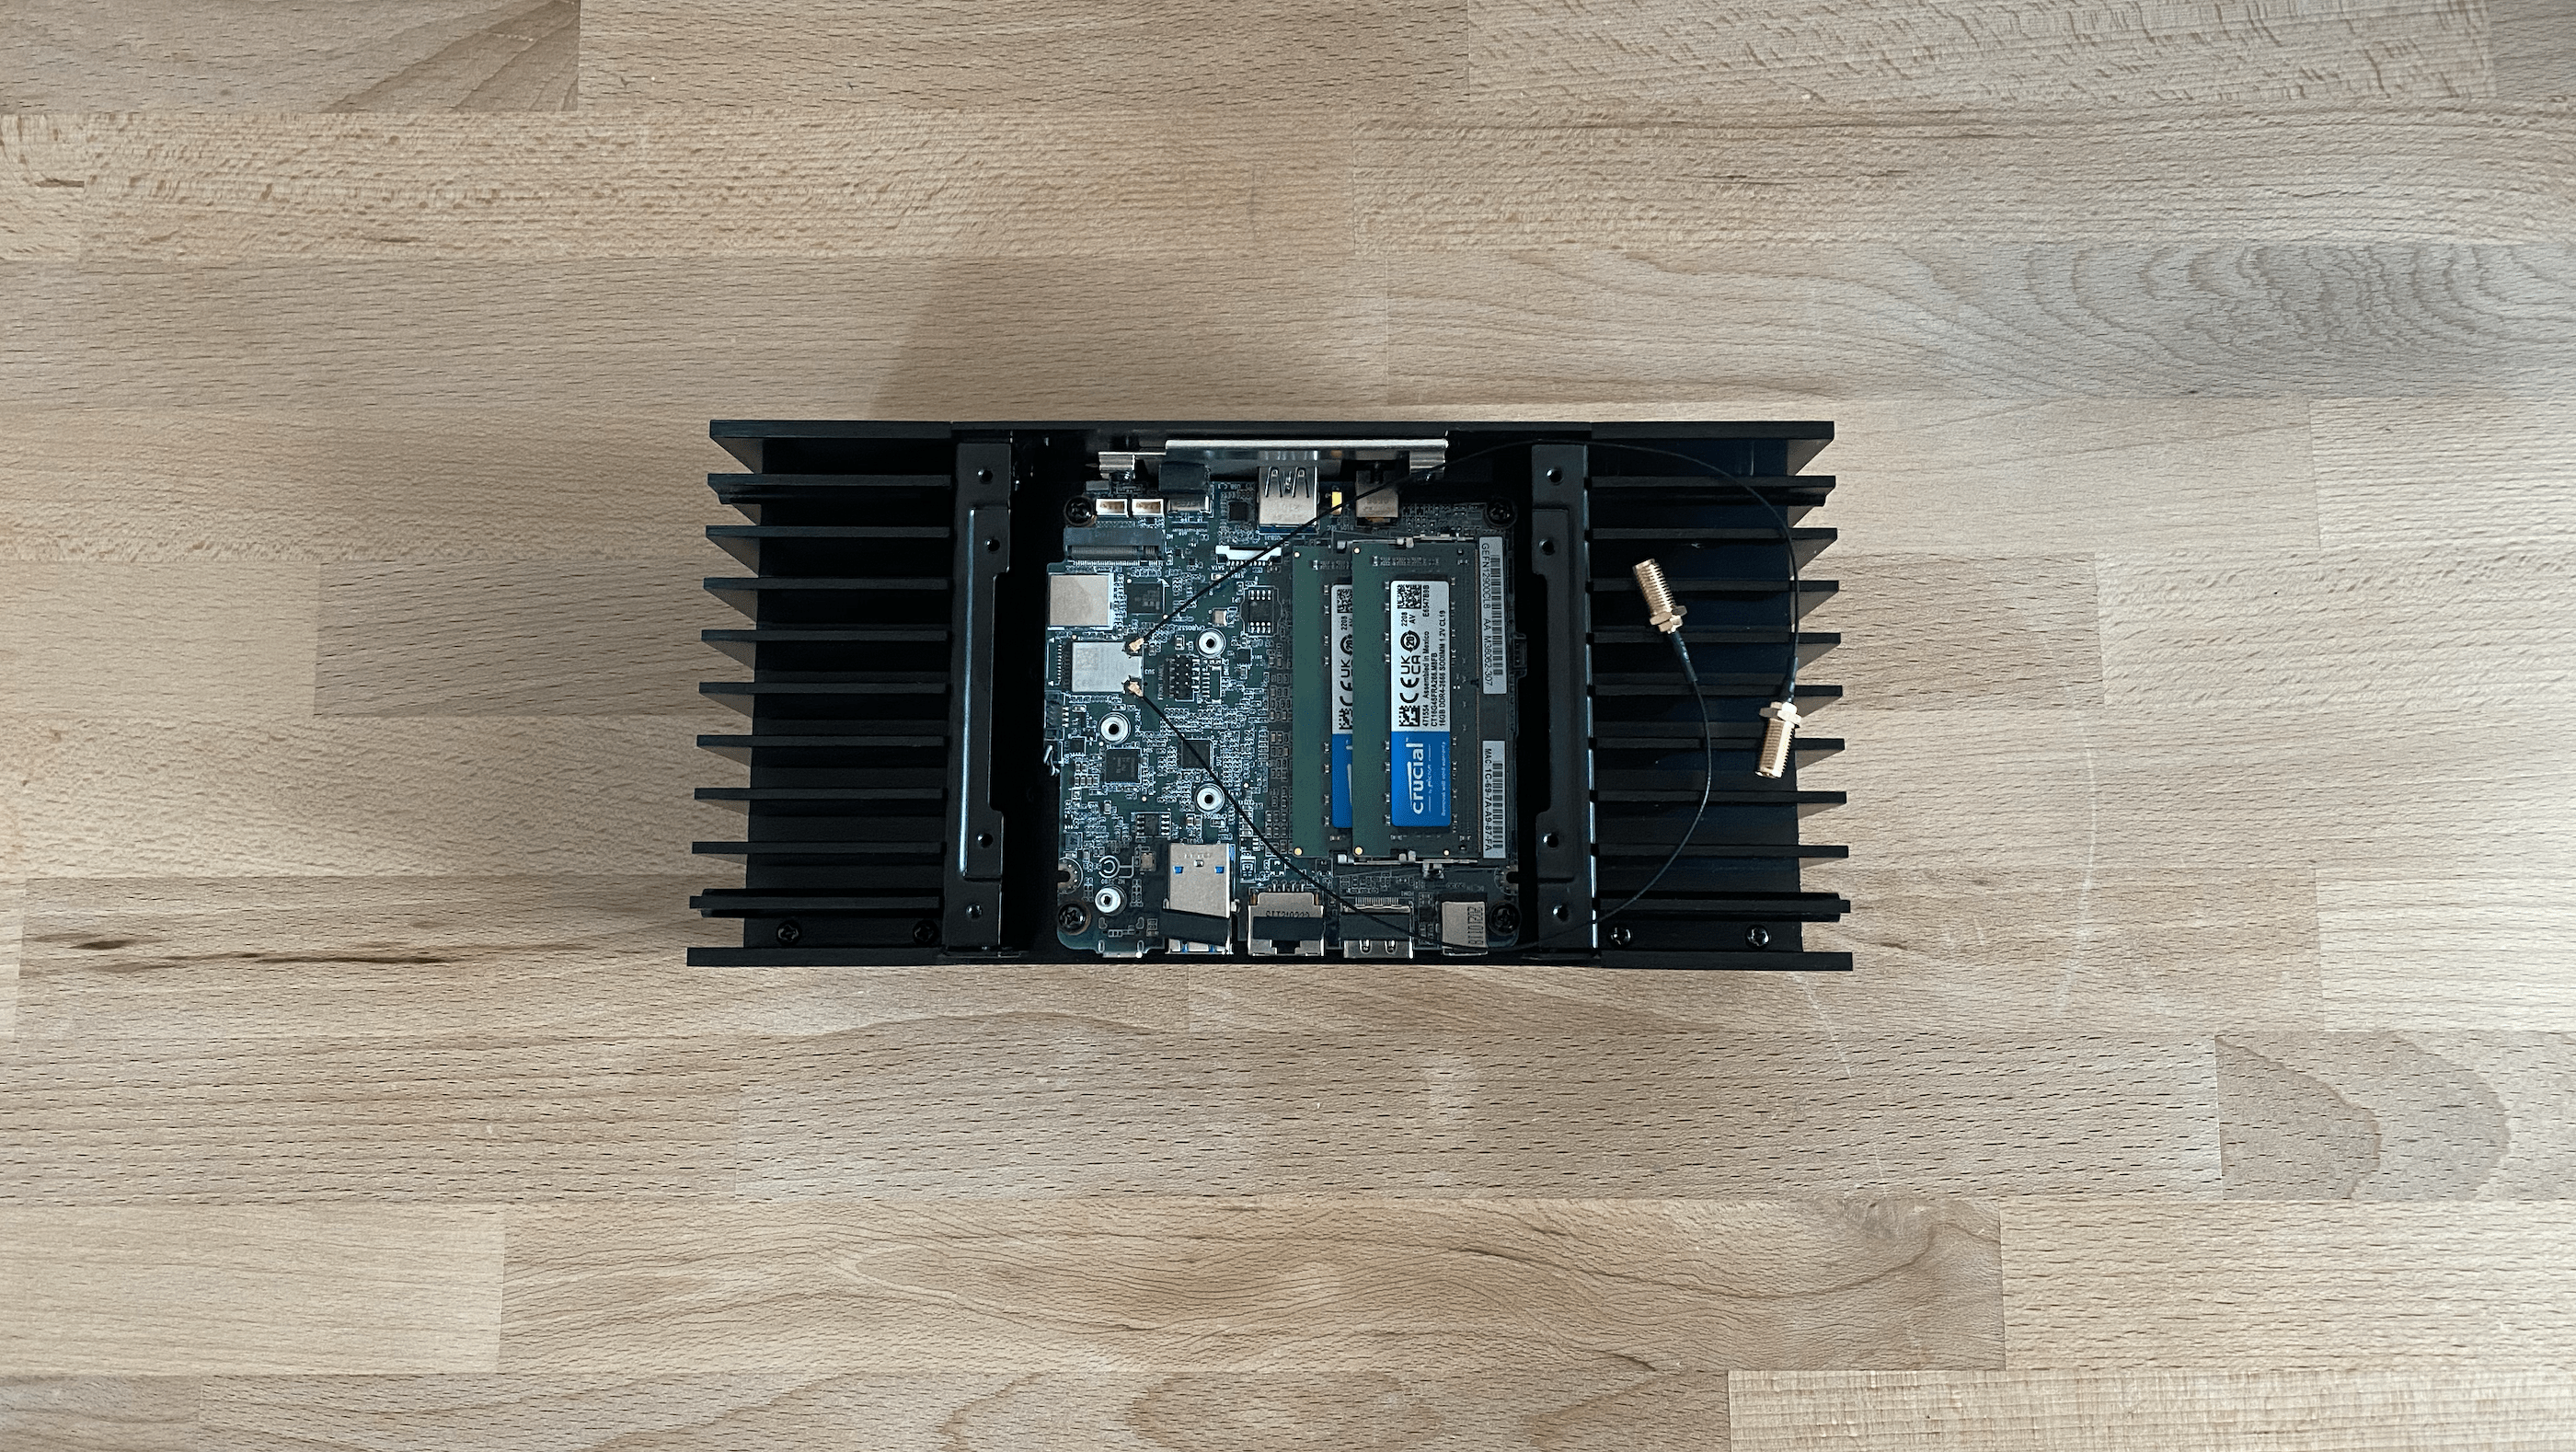
4. Install Antenna Connection Cables: Carefully press each cable into the designated edge to ensure they are seated properly.
5. Install the Hard Disk: Insert the hard disk above the antenna. Place it diagonally from above and fasten it securely.
Adding Additional Storage
If you have an additional large hard drive that comes with its own frame, mount the 2.5" hard drive onto the provided frame. Then, screw the frame into the housing.
1. Connect the Hard Drive Cable: Attach the hard drive cable to the mainboard using the cable included in the package.
2. Secure the Hard Drive Frame: Screw the frame to the top of the case so that the hard drive faces downward.
There is only one hard drive connector on the mainboard, so ensure you use it.
The storage frame should sit flush under the edge of the case, leaving enough room for the backplate installation.
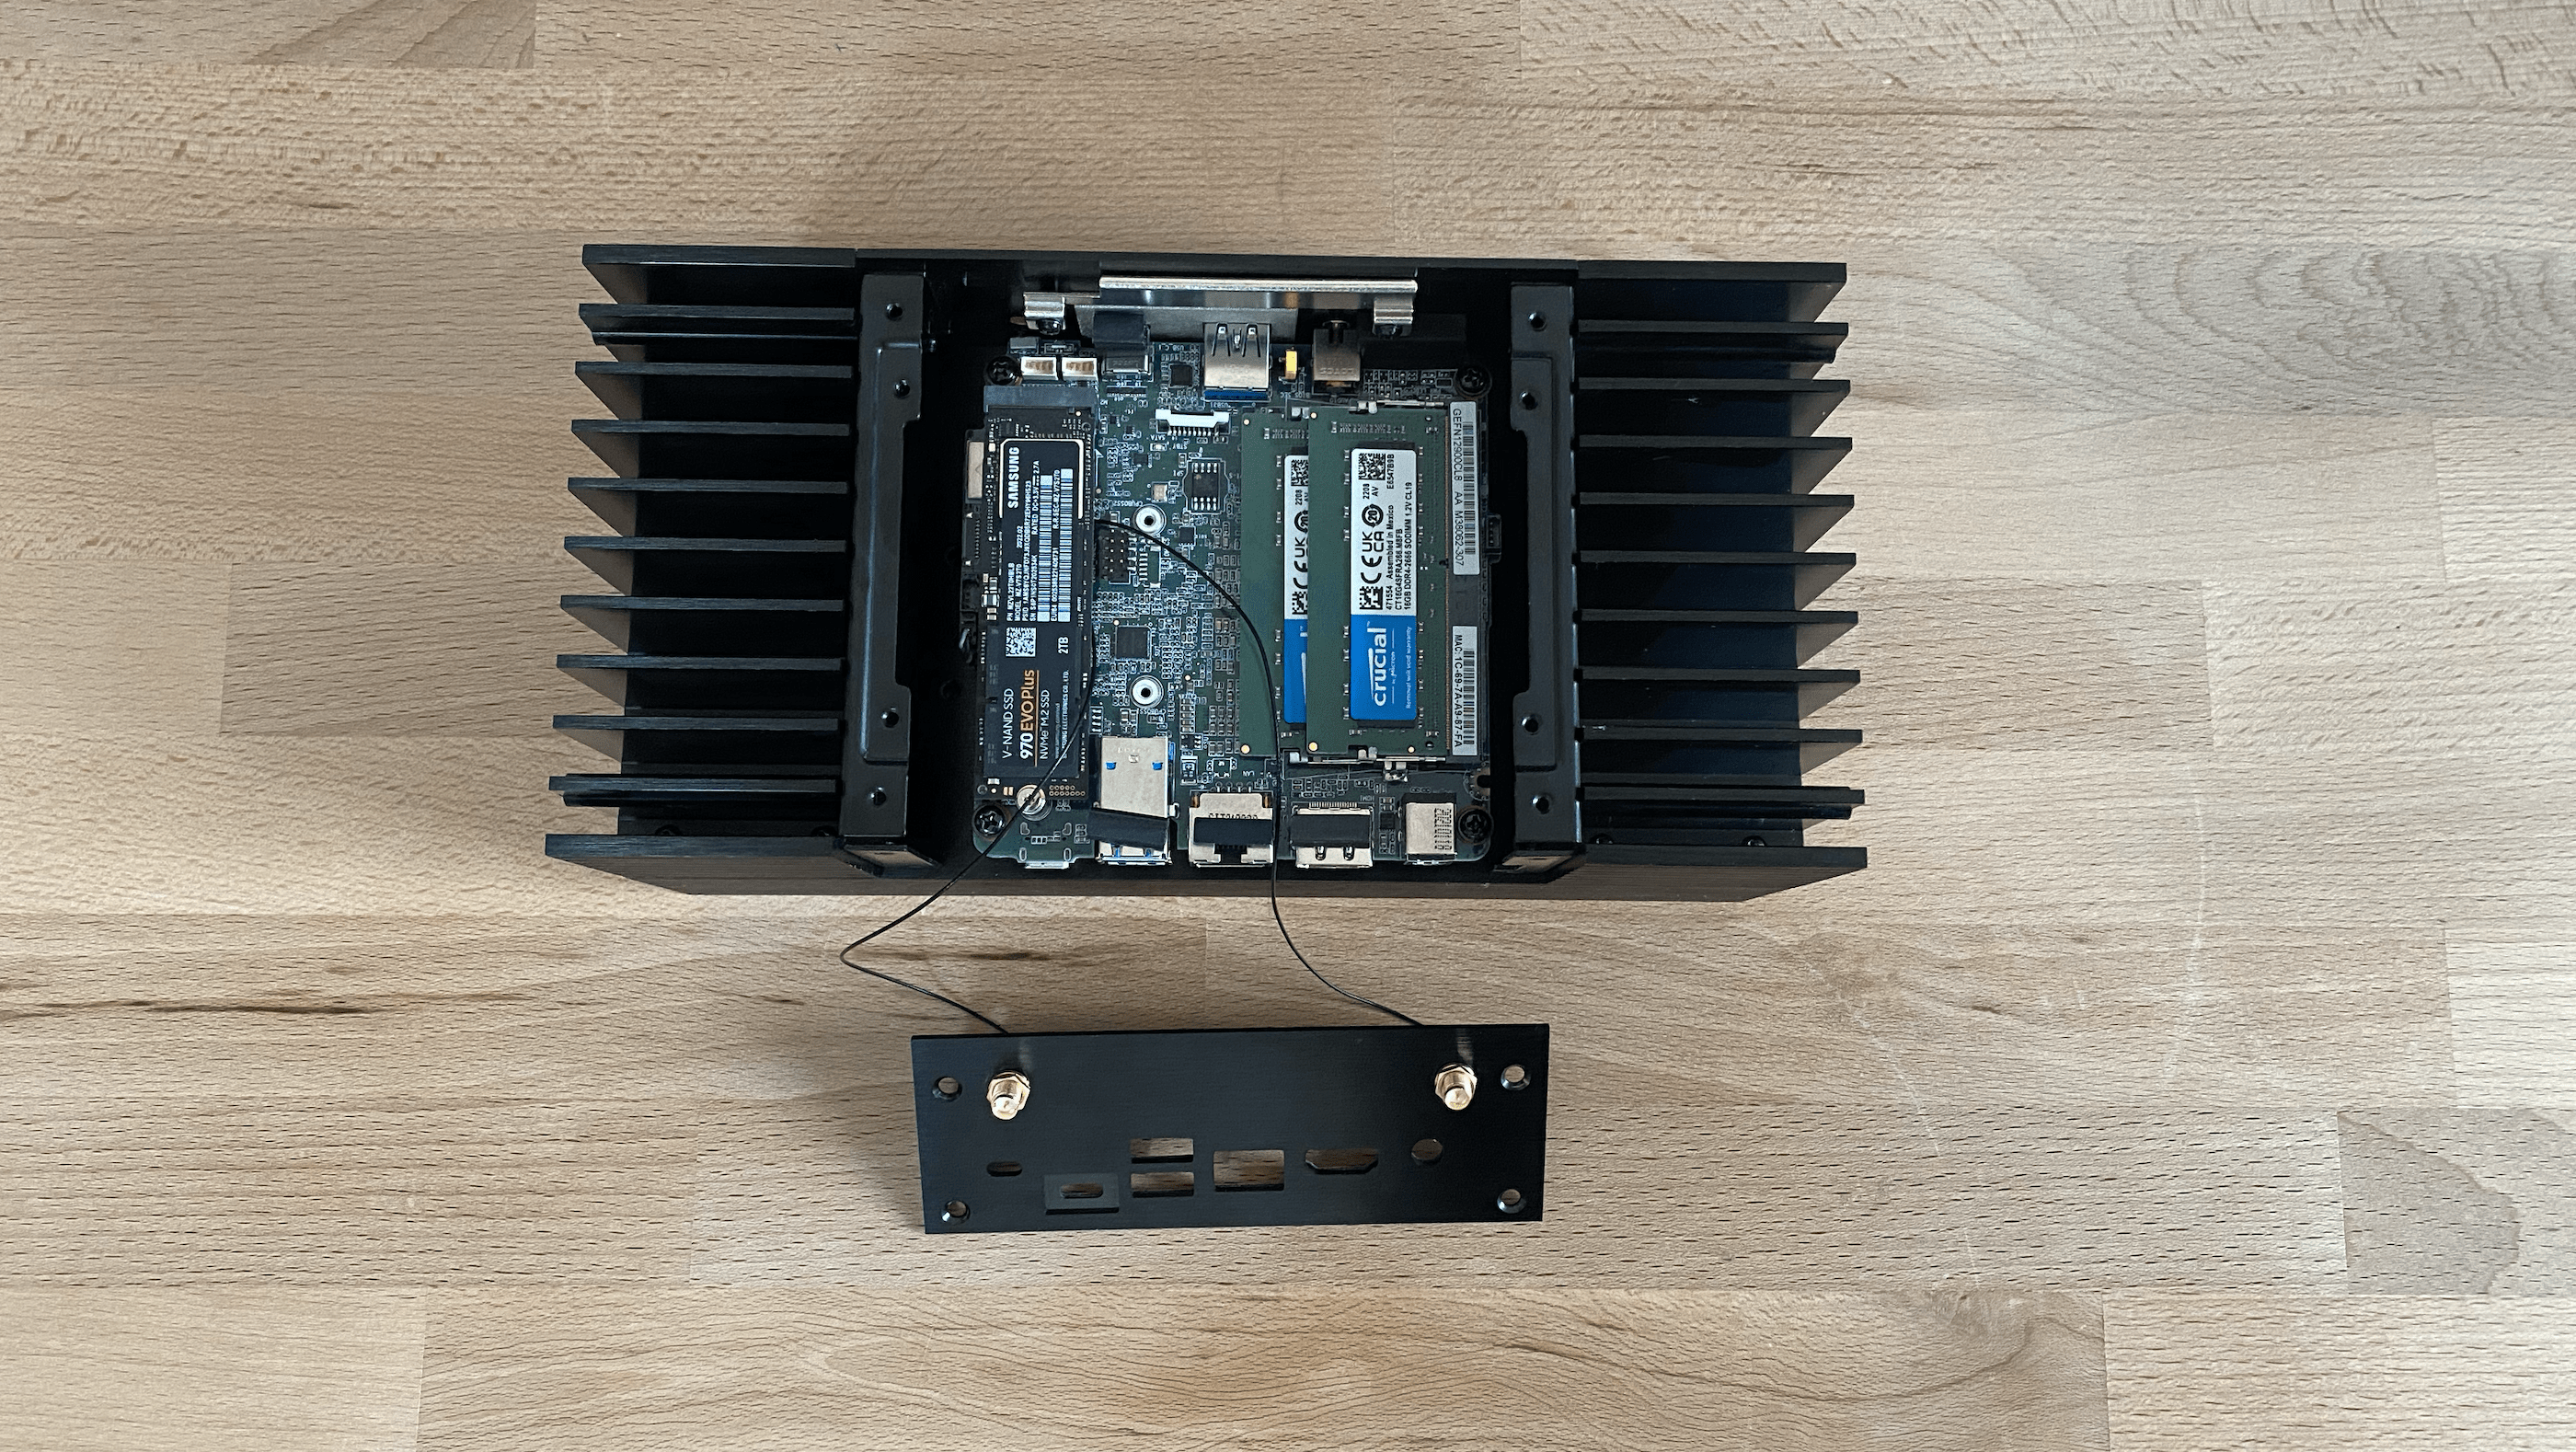
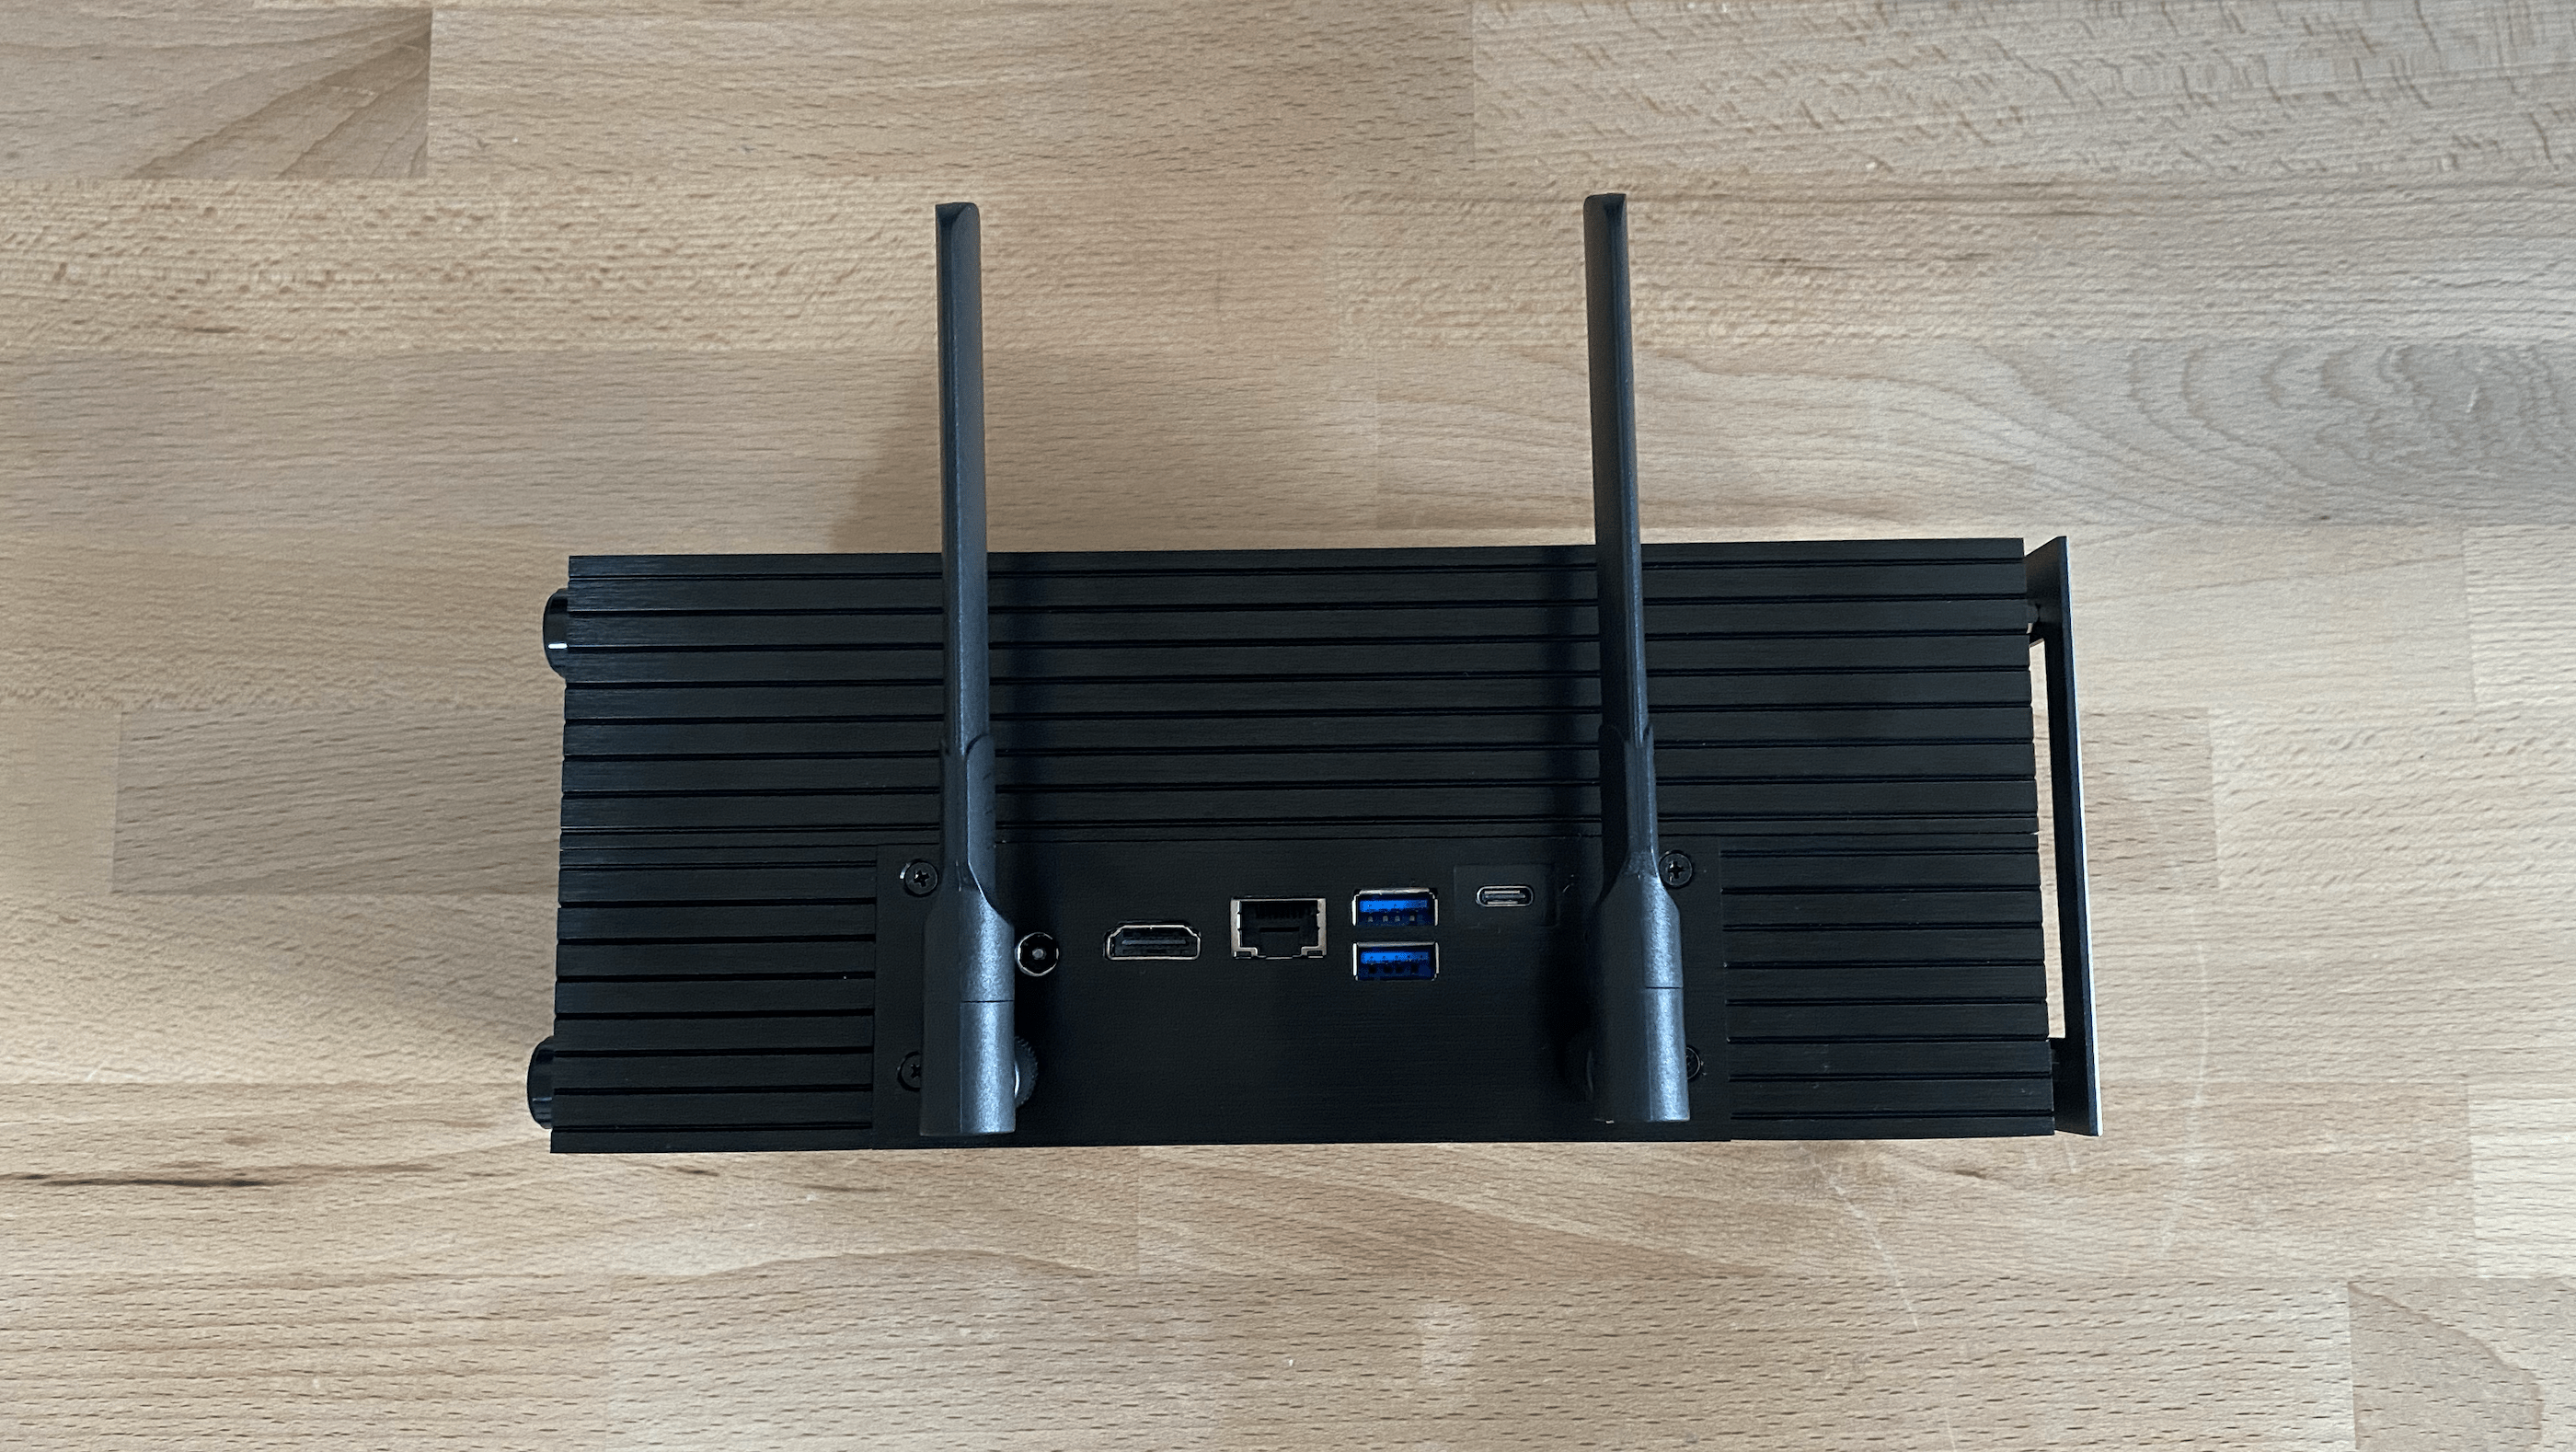
Attaching the Backplate
1. Fit the Backplate: Hold the motherboard against the back of the case. If antennas are present, attach them to the back panel.

2. Adjust for Clearance: Ensure the back panel sits directly against the motherboard connectors without pressure.
If needed, readjust the motherboard slightly to account for minimal clearance, so nothing is pressed down with force.
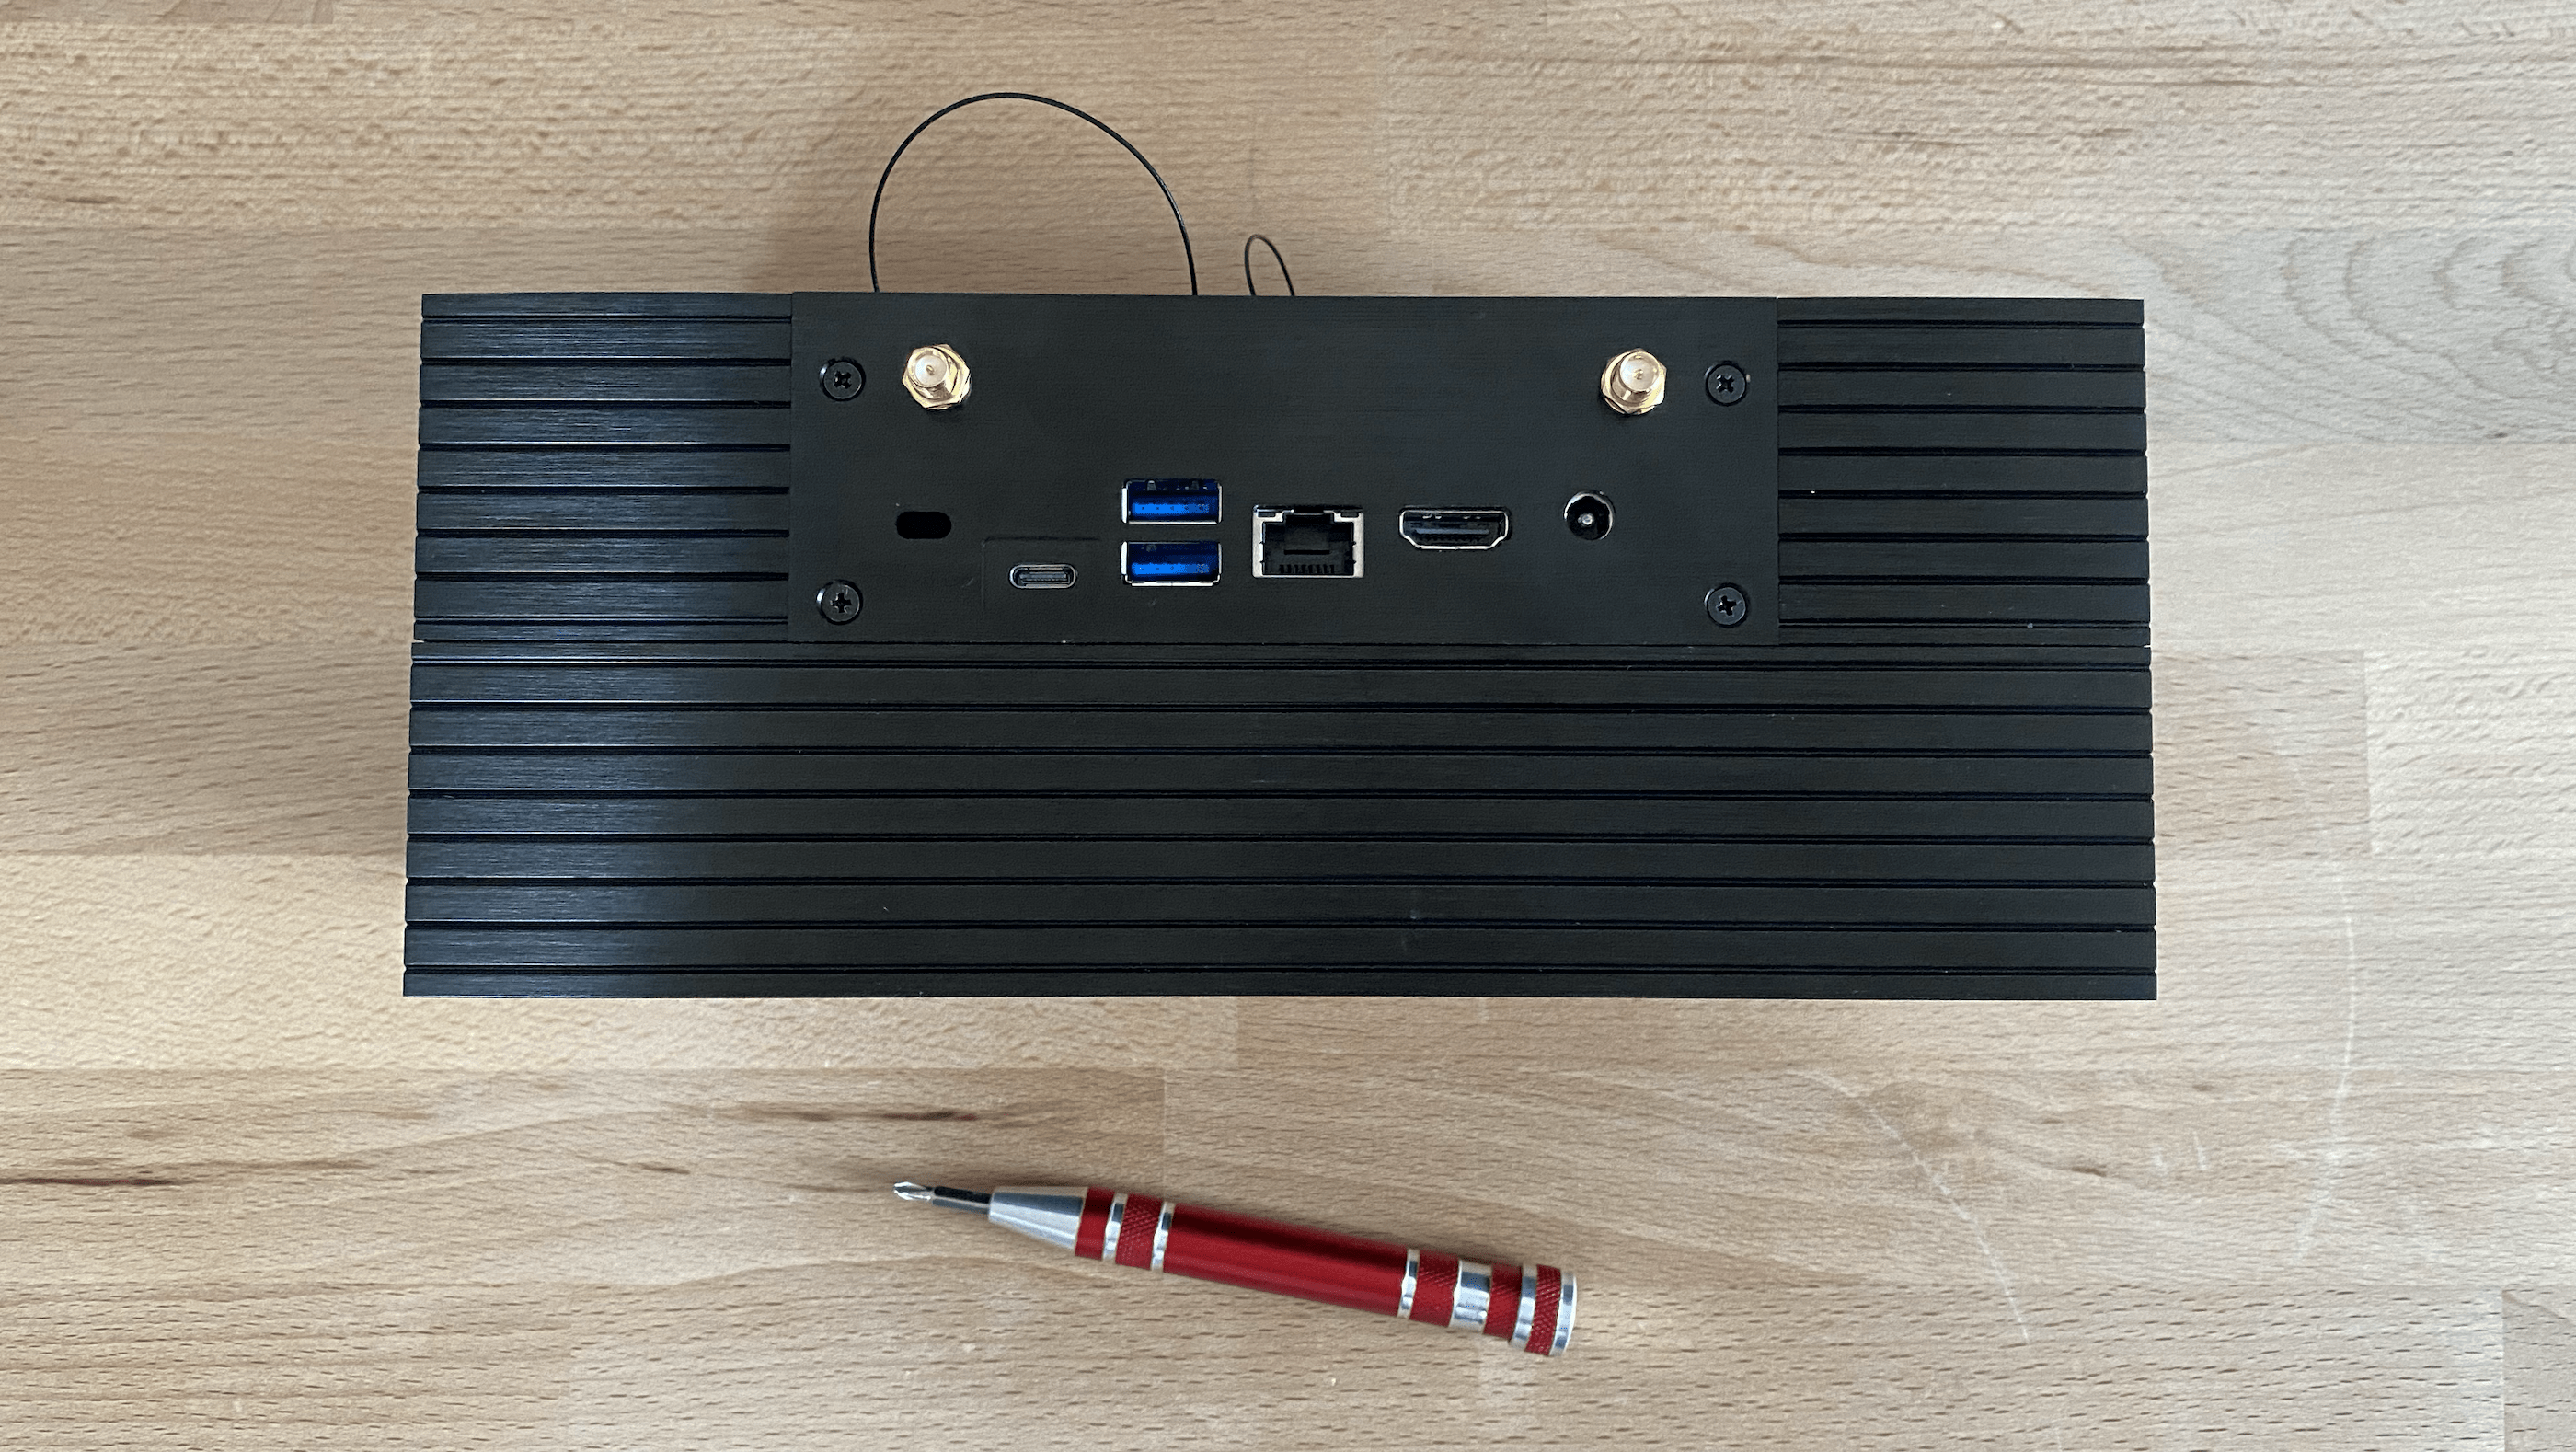
3. Fasten the Backplate: Once everything is aligned, screw in the back panel to secure the motherboard.
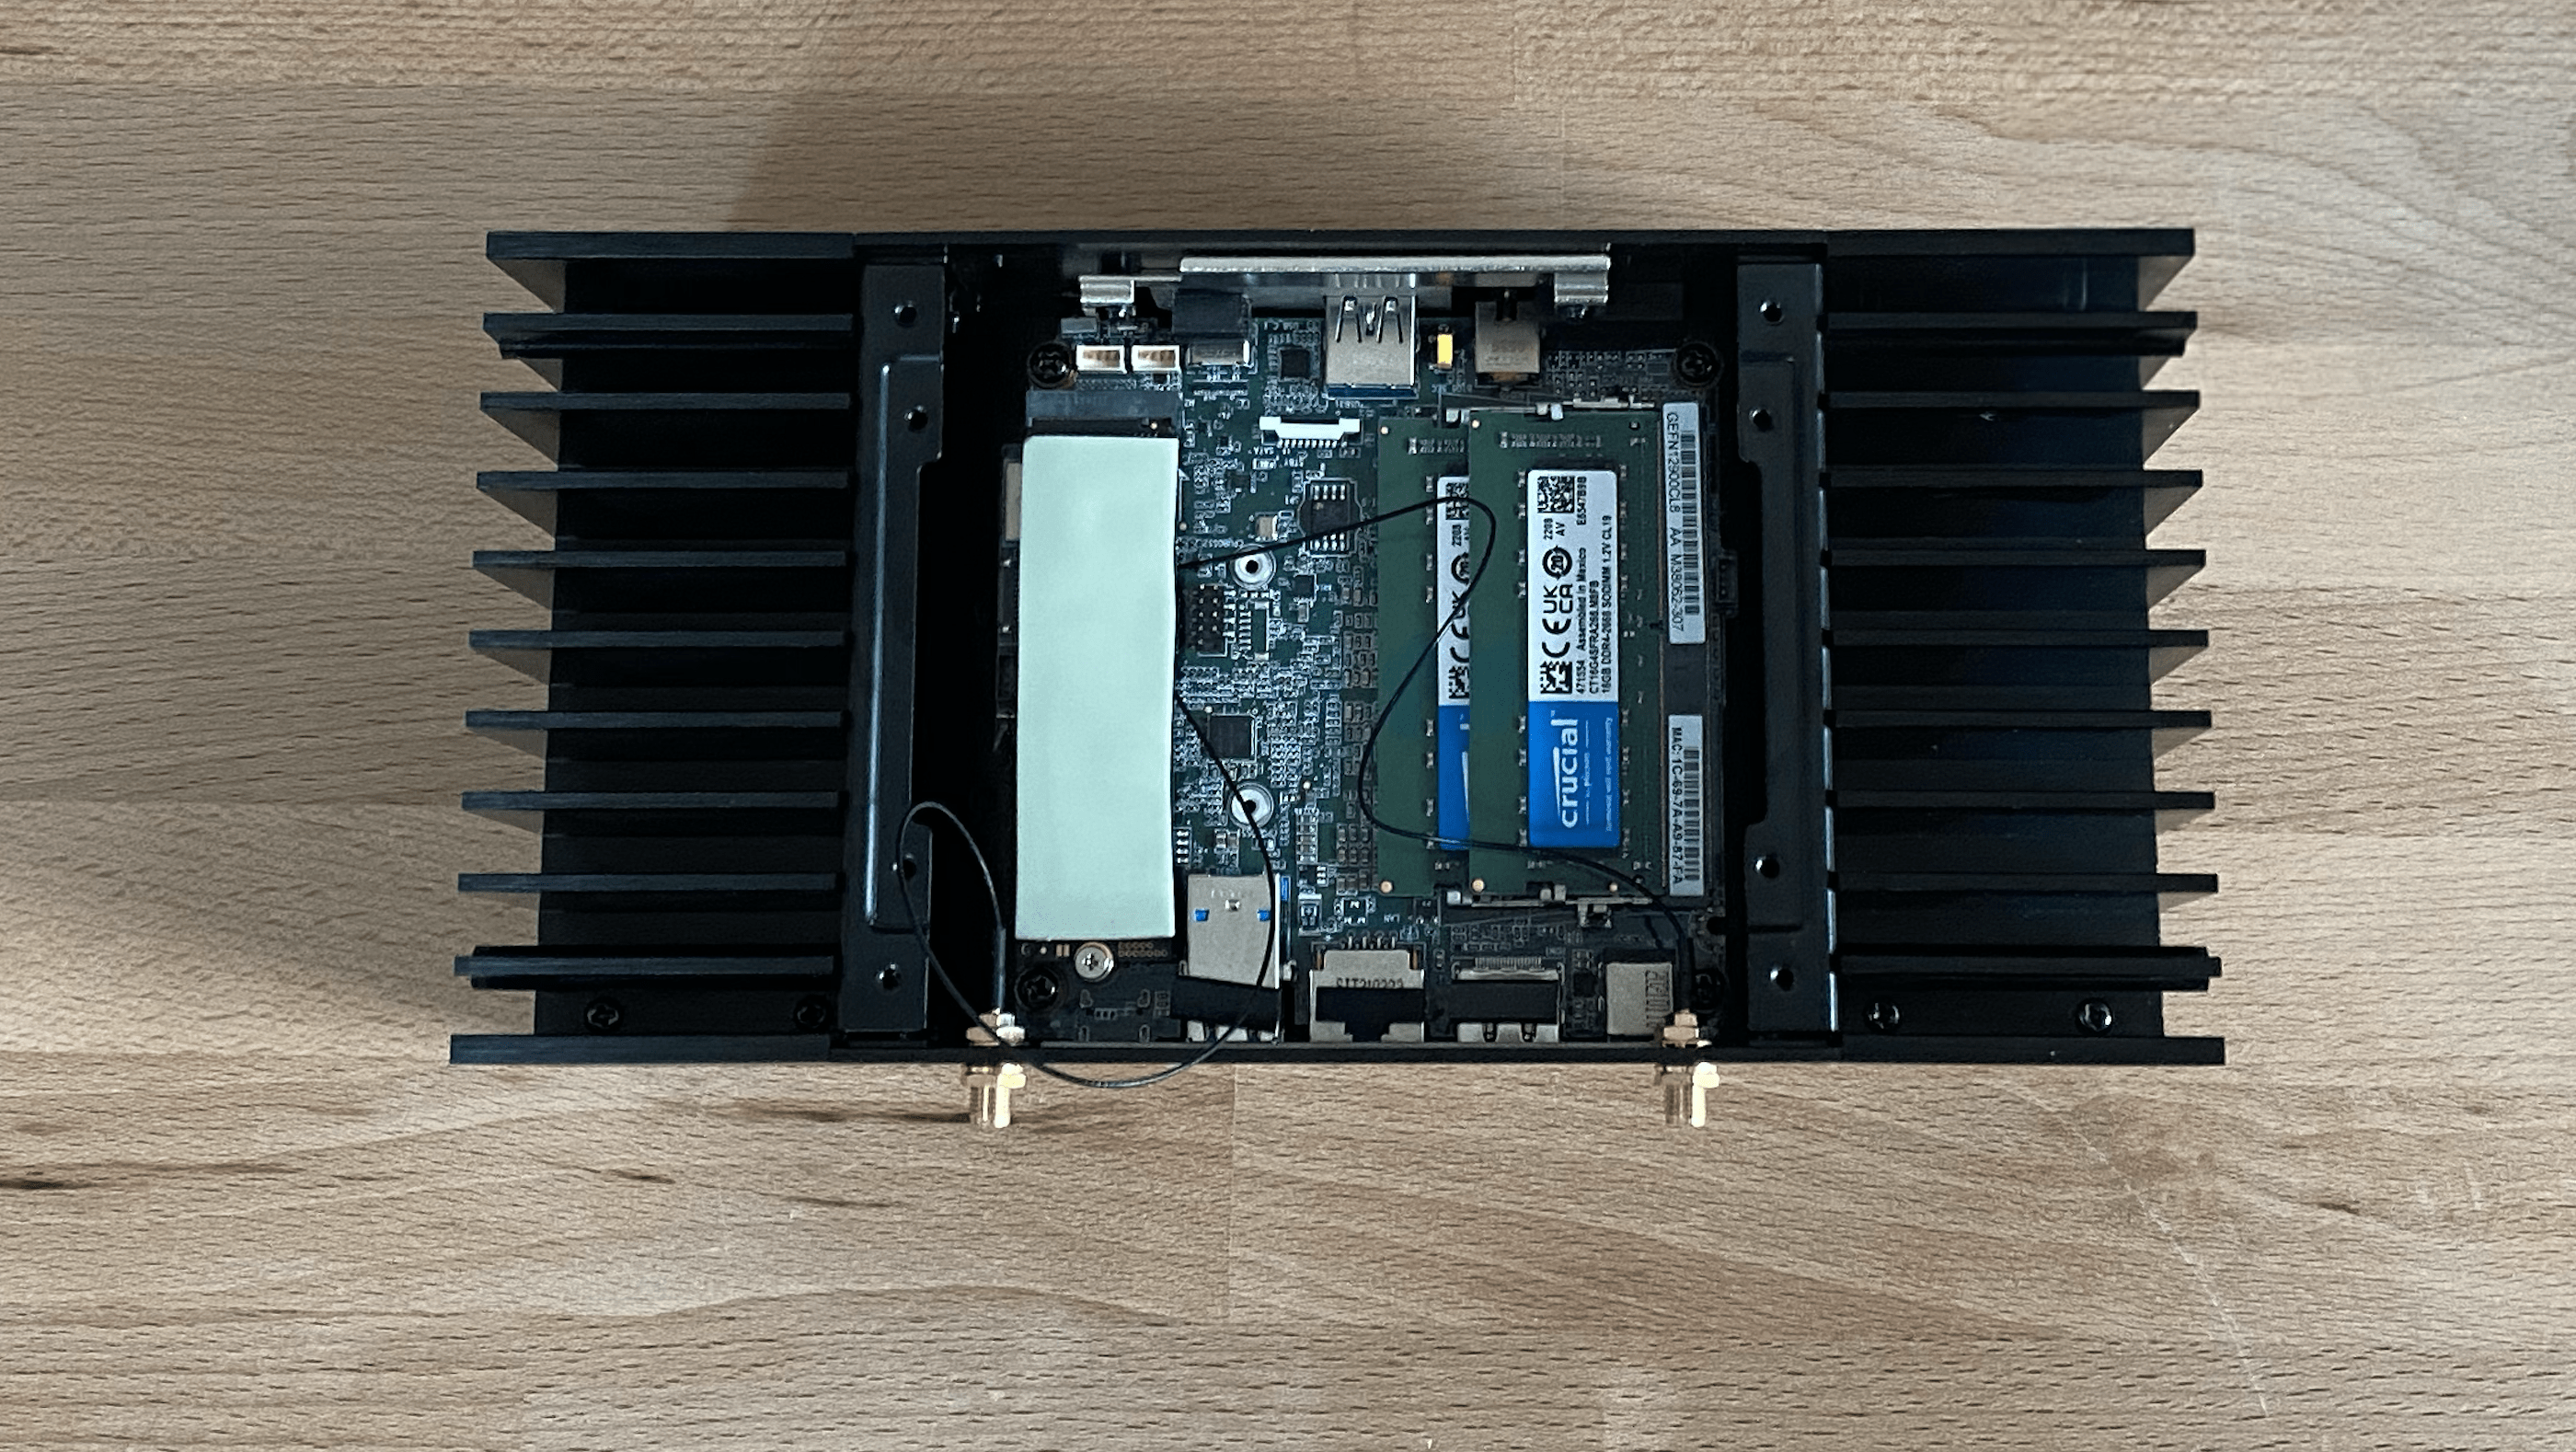
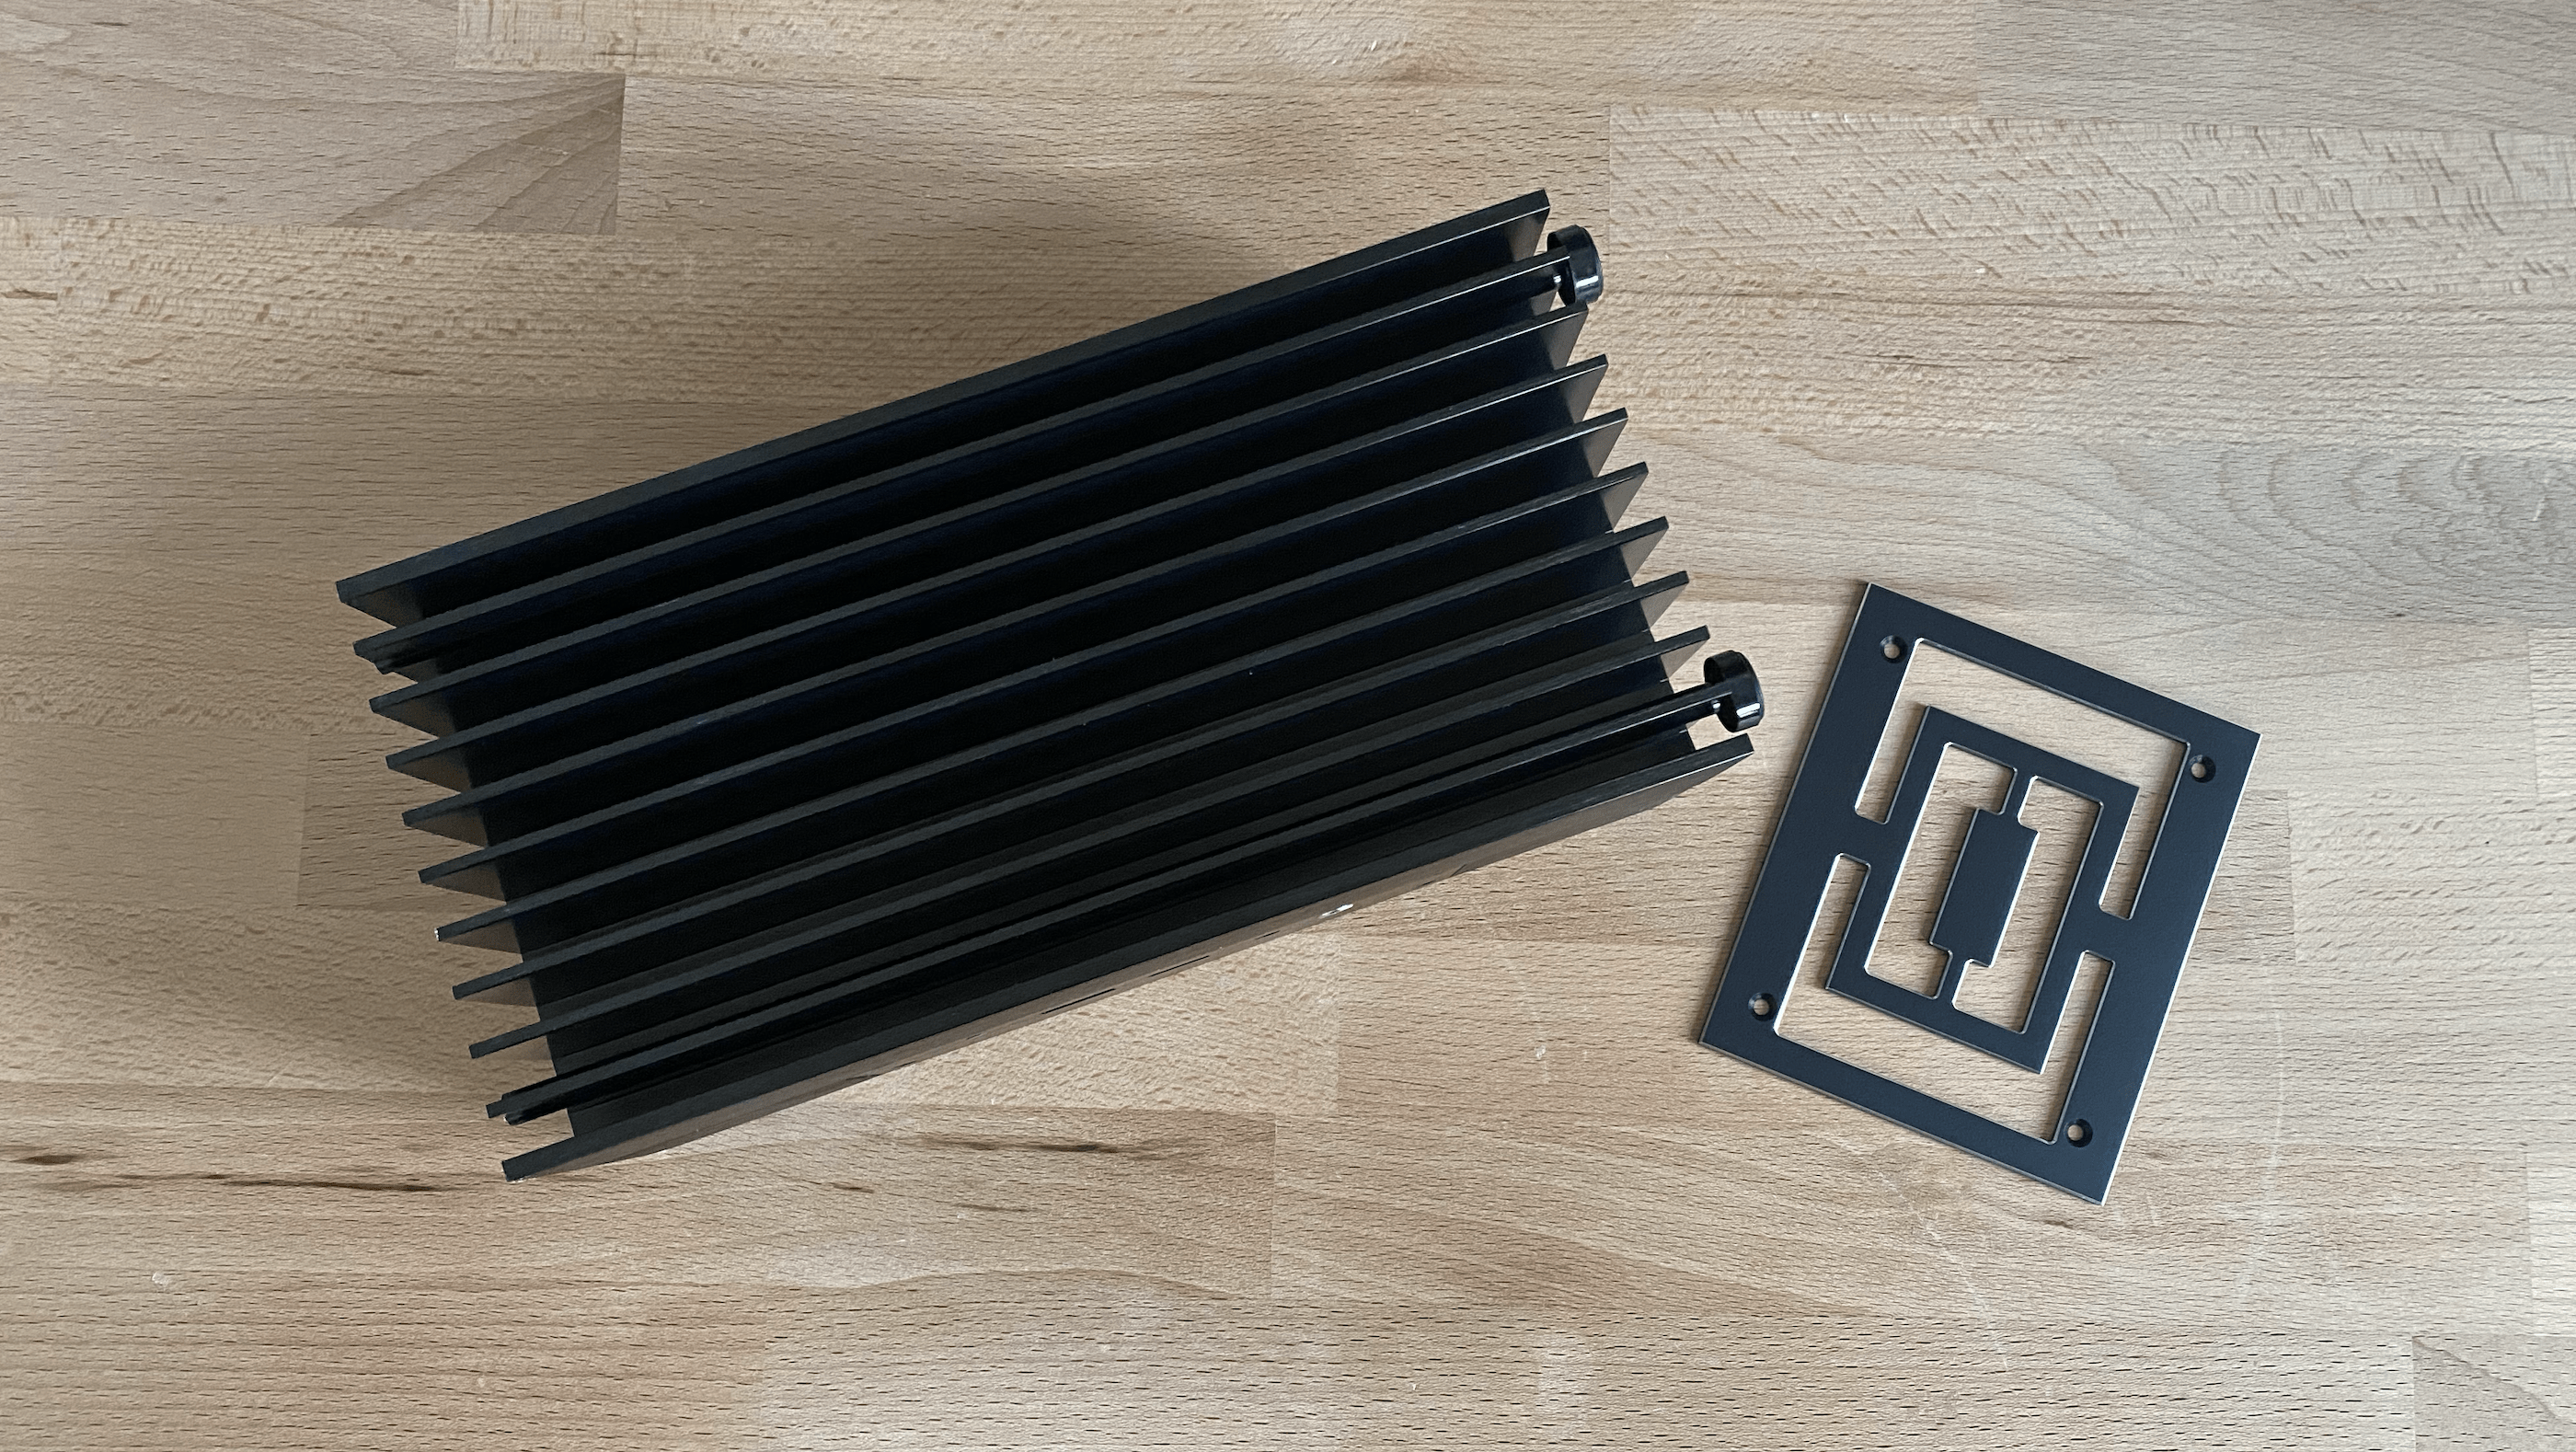
Adding the Storage Cooler
1. Install the Hard Disk Cooler: Begin by installing the hard disk cooler.
2. Remove Protective Foil & Apply Rubber Mass: Remove the foil from the hard disk and place the heat-conducting rubber mass.
The hard disk's sticker is made of thermally conductive film and adhesive. You do not have to remove it, as doing so might void the warranty of your disk. Keep it on in case there is an issue with reading or writing data to it.
3. Prepare the Cooler Surface: Clean the metal piece with an alcohol wipe, then reapply a thin layer of thermal paste.
Also, clean the inner surface of the housing where the cooler will be placed using a cotton swab and alcohol.
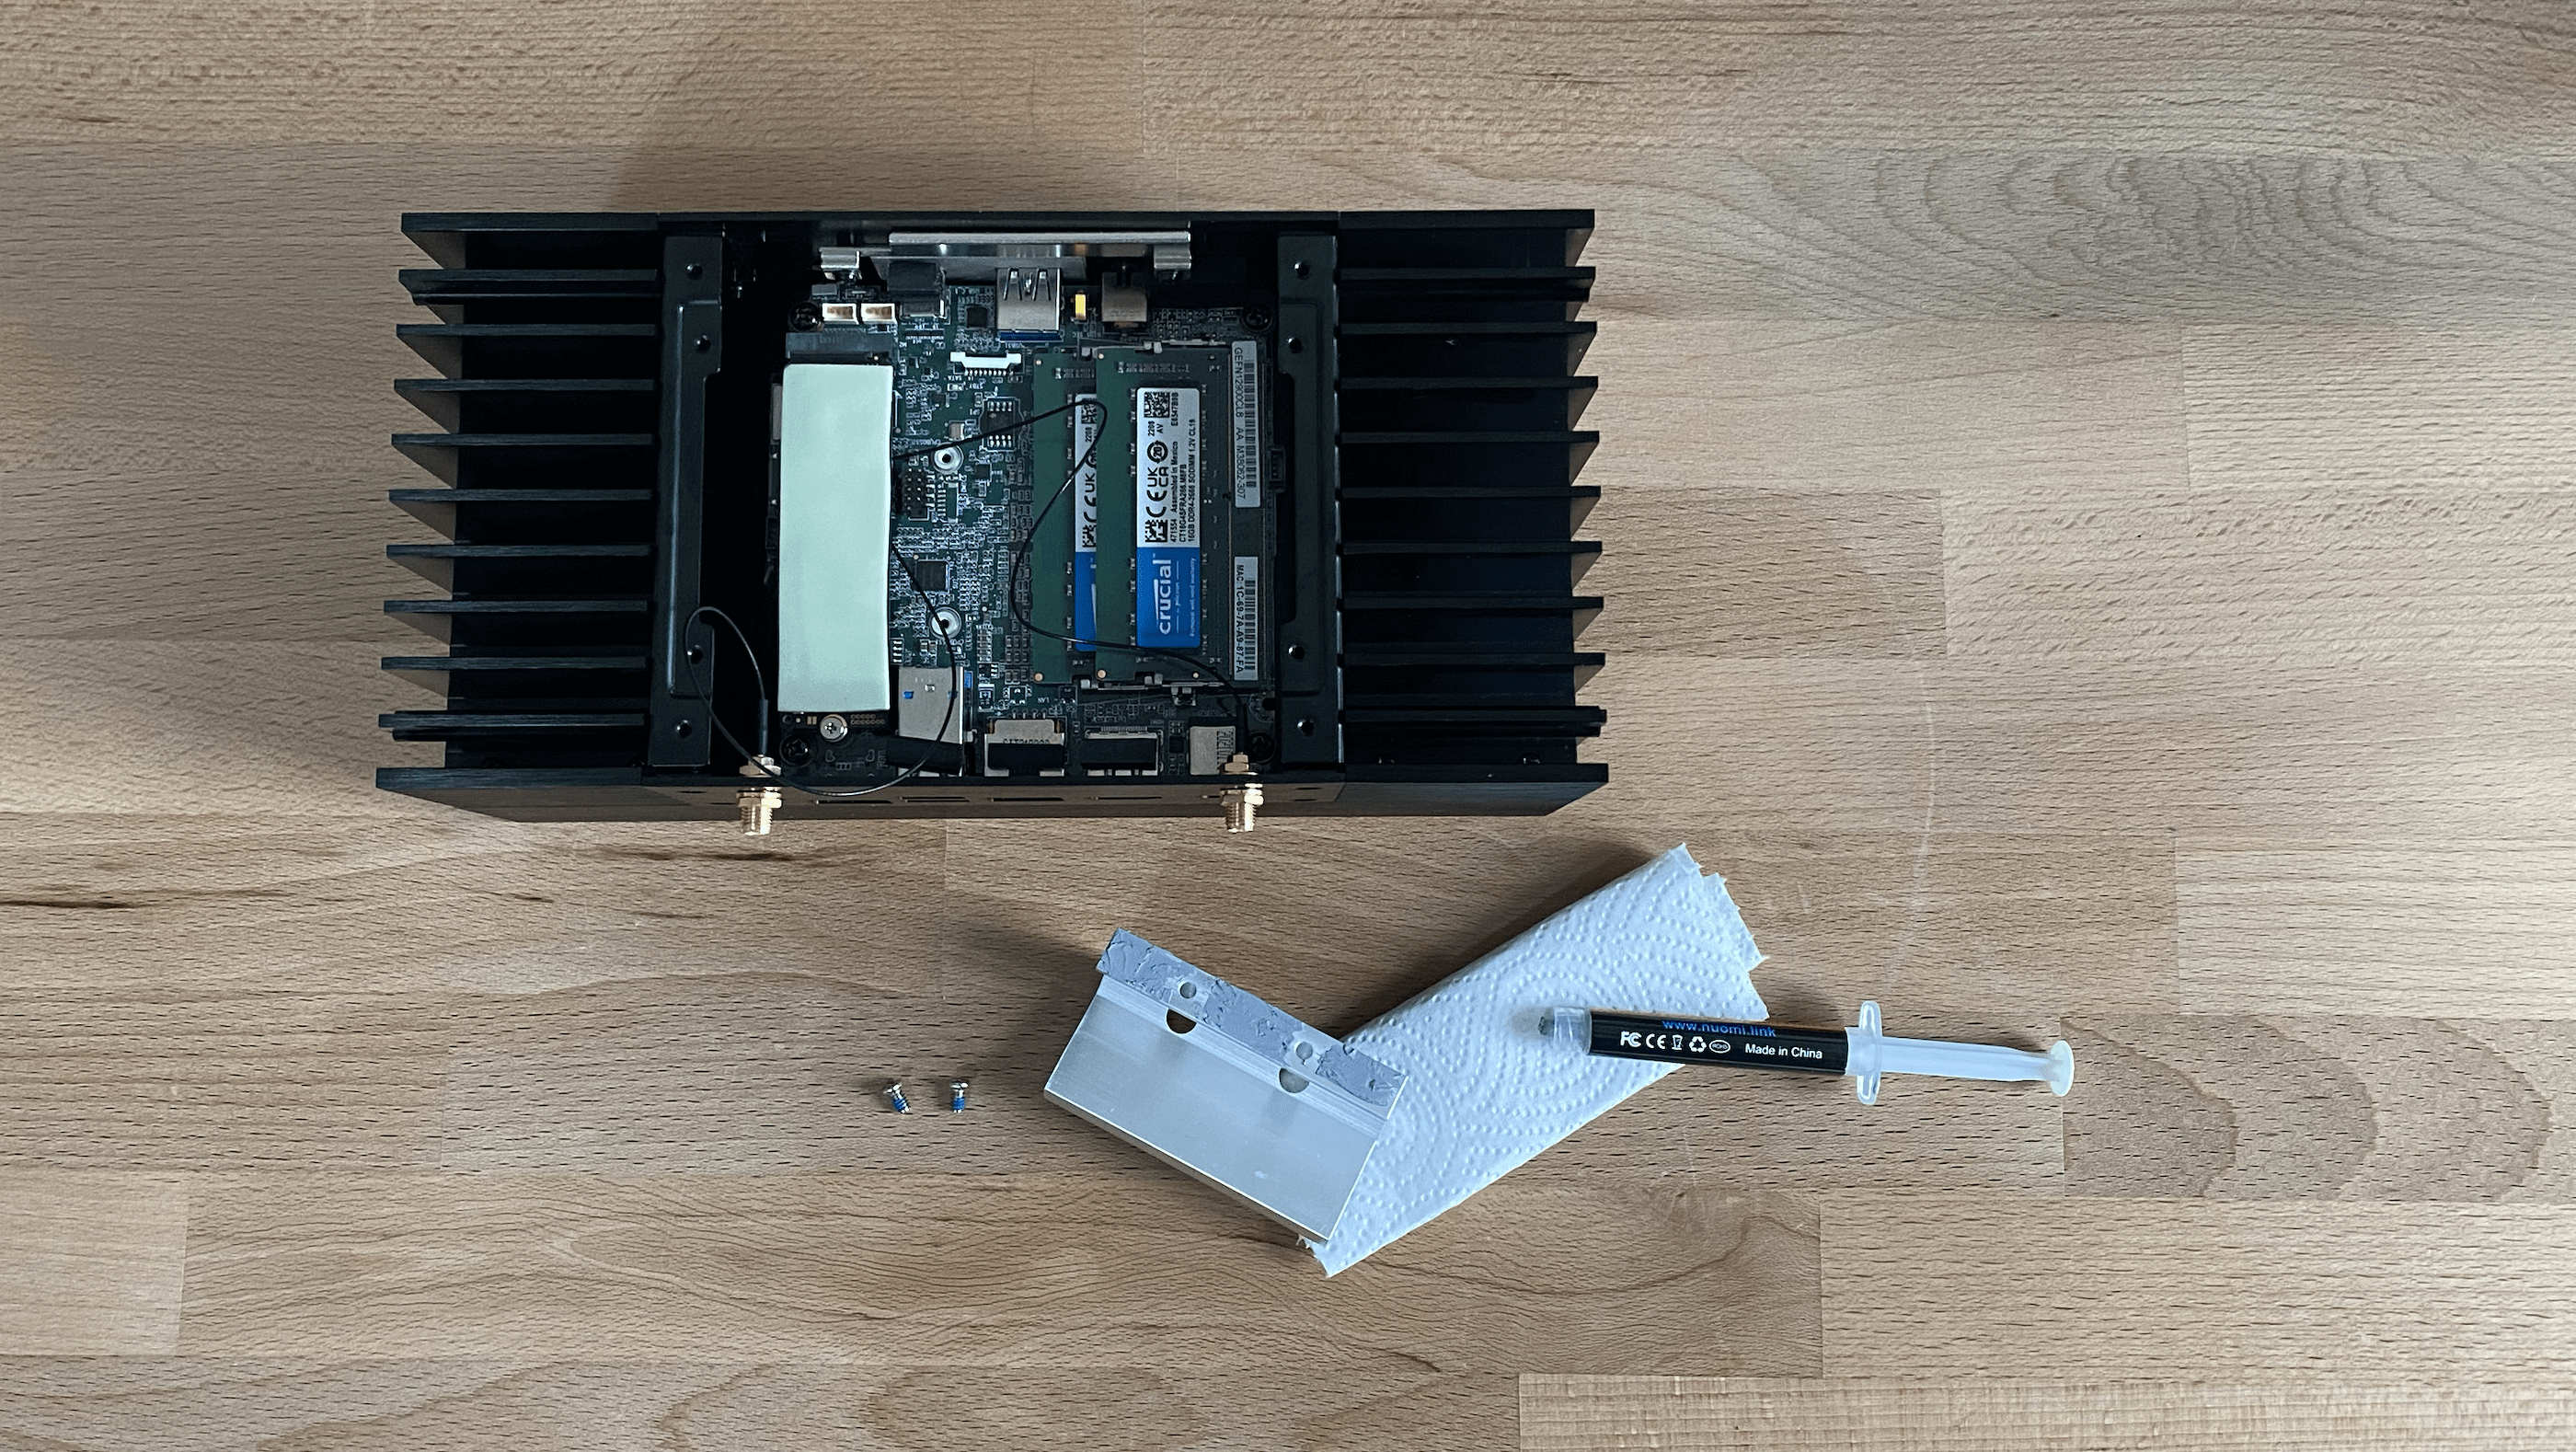
4. Install the Cooler: Slowly insert the cooler from the top. Be cautious, as the rubber mass sticks and is difficult to re-adjust.

Assembling the Enclosure
1. Attach the Final Side Panel: Secure the last side of the housing by screwing it on, being careful not to bend any cables.
If you have a second hard drive, ensure that its frame sits evenly and does not touch the lid.

2. Install Covers and Stands: Whether you prefer an upright or horizontal placement, install the appropriate covers and stands.
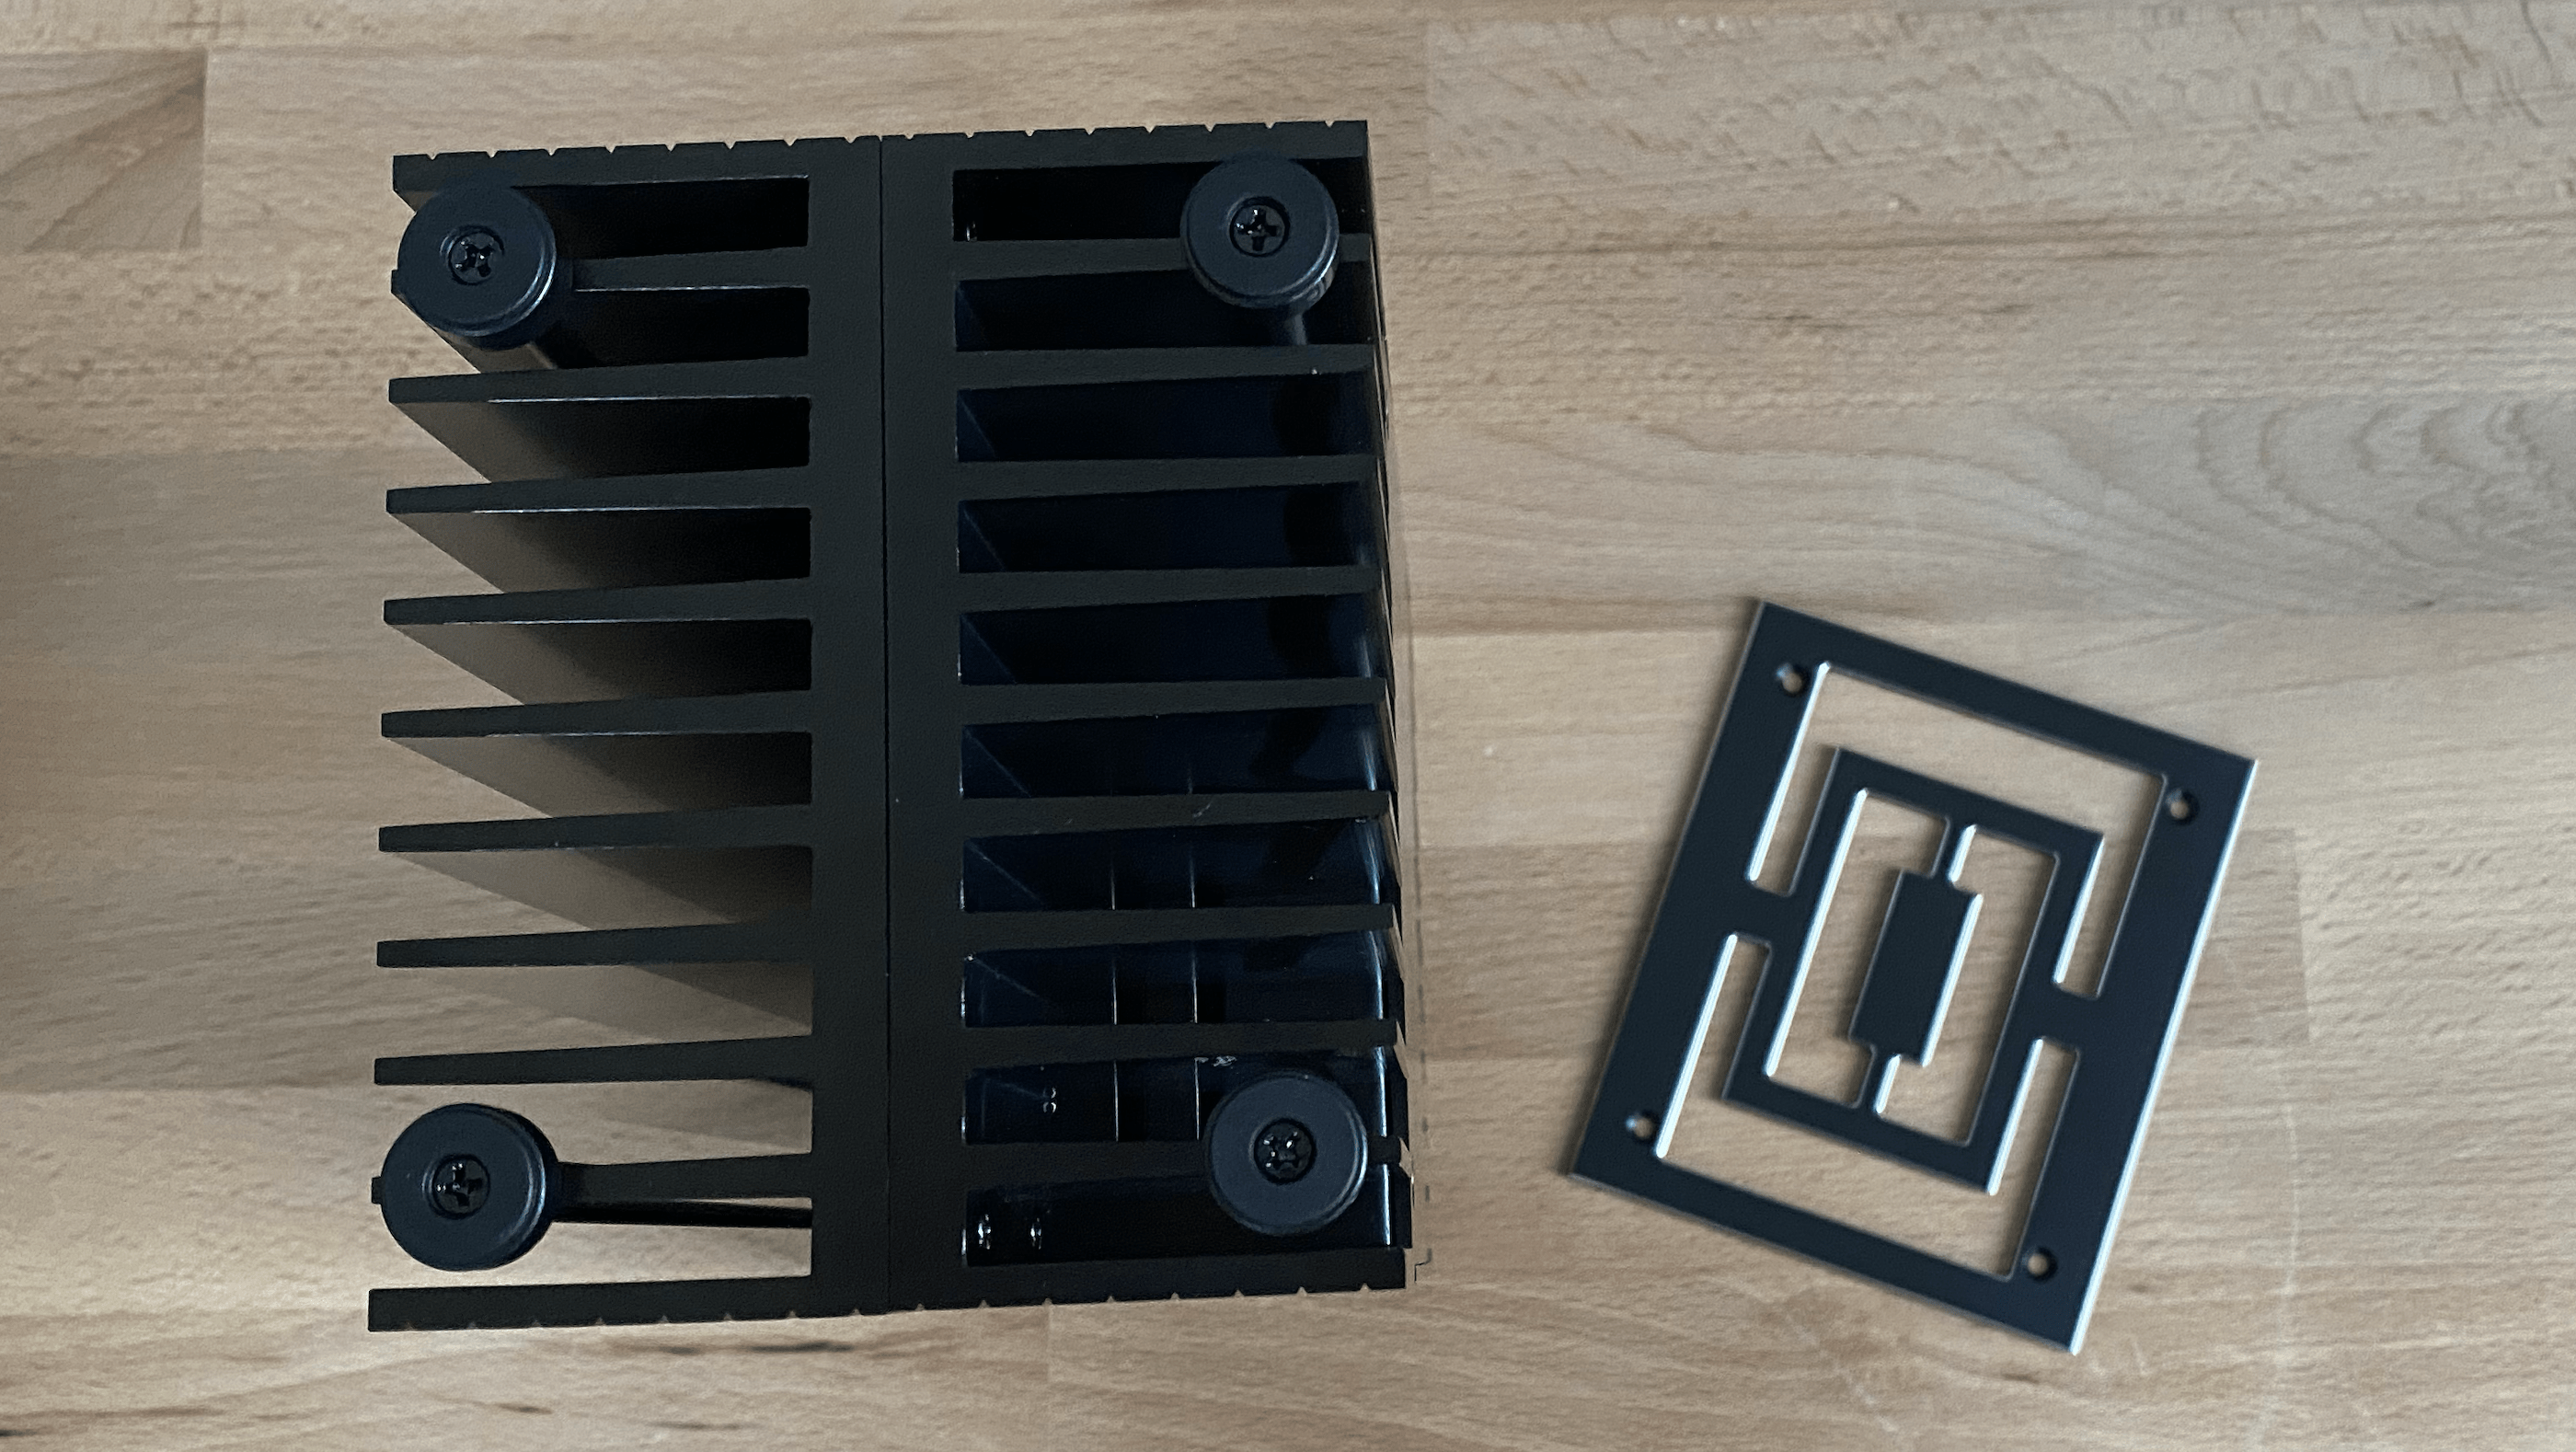
For professional server racks, a horizontal position might be more suitable because it allows you to add multiple levels and arrange switch frames above and below. For regular shelfs, an upright position might safe space and offers less storage space for dust. However, the cooling capacity should remain constant.
3. Finalize the Assembly: Attach the antennas if desired. You may leave them unscrewed and store them until needed.
For regular server or node usage, a wired internet connection is strongly recommended.
If you completed the hardware build, you can now proceed with configuring the BIOS and installing the operating system.