2.2 Mainboard Swap
This section will walk you through the process of installing the mainboard into a new fanless enclosure for passive cooling.
Before you start building, ground yourself by touching a metal object, like a heater, to discharge any static electricity and prevent damage to sensitive technical components.
Disassembling the Motherboard
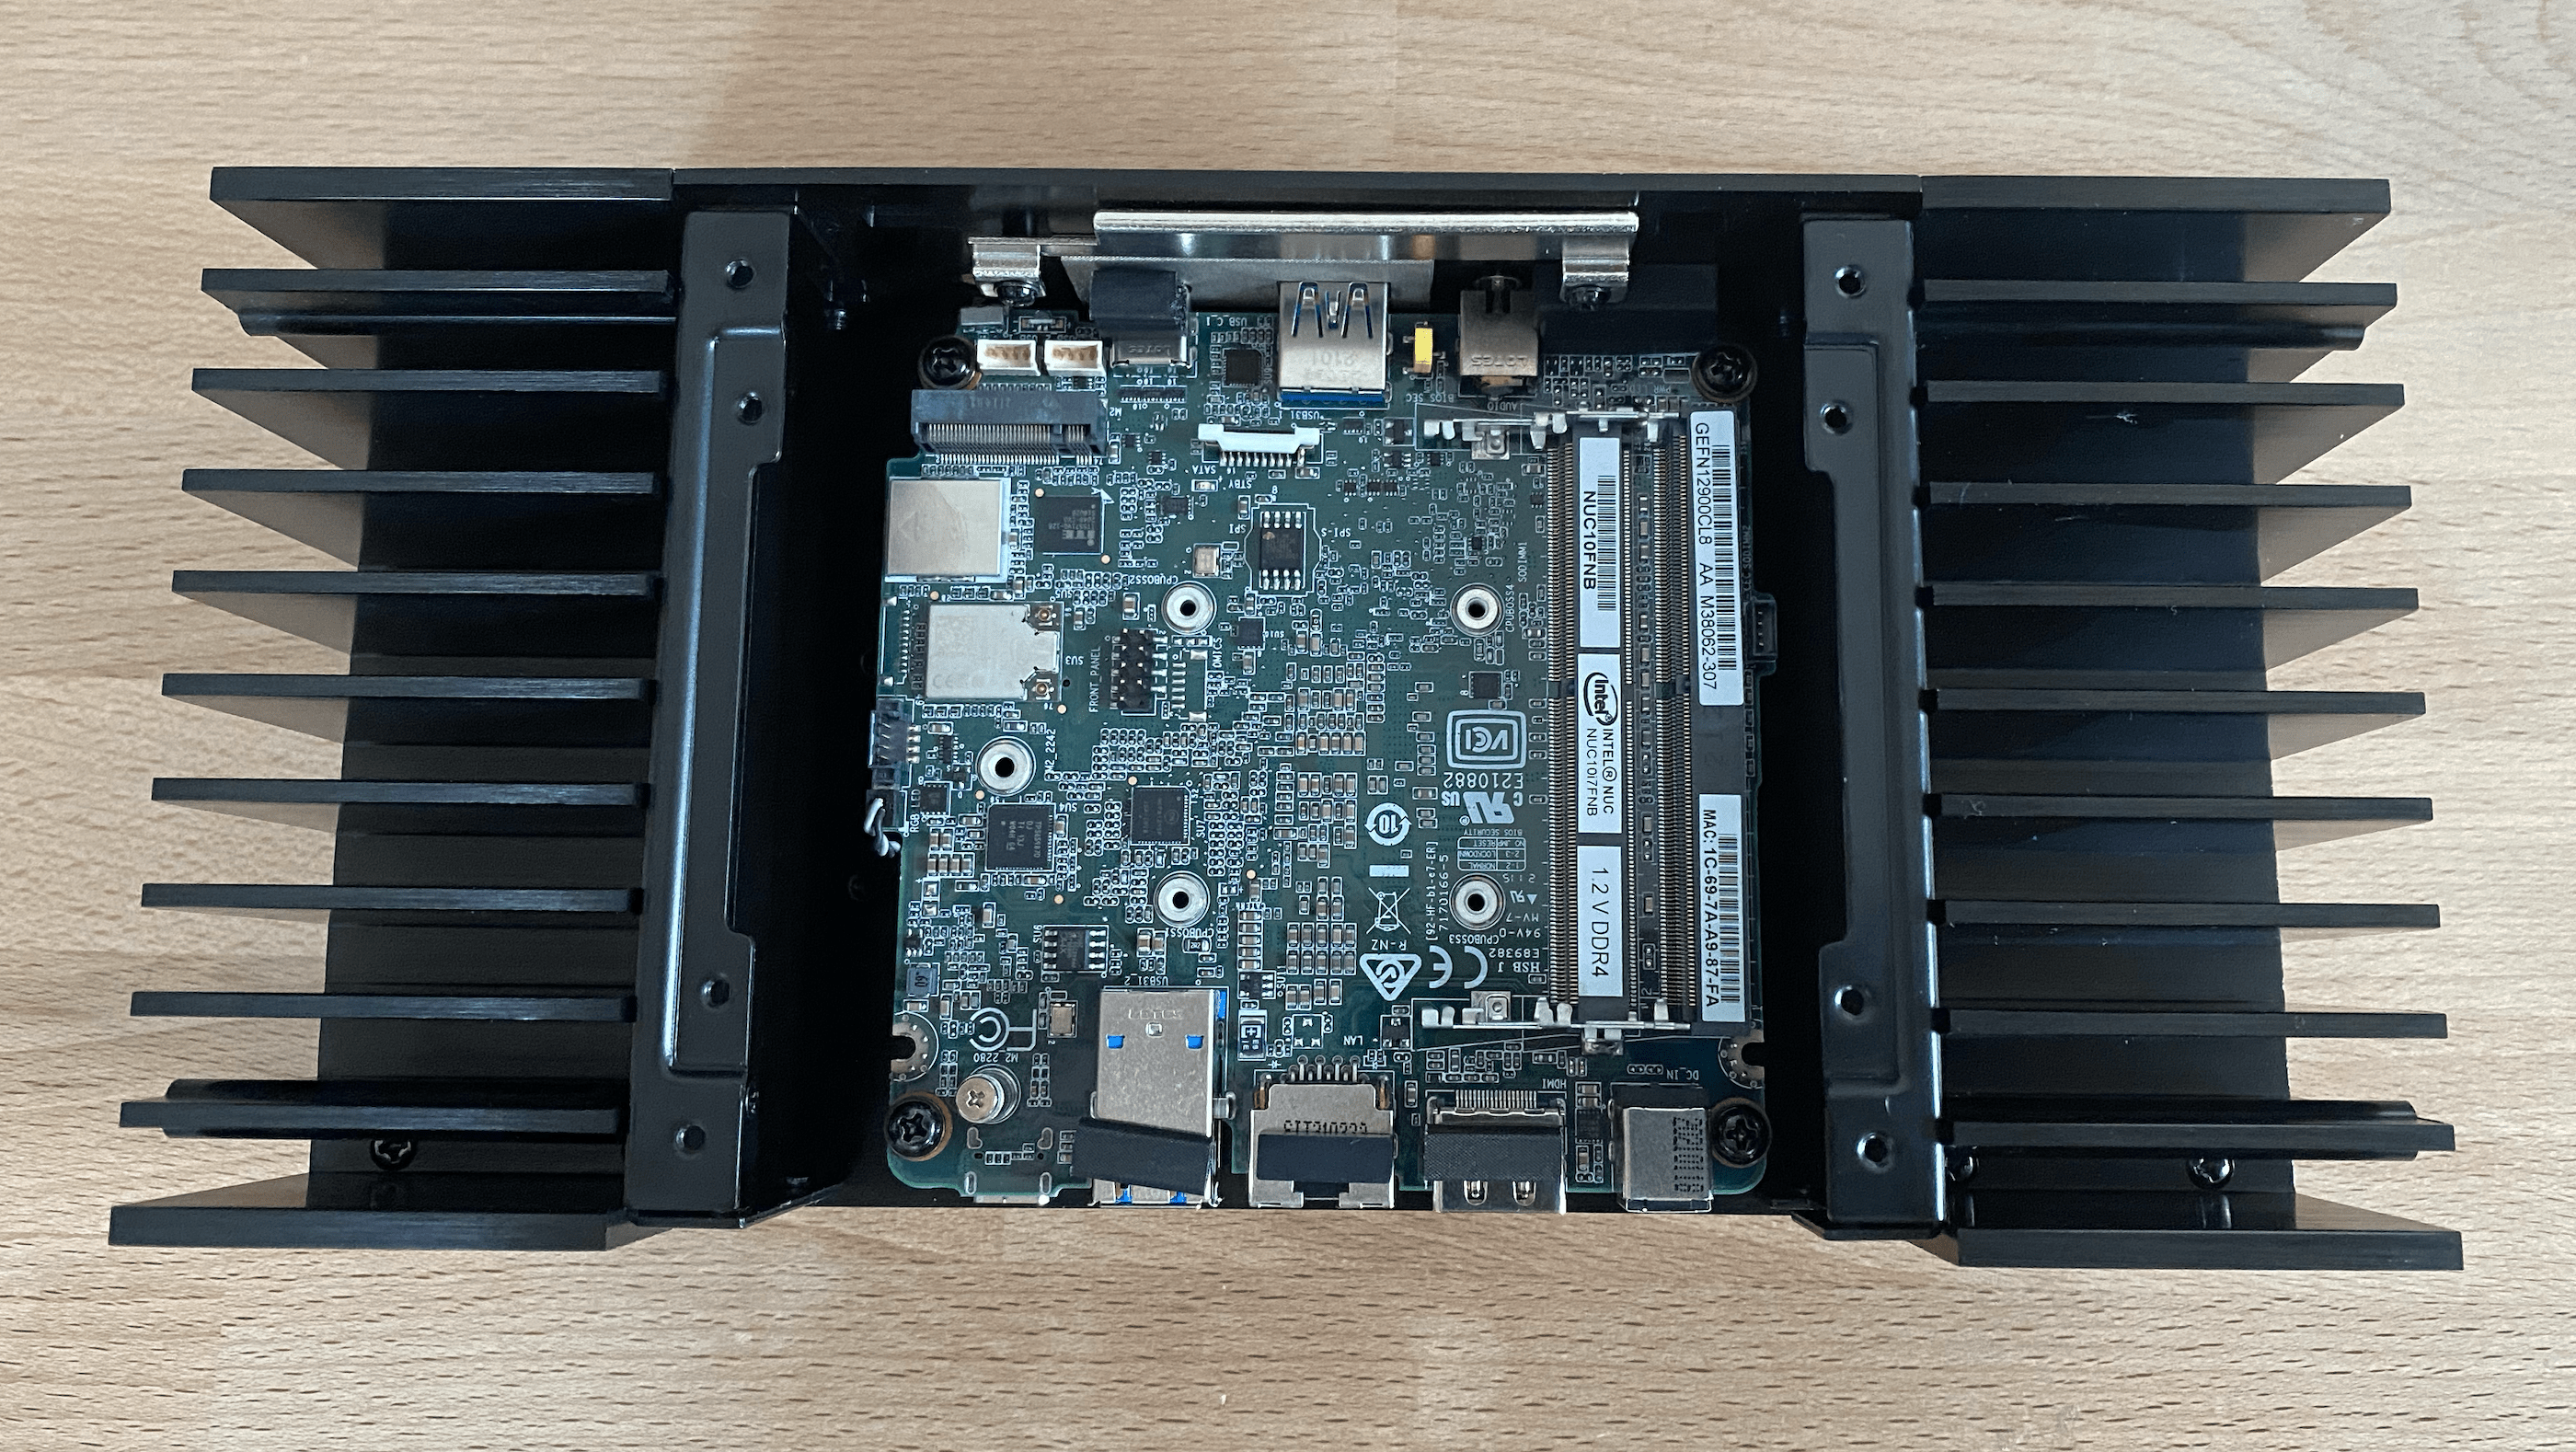
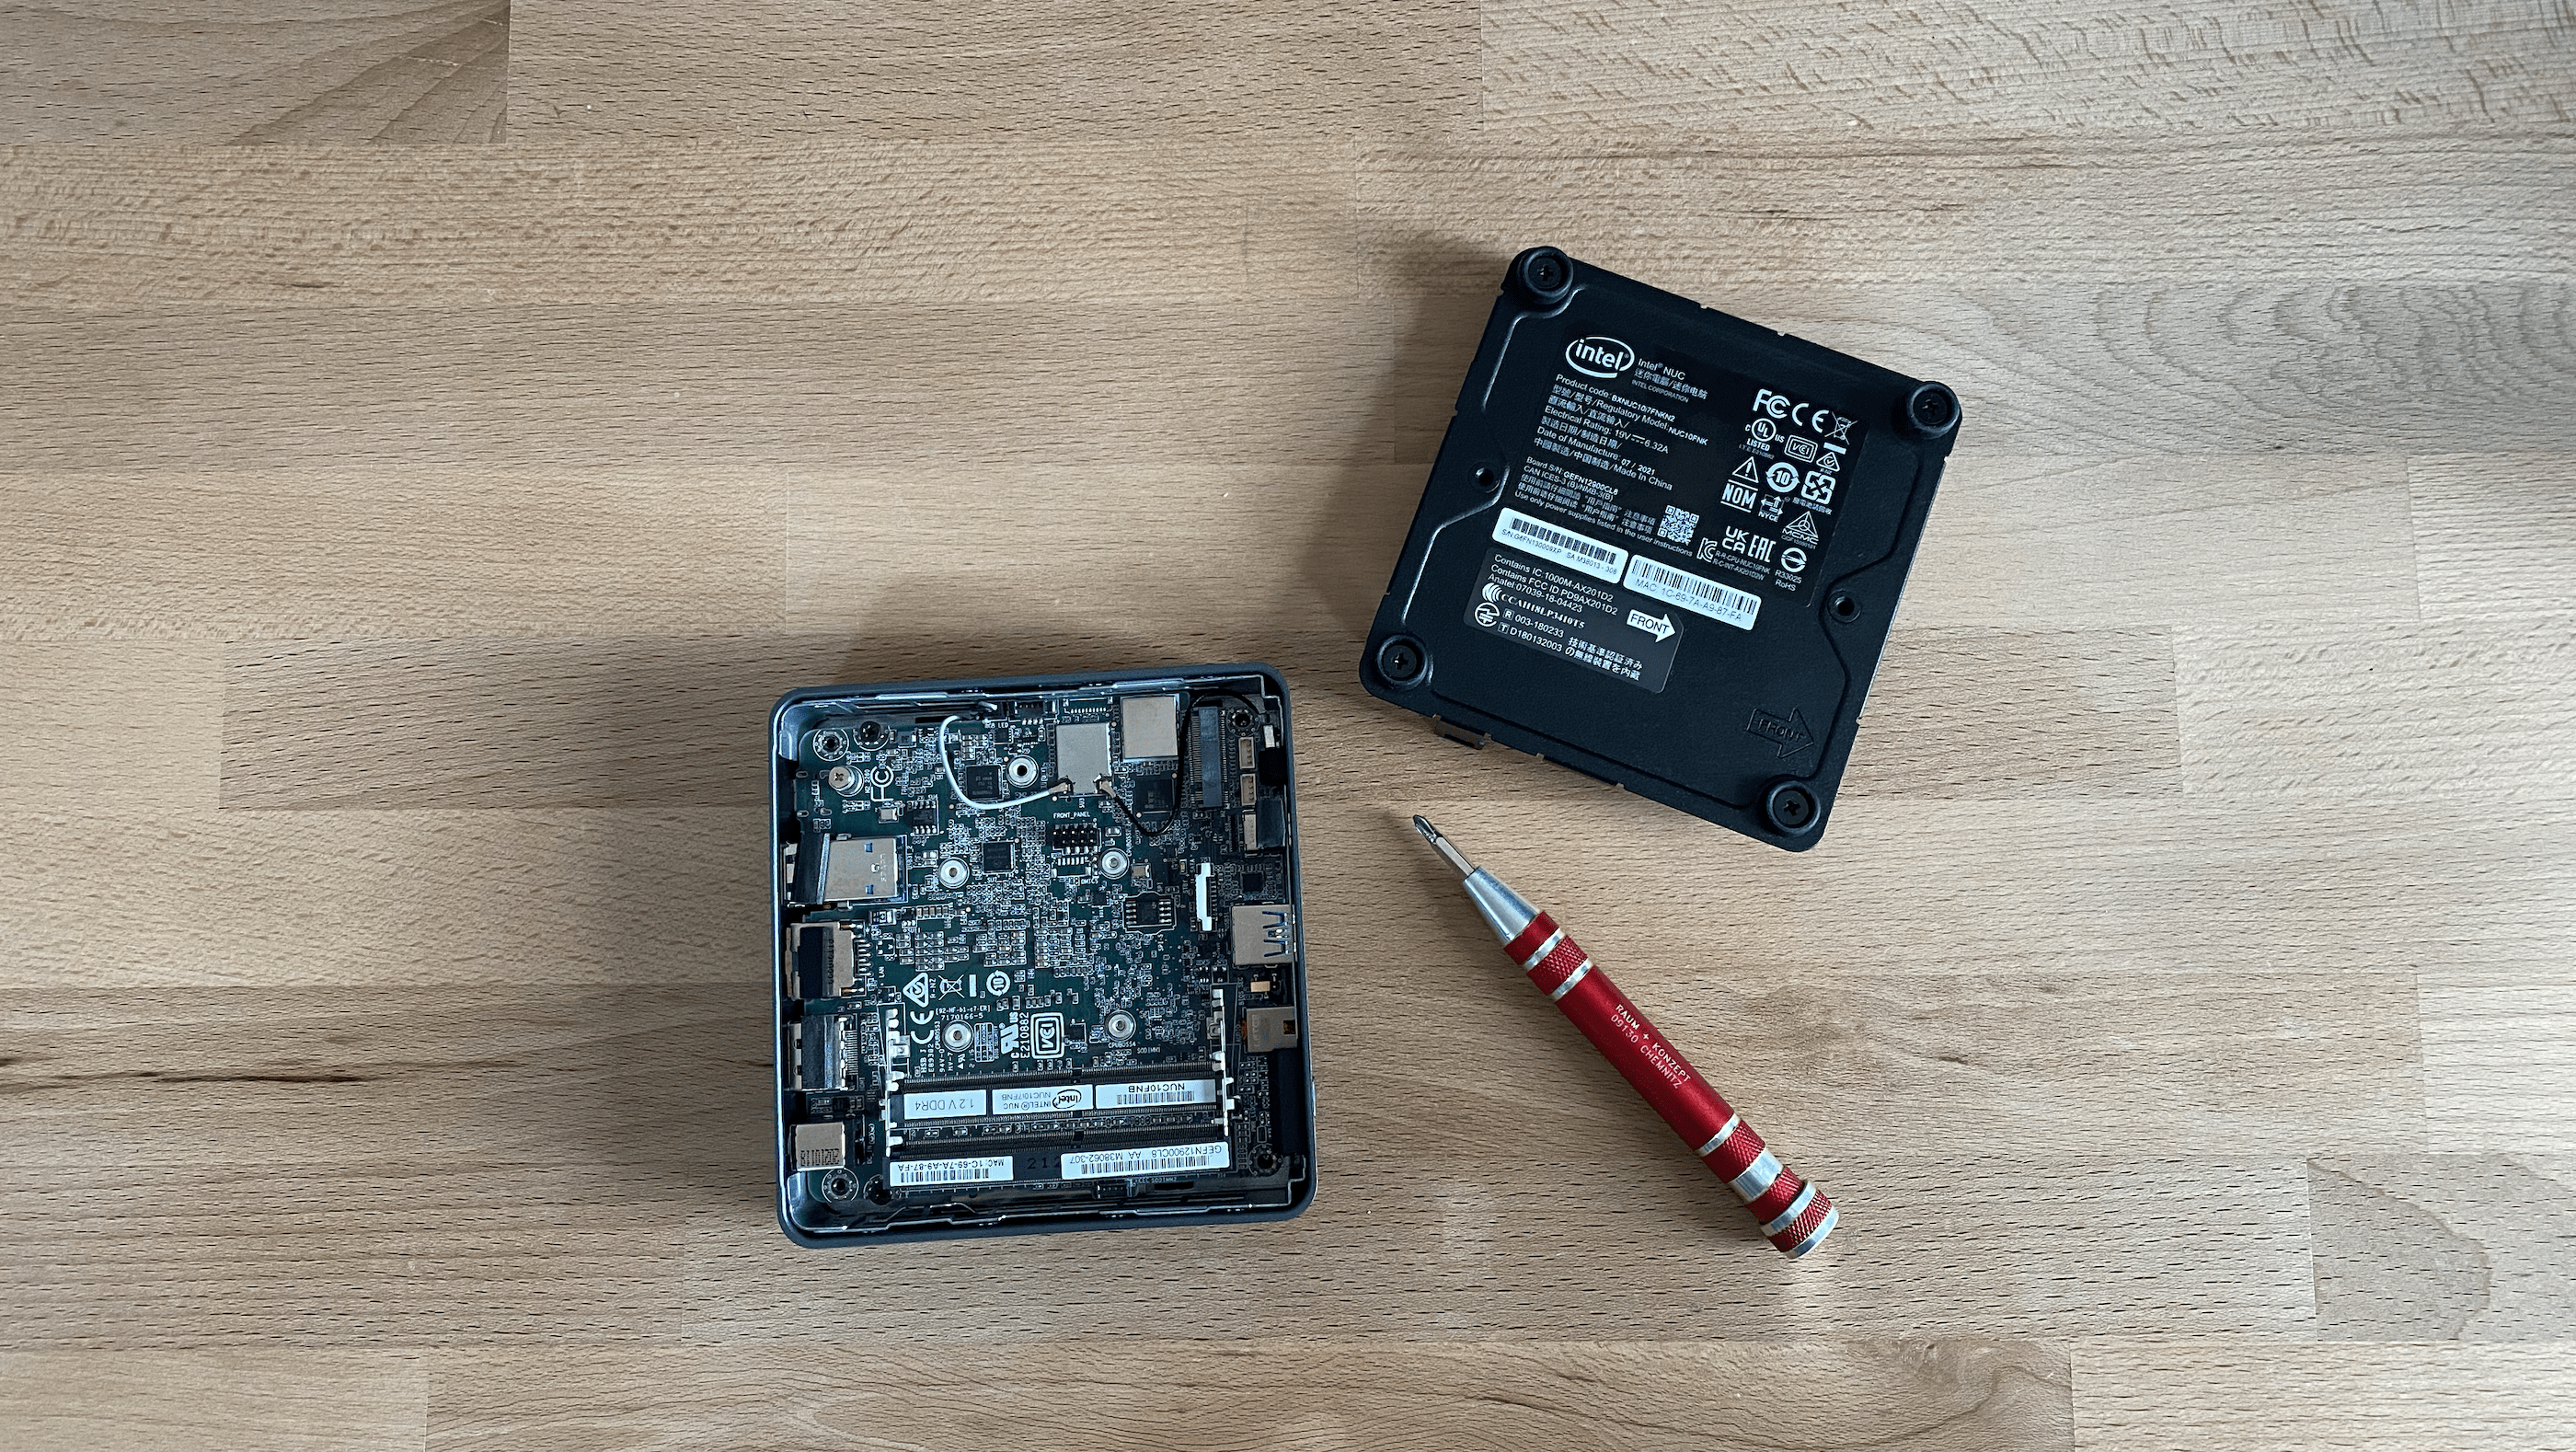
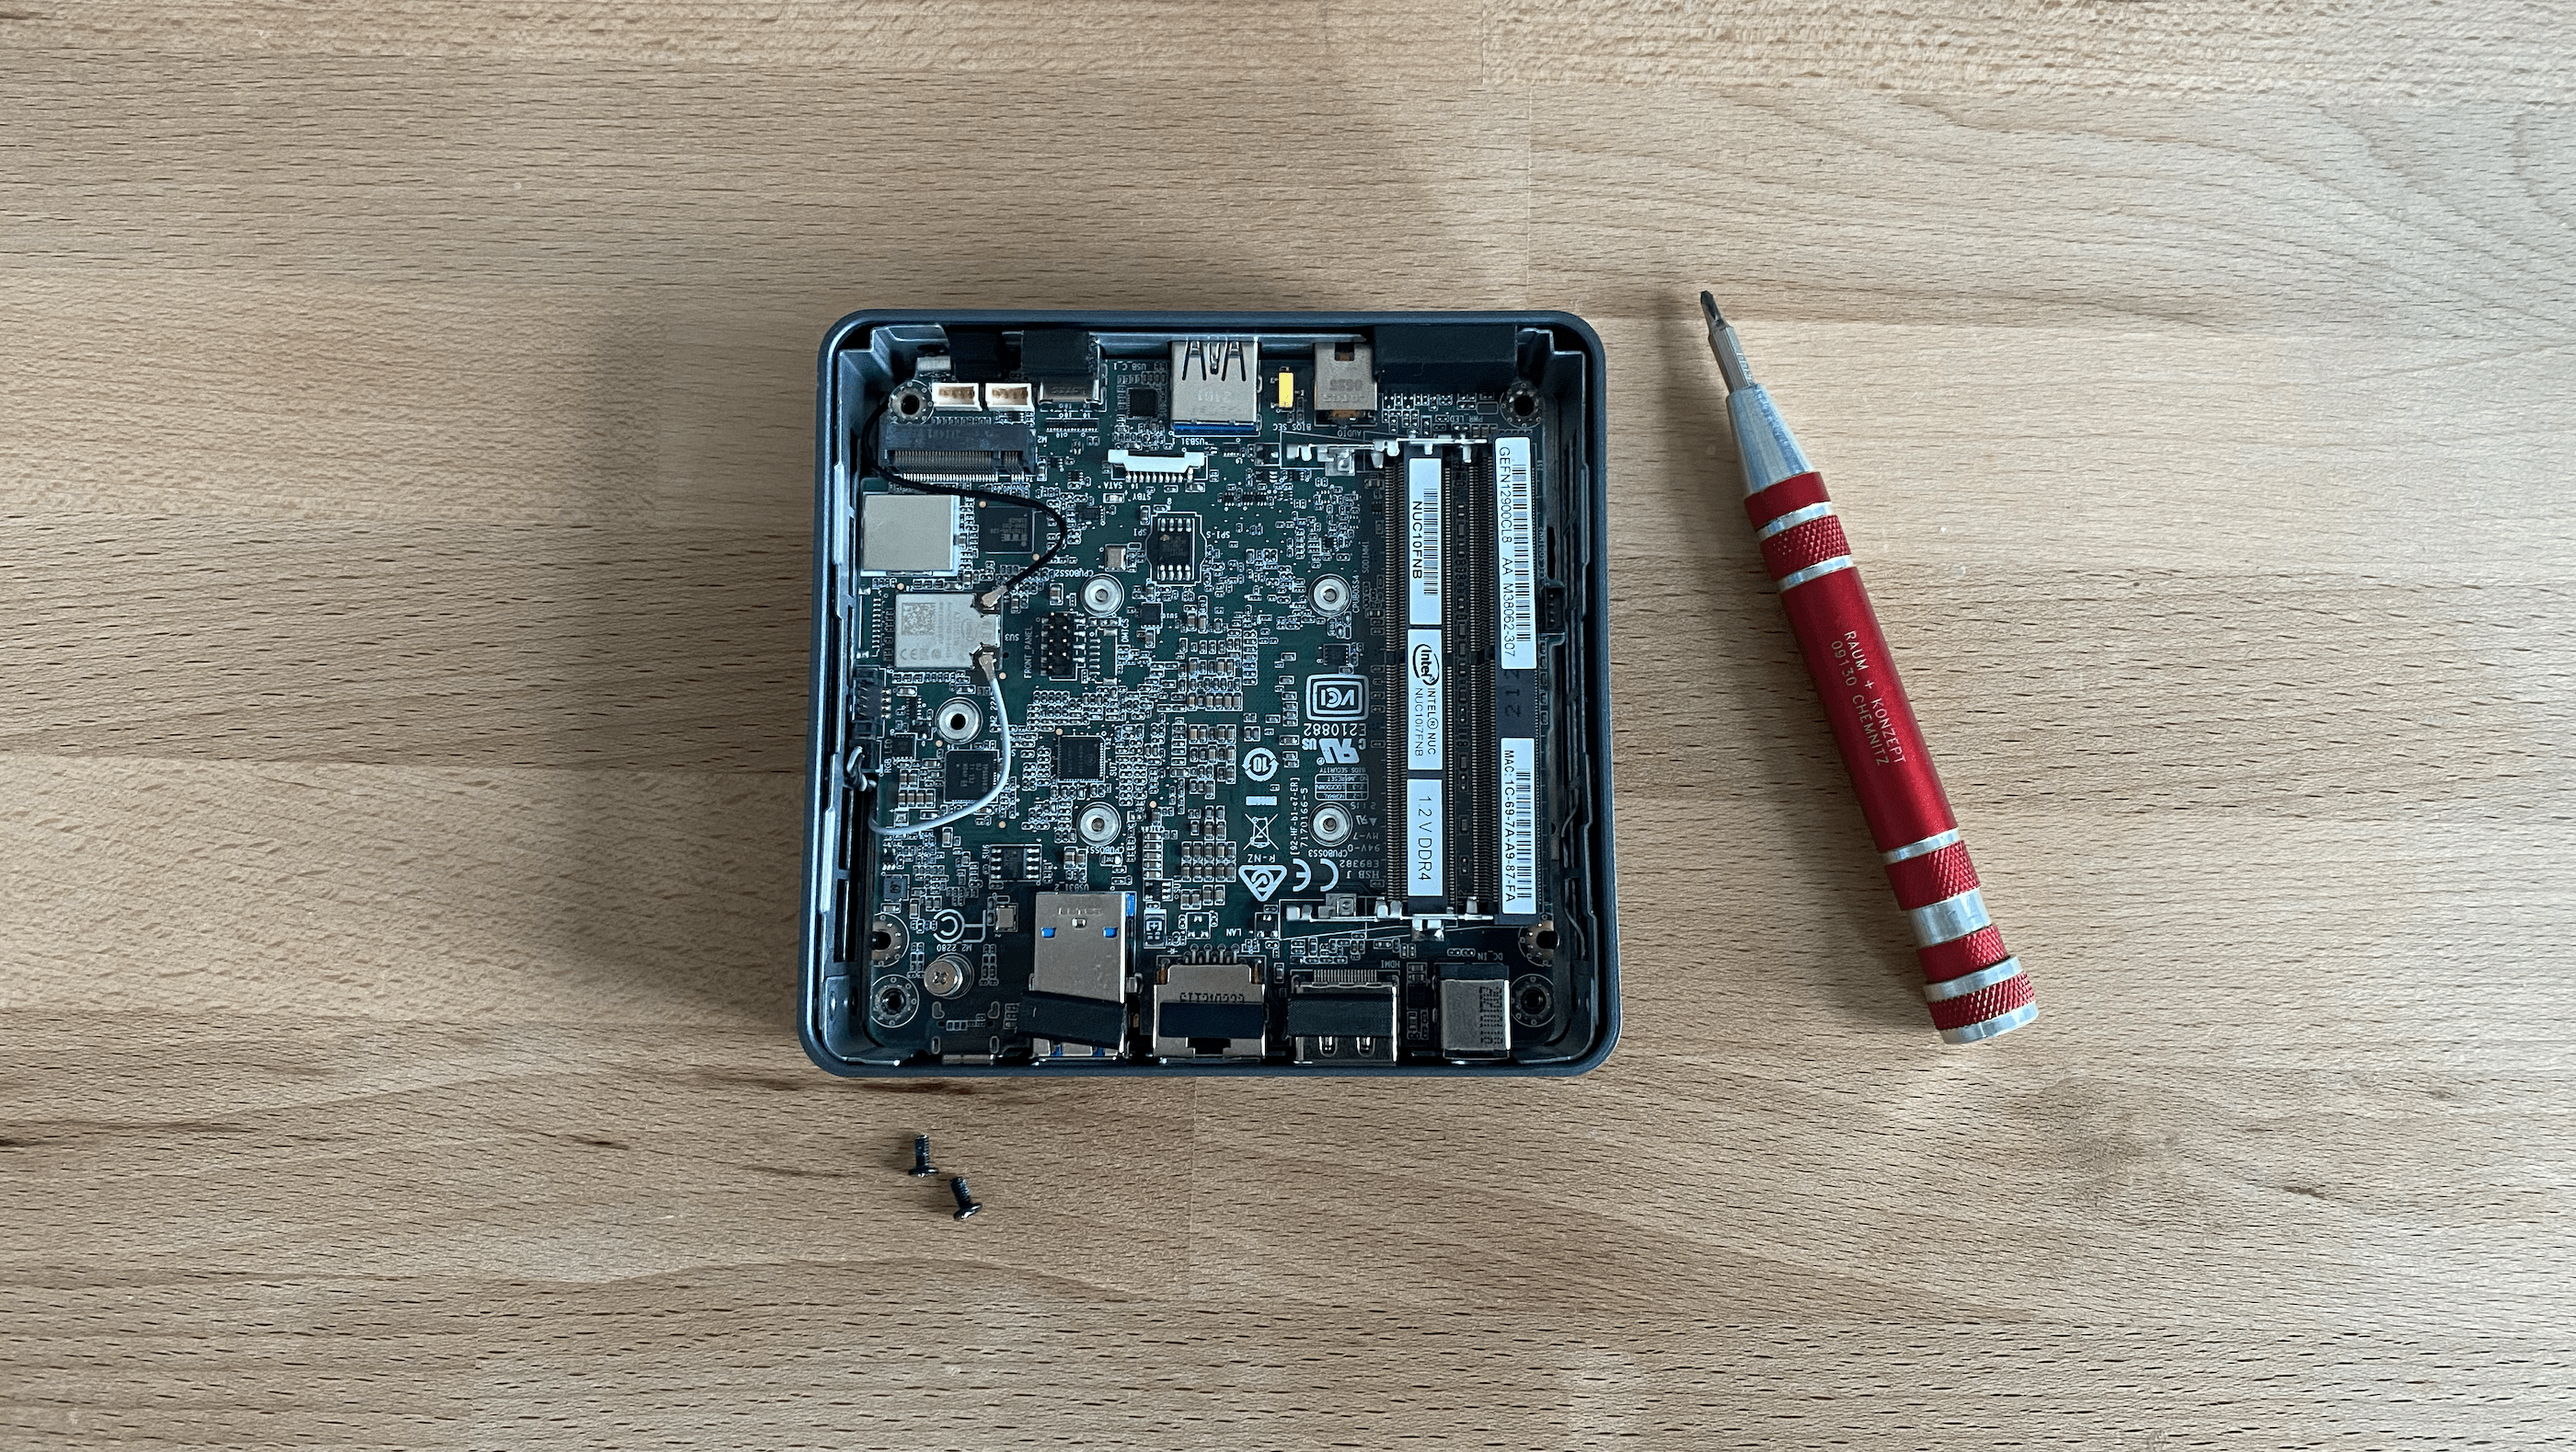
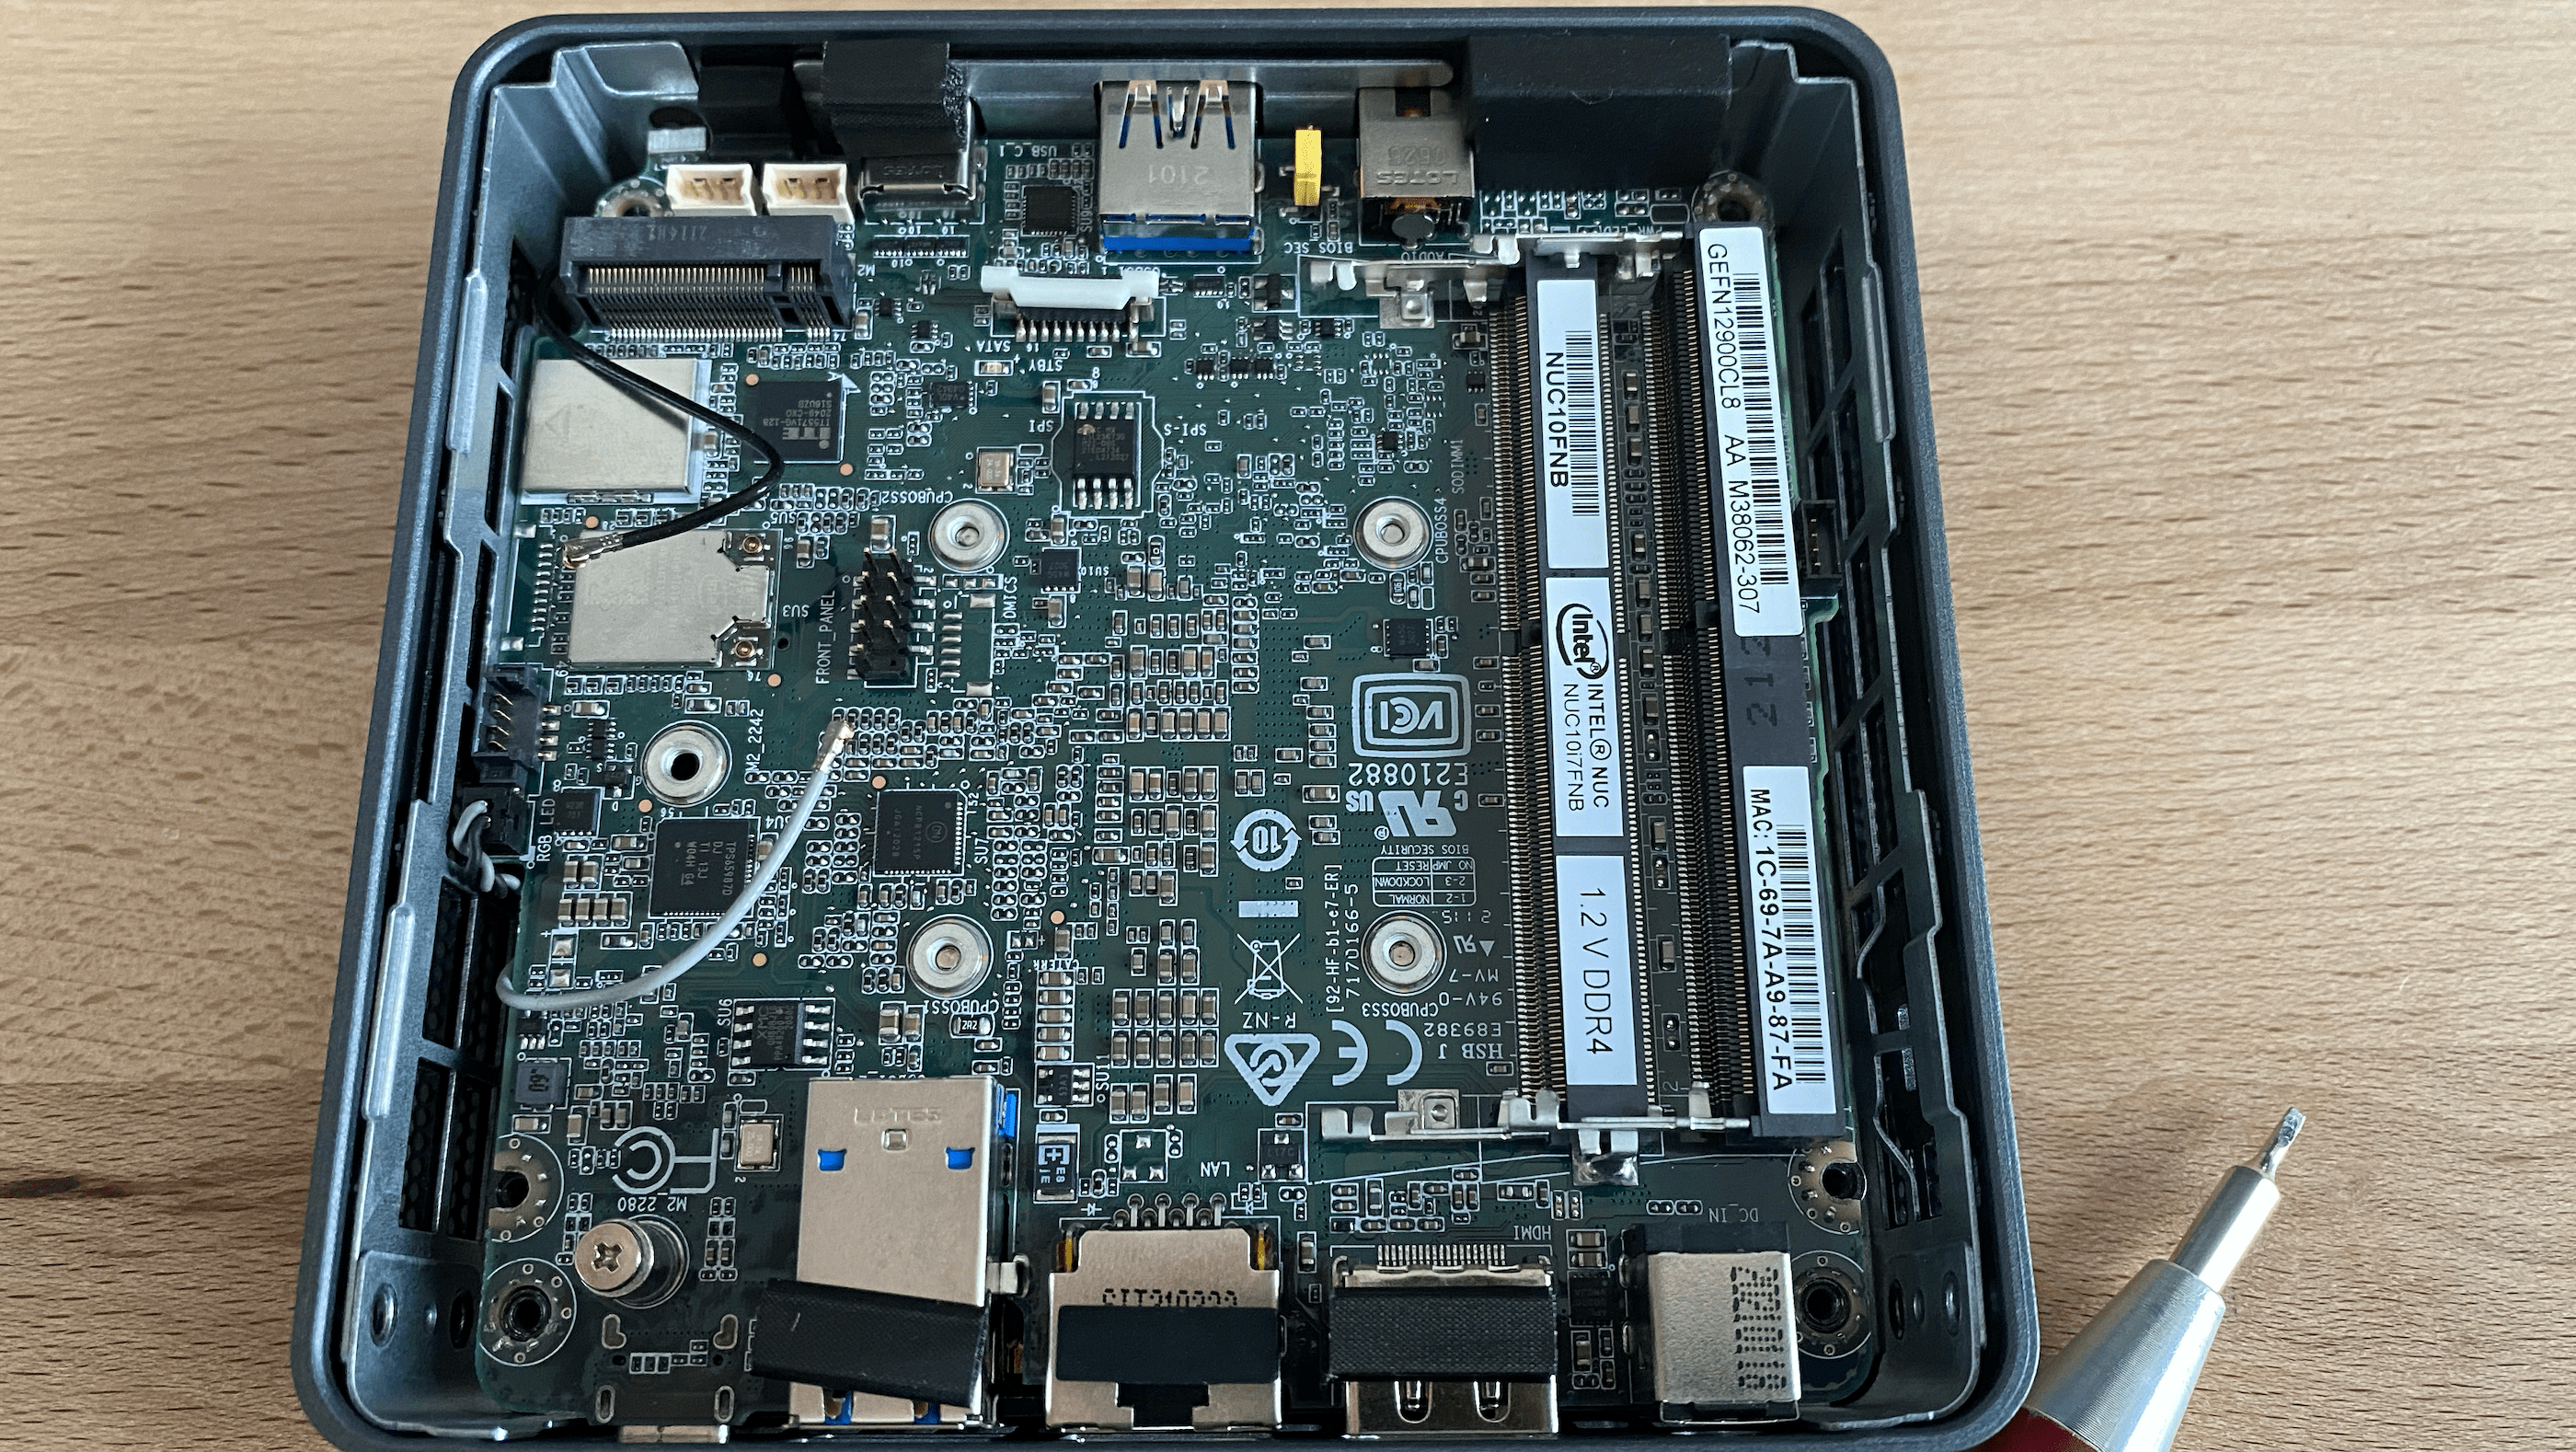
1. Open the Case: Remove the screws from the bottom of the NUC and gently open the case.
2. Unscrew the Motherboard: Unscrew the motherboard from the case to allow for complete removal.
3. Disconnect Cables: Disconnect all cables attached to the motherboard.
Using a narrow wrench can improve your leverage when removing stubborn cables.
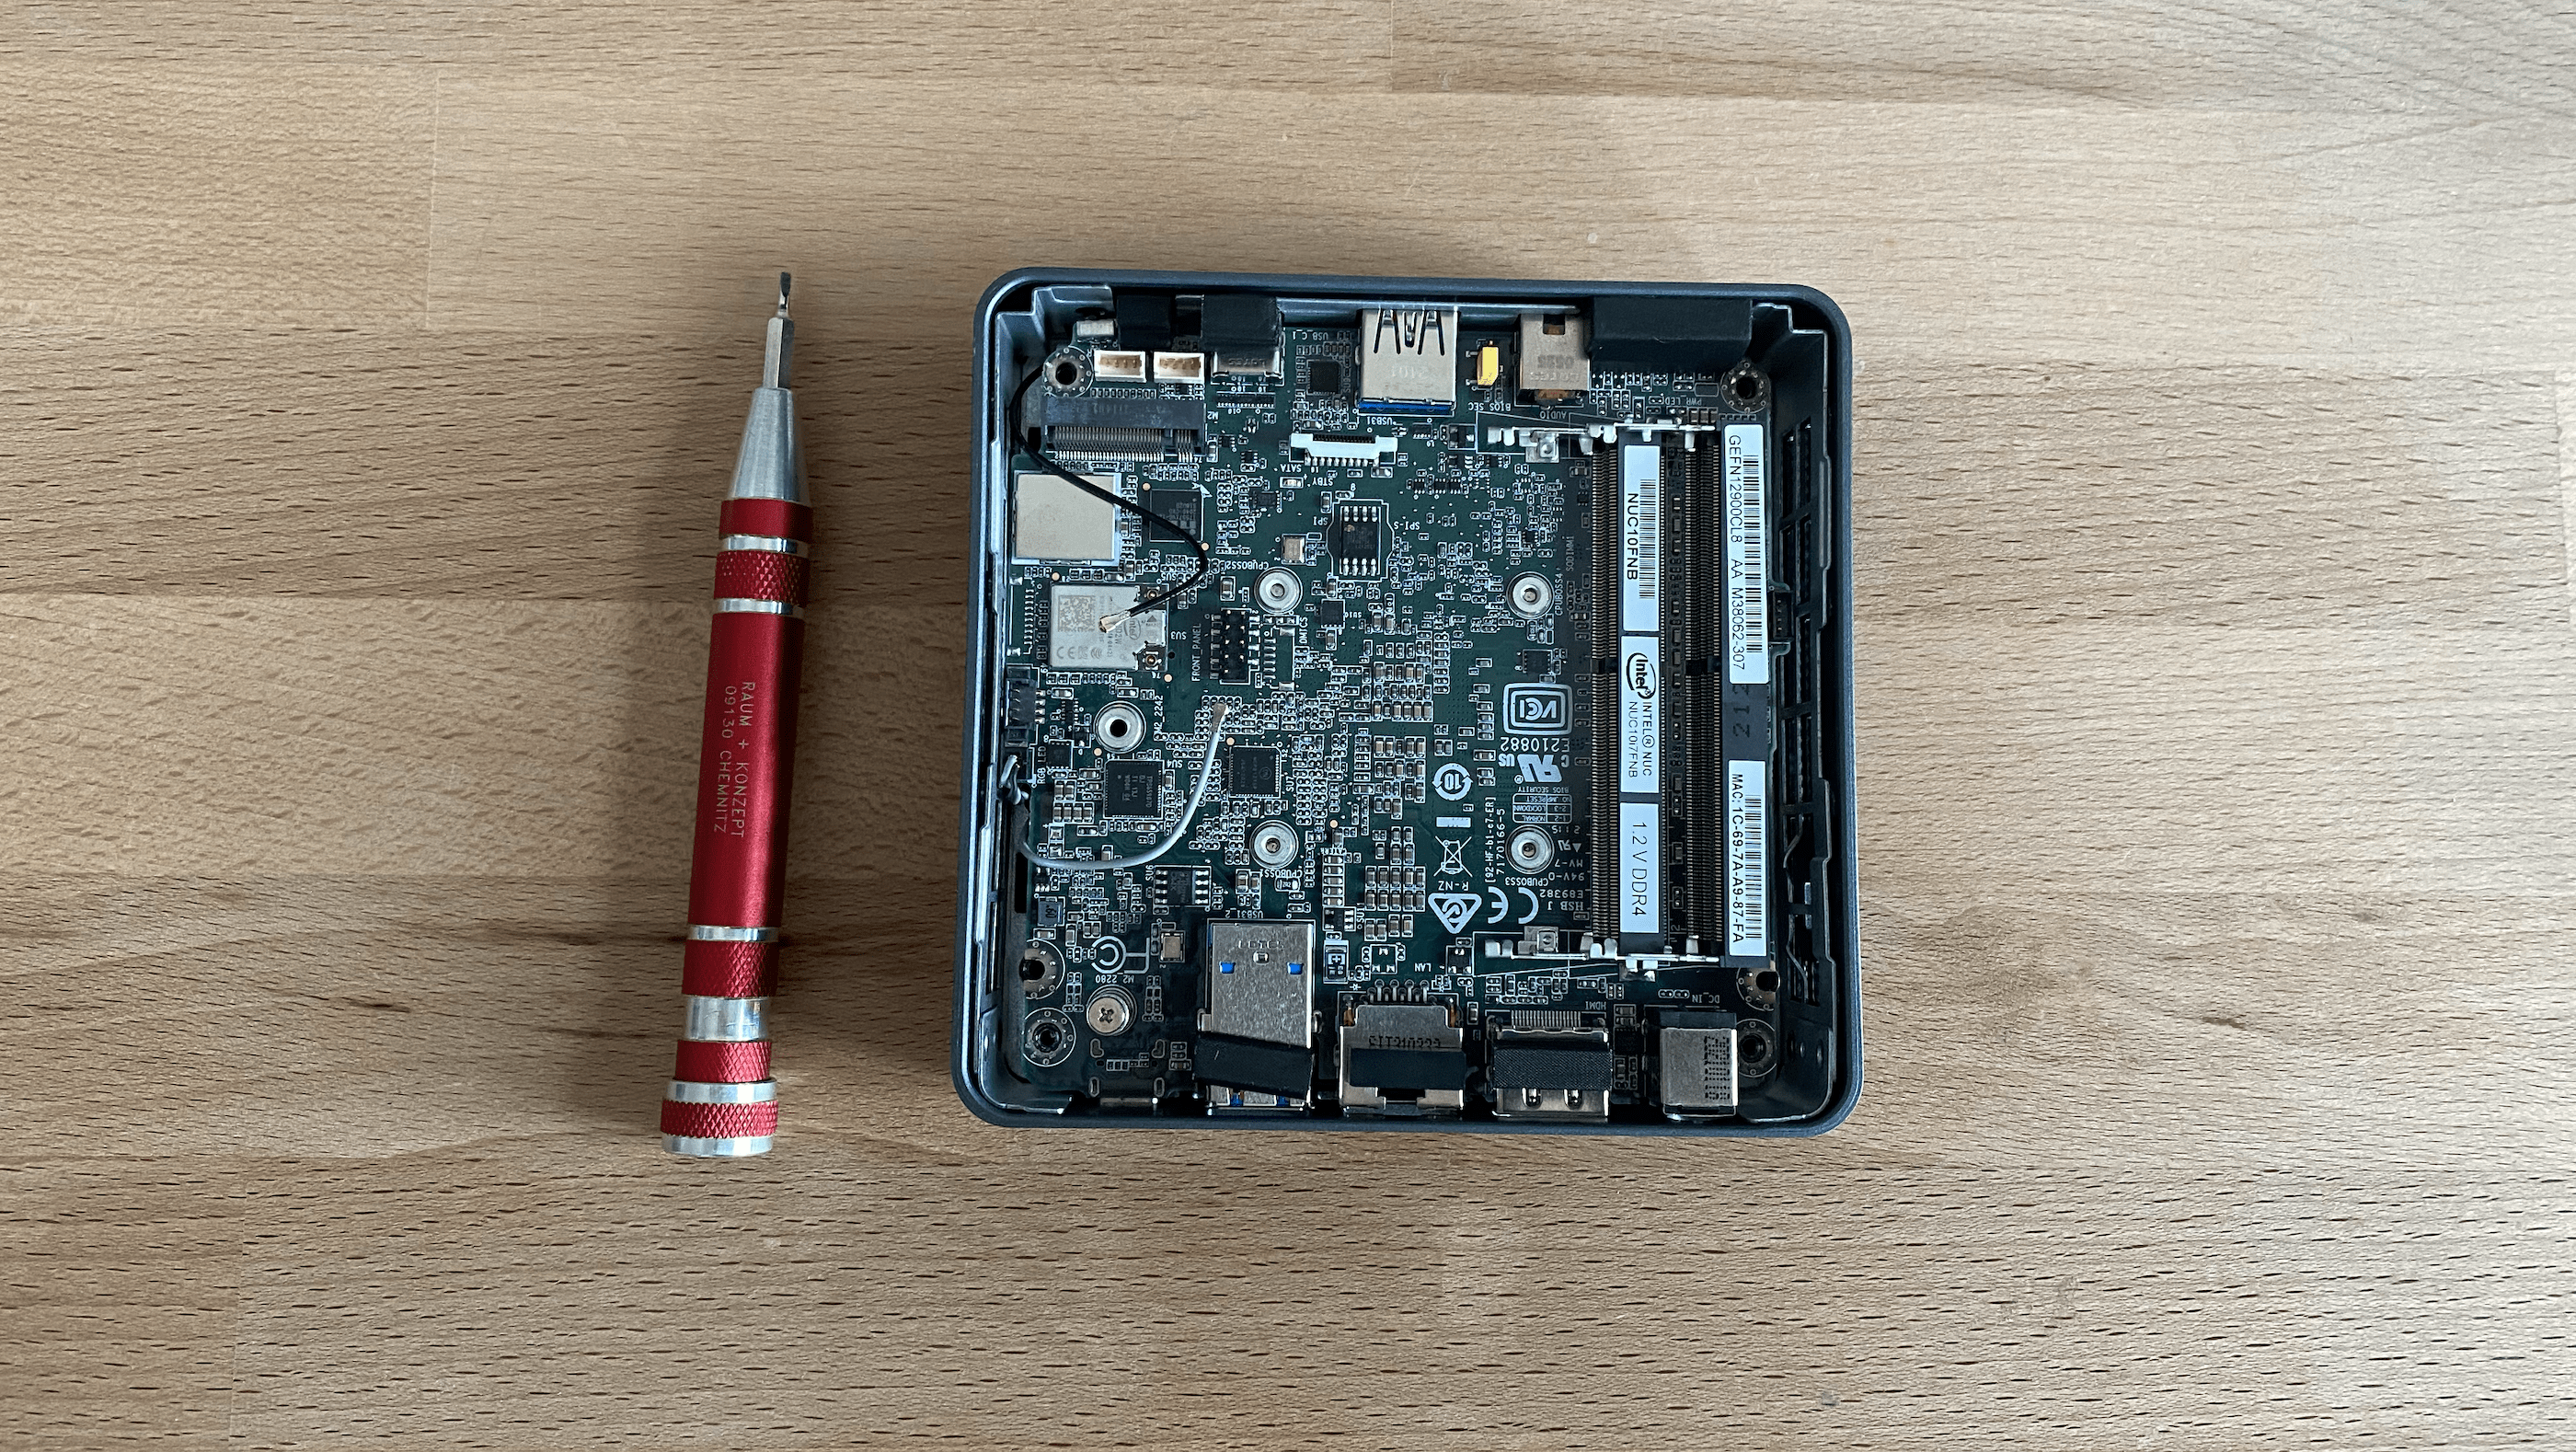
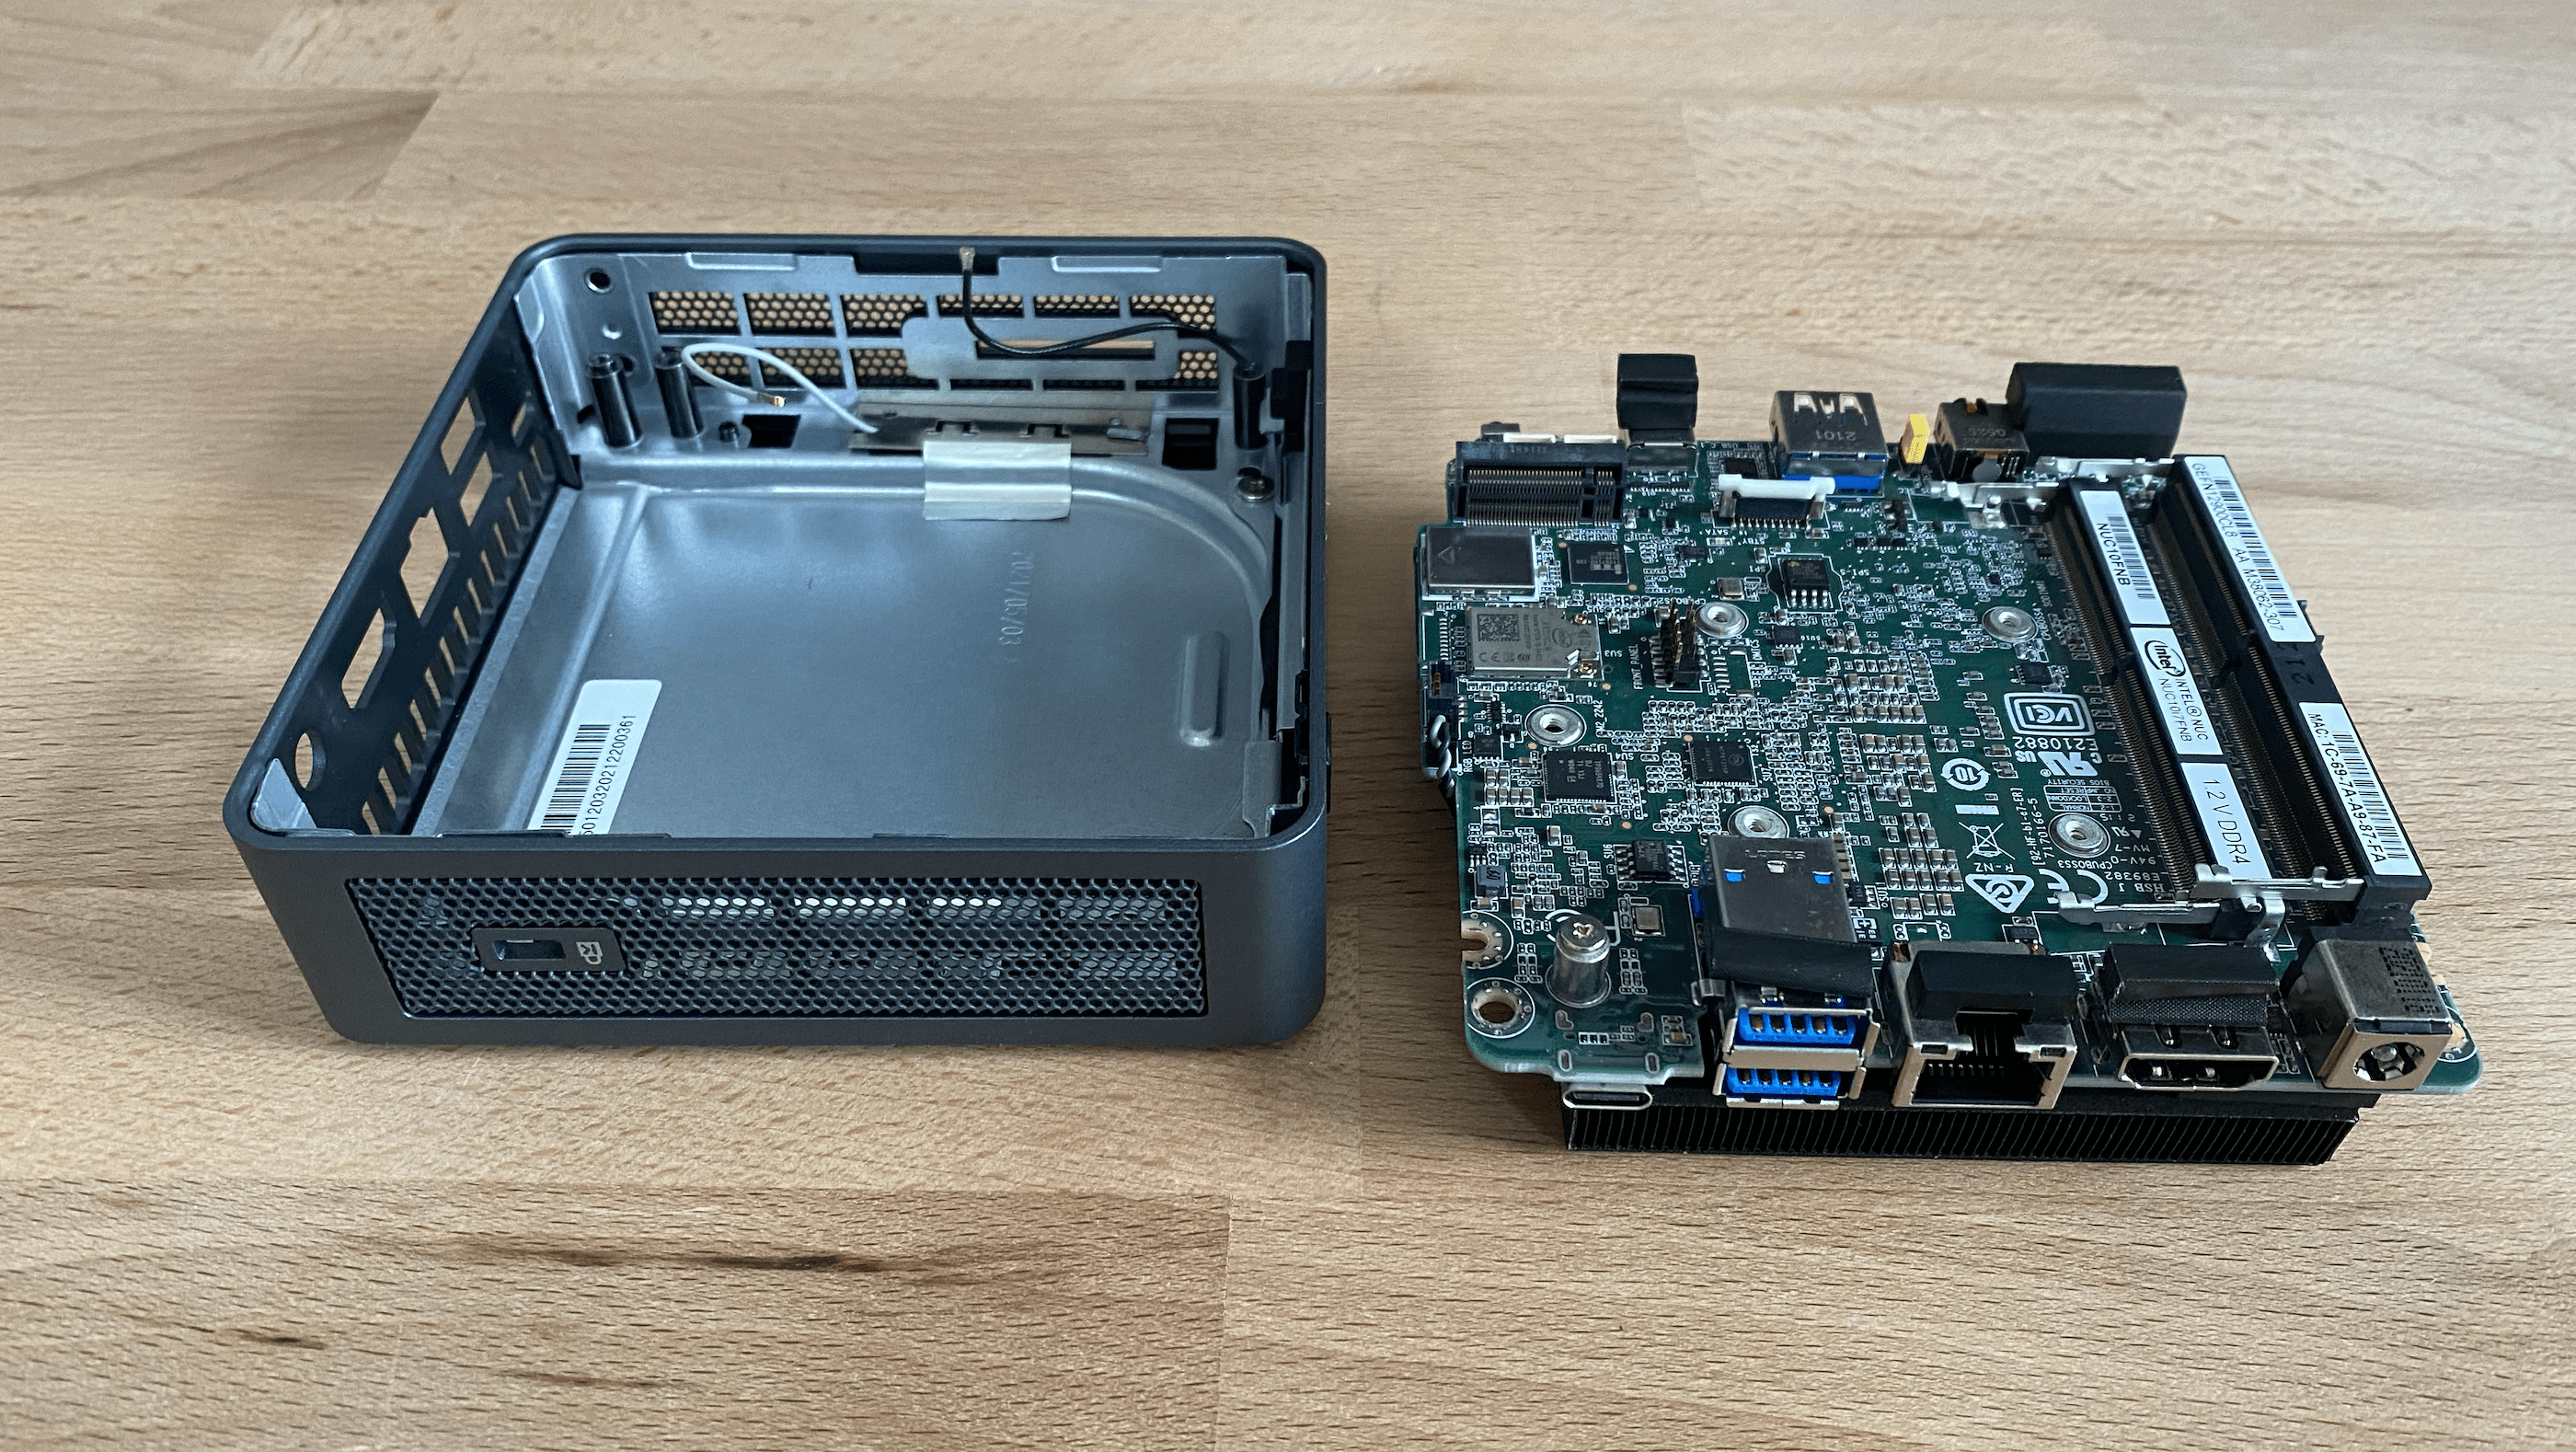
4. Remove the Motherboard: Gently remove the motherboard from the case.
5. Set Aside Old Housing: Once the motherboard is removed, place the old housing aside for later reference.
6. Access the Fan Assembly: Turn the motherboard to expose the fan and its mounting frame.
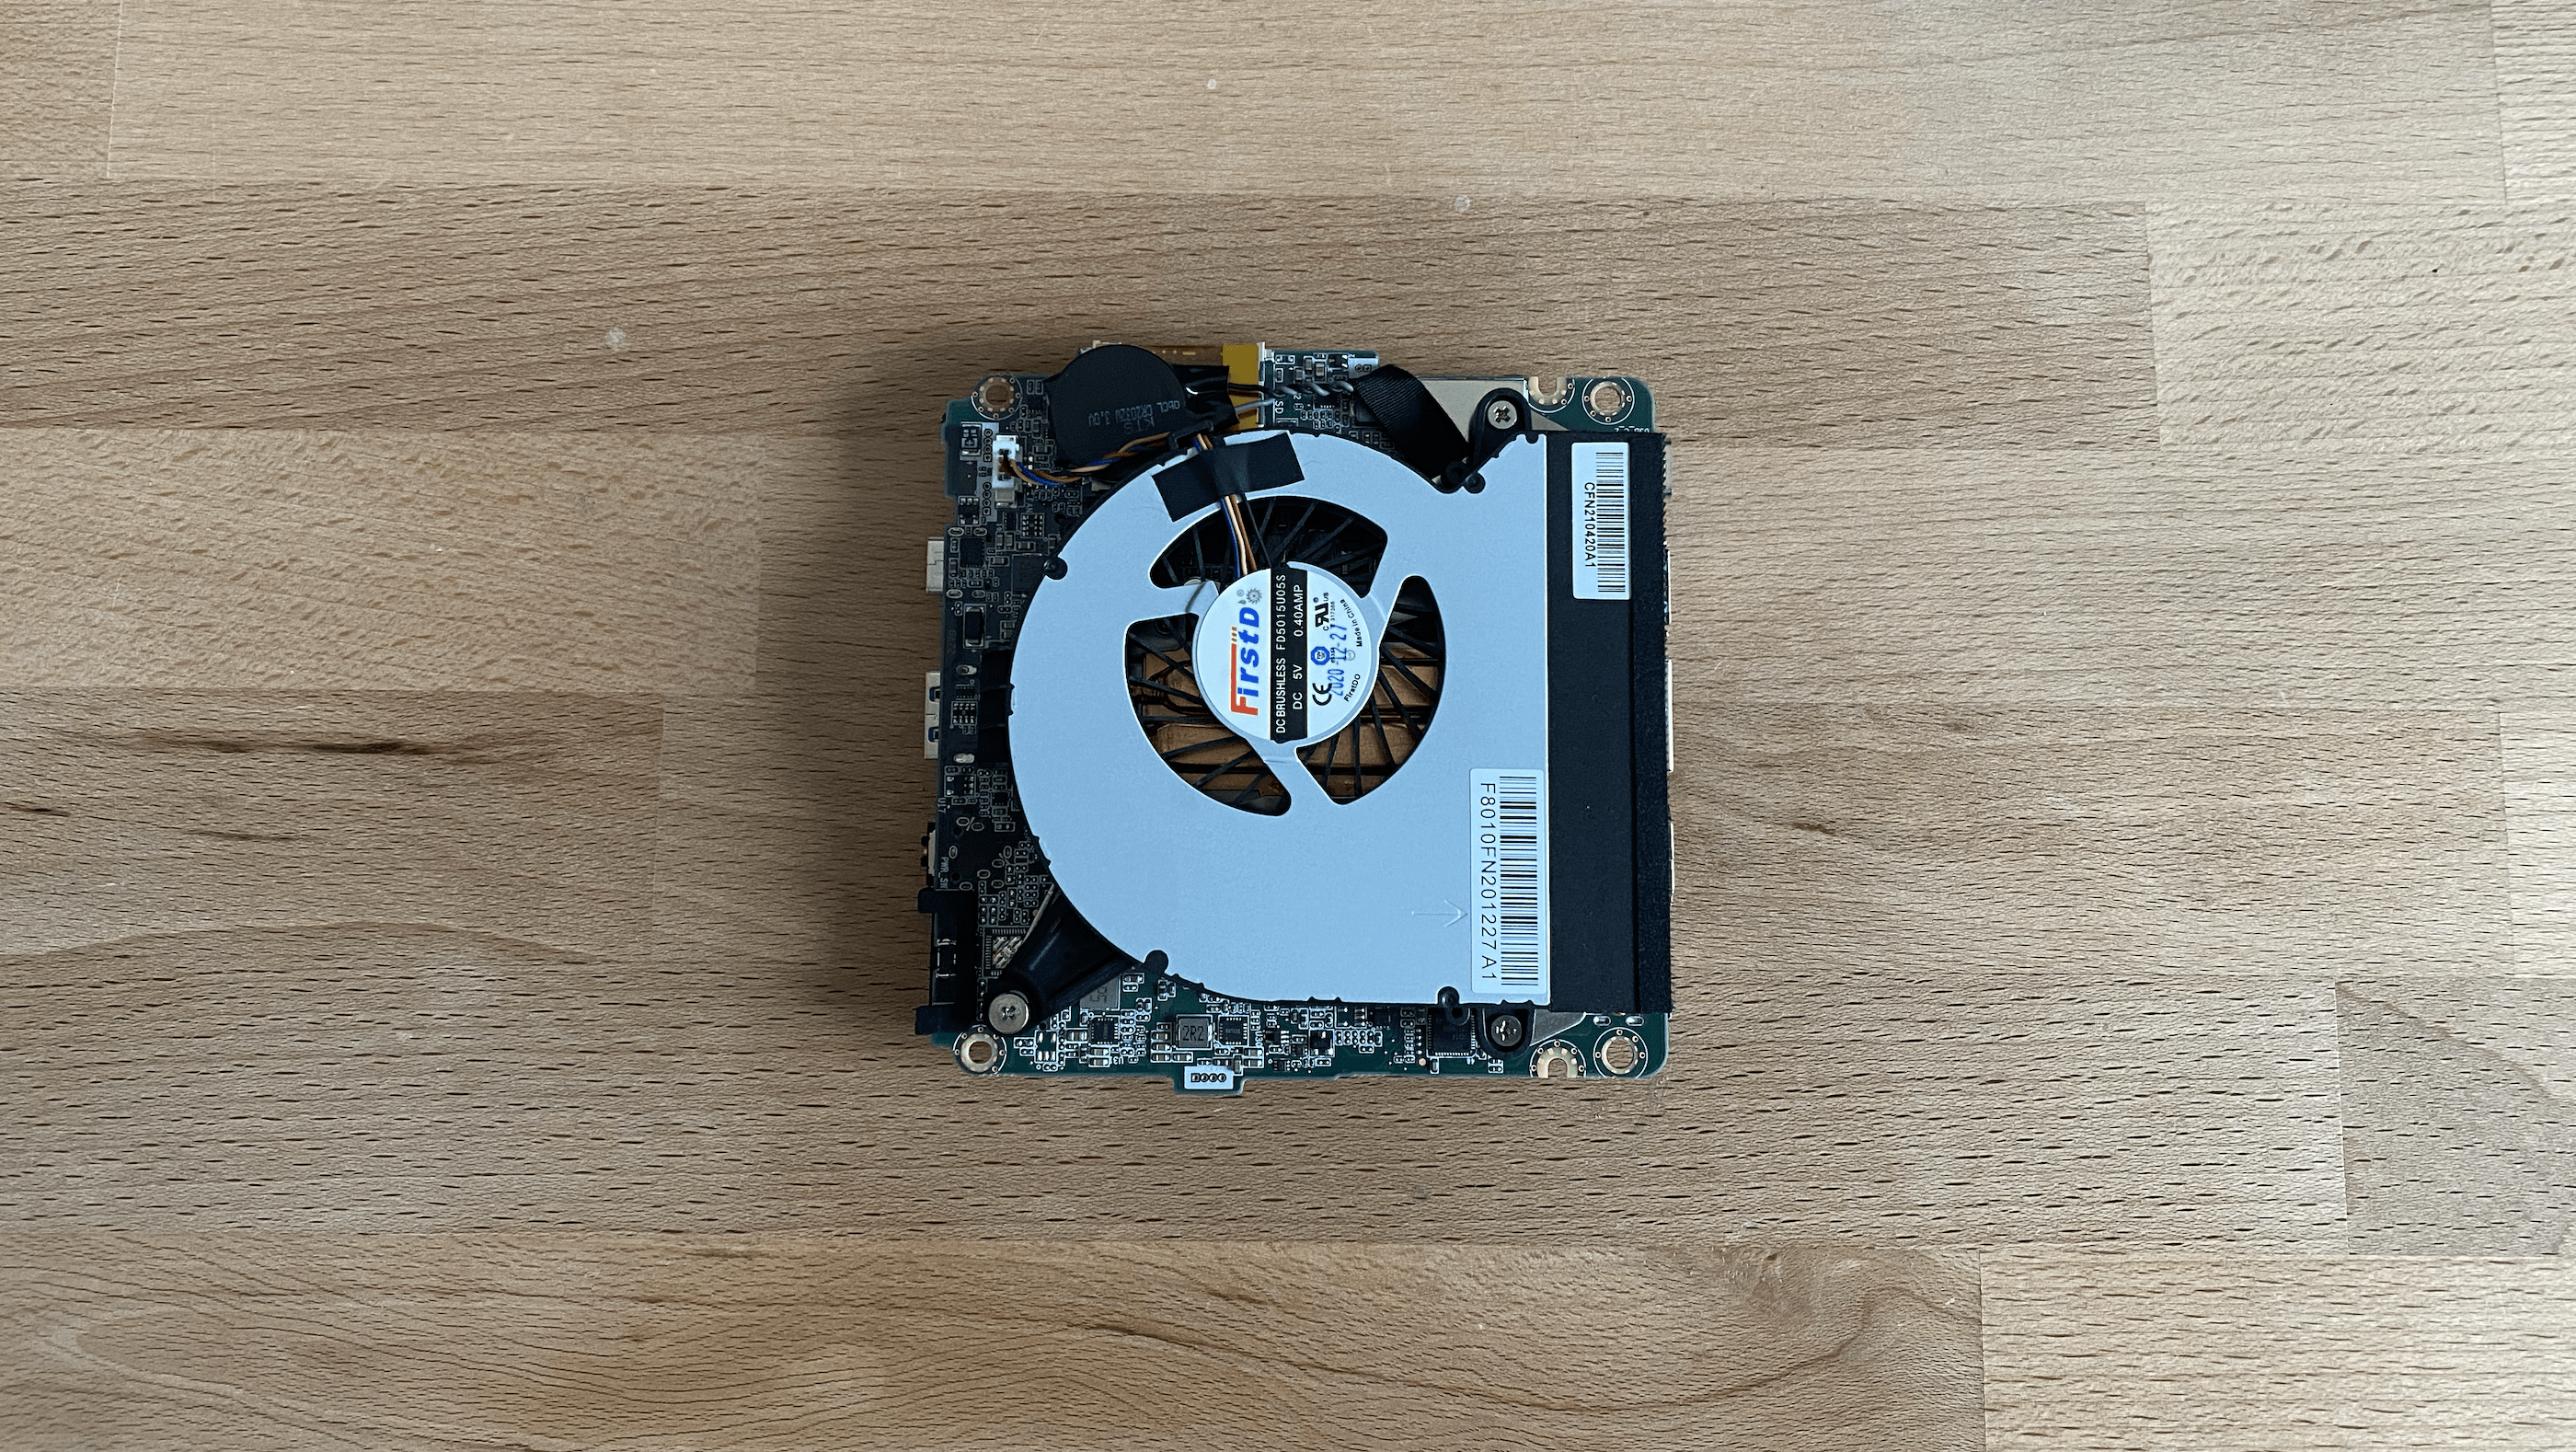
7. Remove Fan Screws: Unscrew the fasteners securing the cooling fan. This step is essential for accessing the processor area.
8. Unplug Fan Cables: Carefully unplug the thin 4-pin fan cables to avoid any damage.
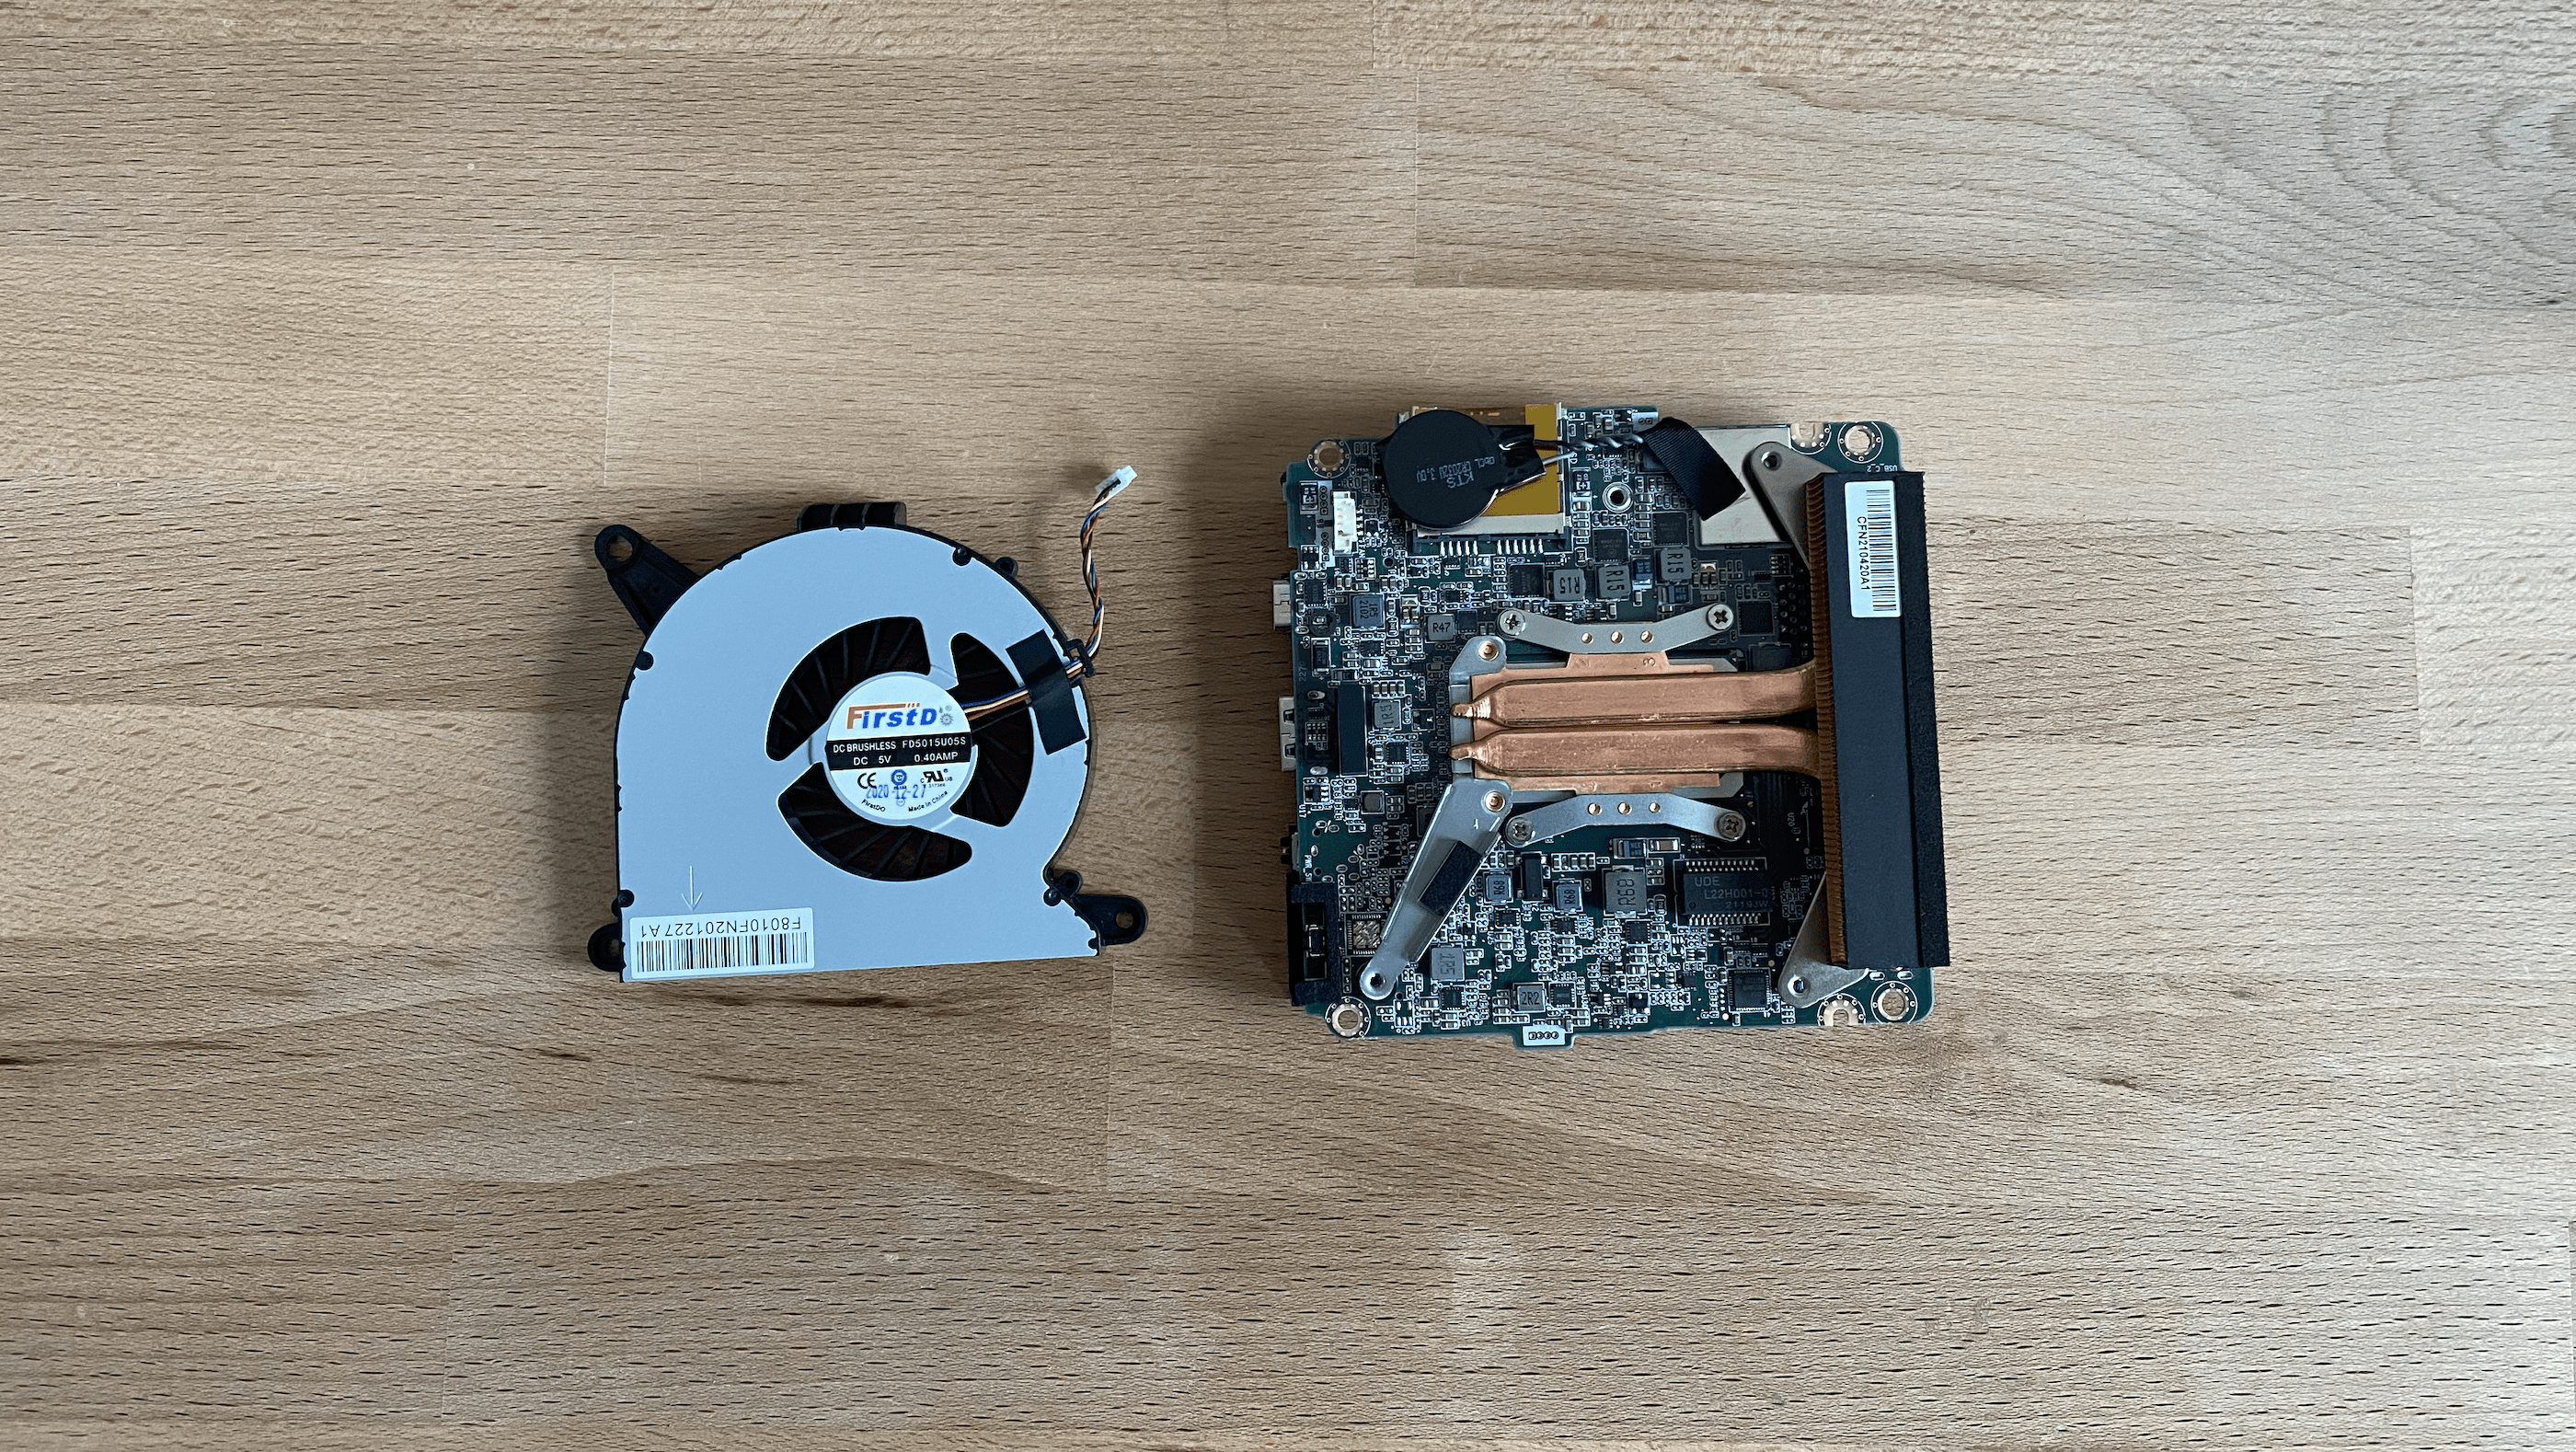
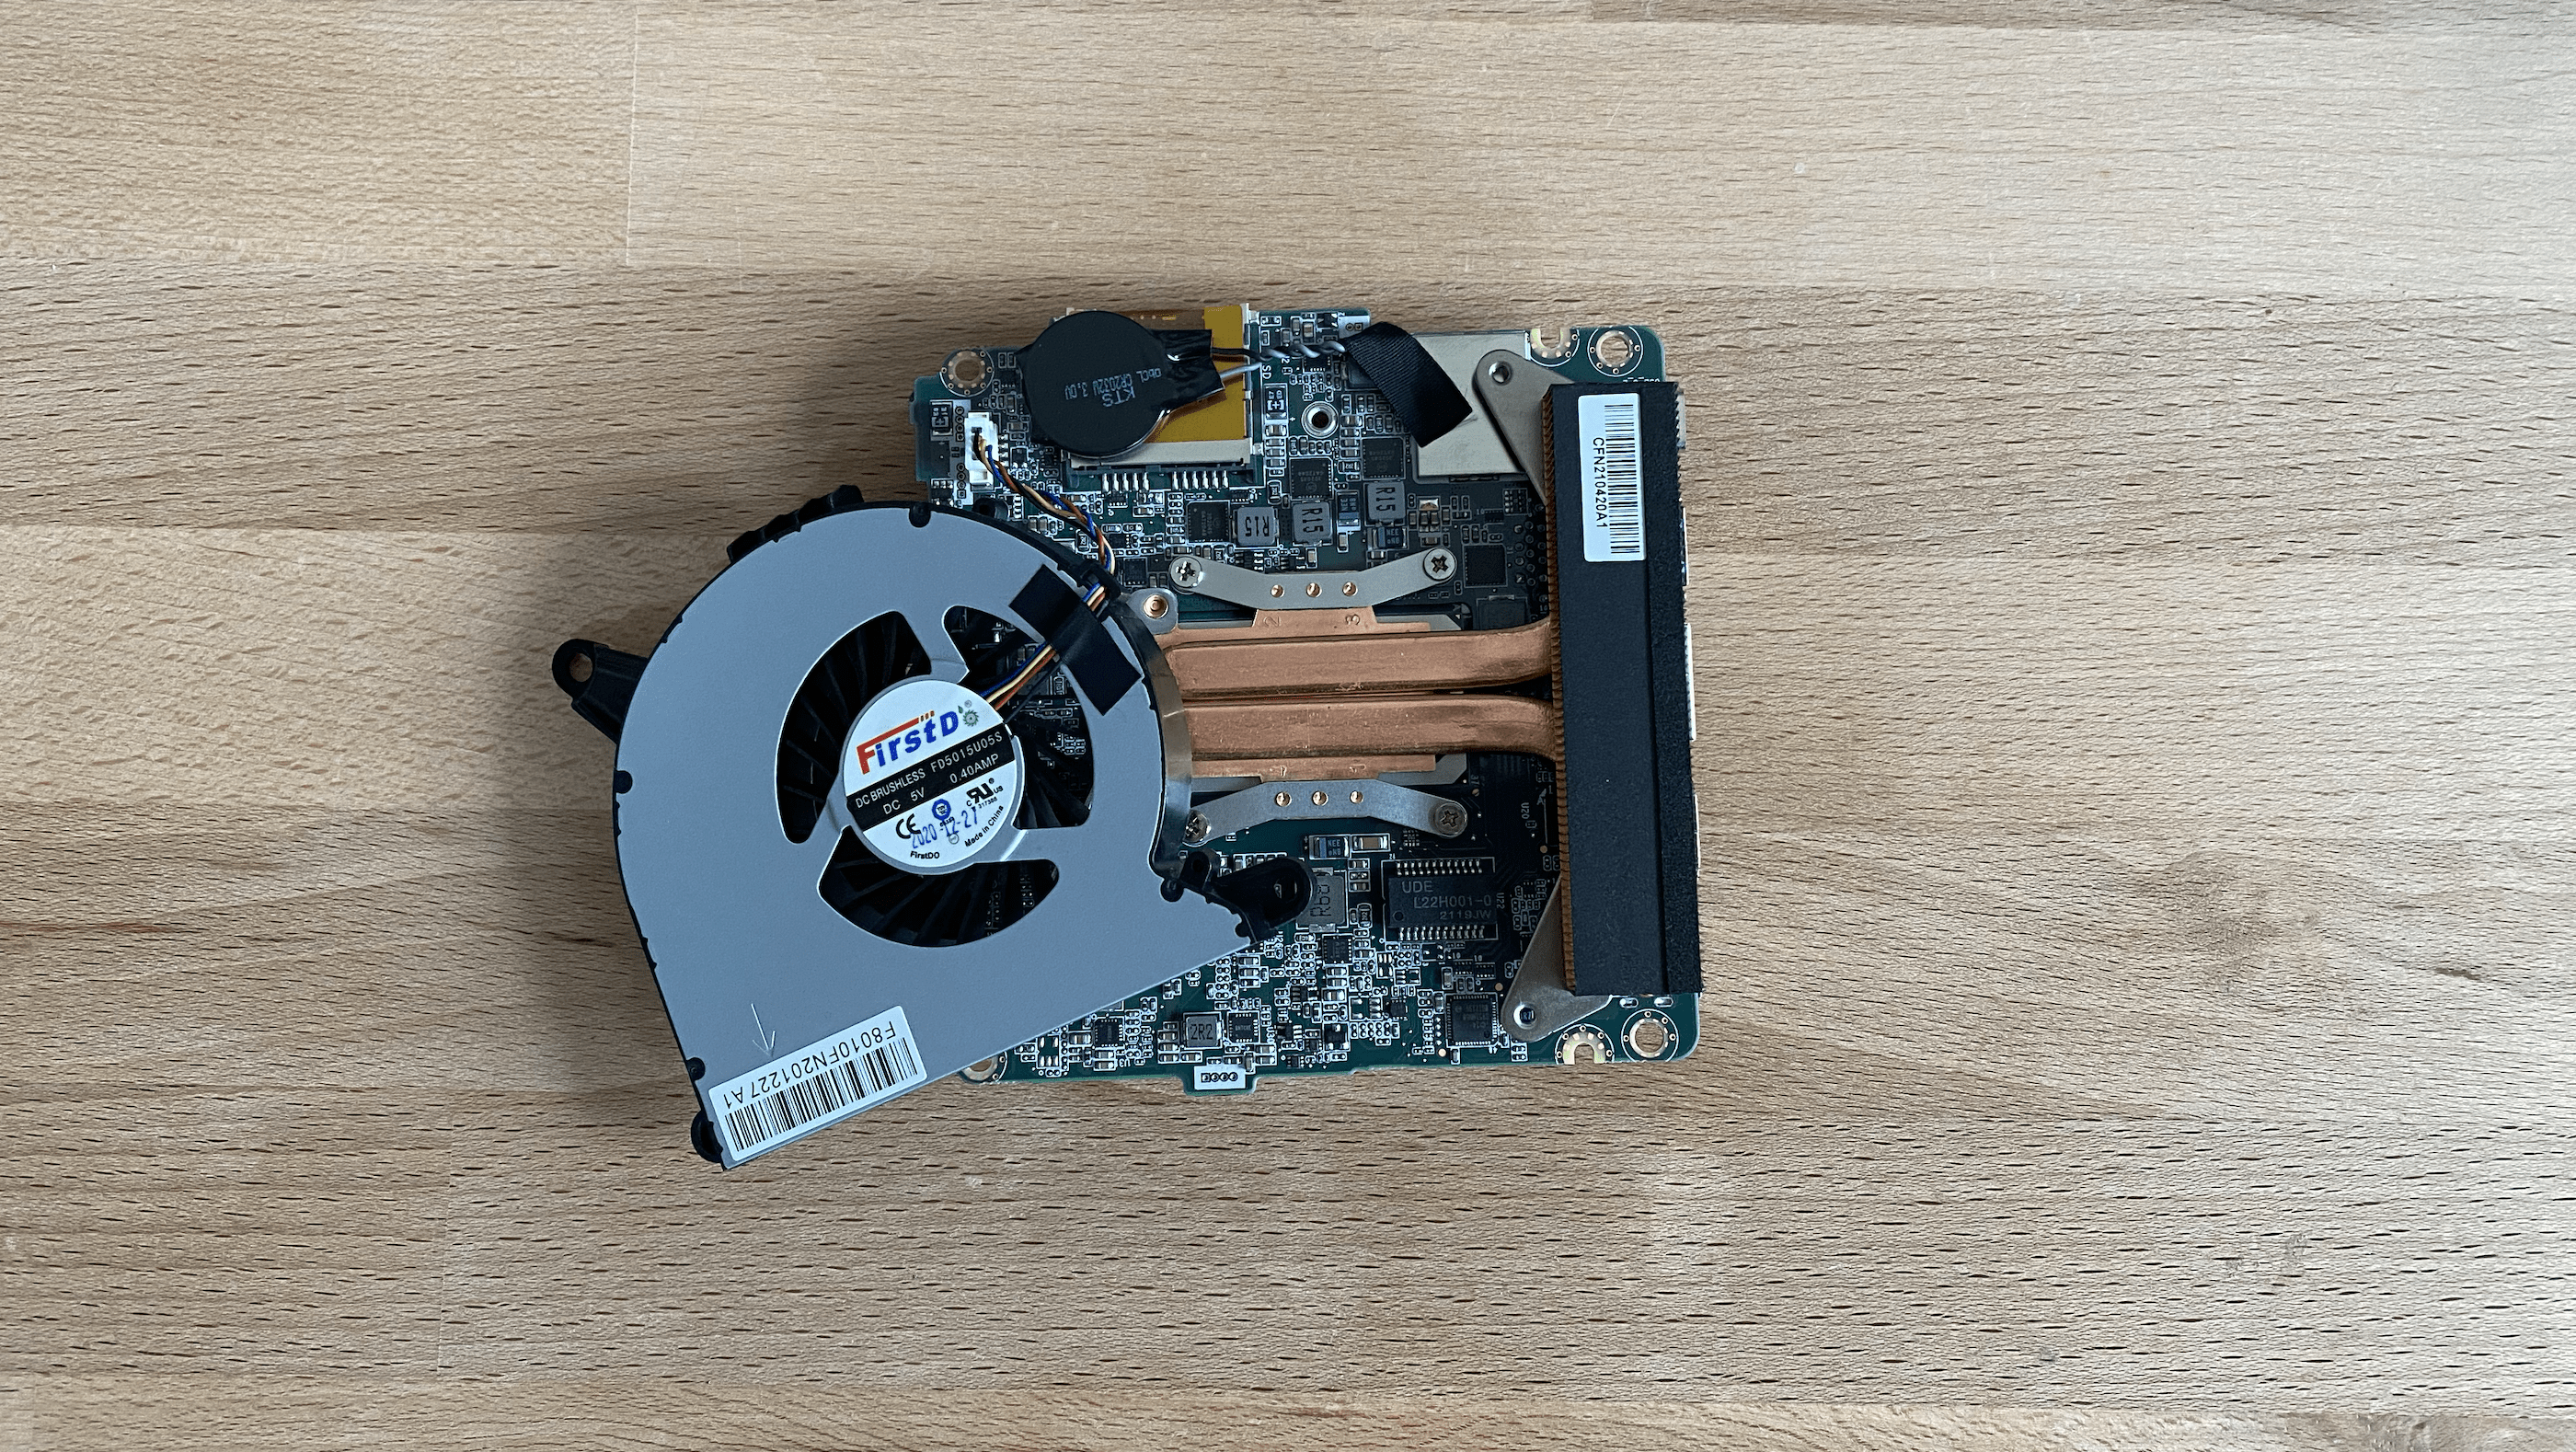
9. Remove the Processor Cooler Screws: The screws holding the fan also secure the old cooler that need to be unscrewed.
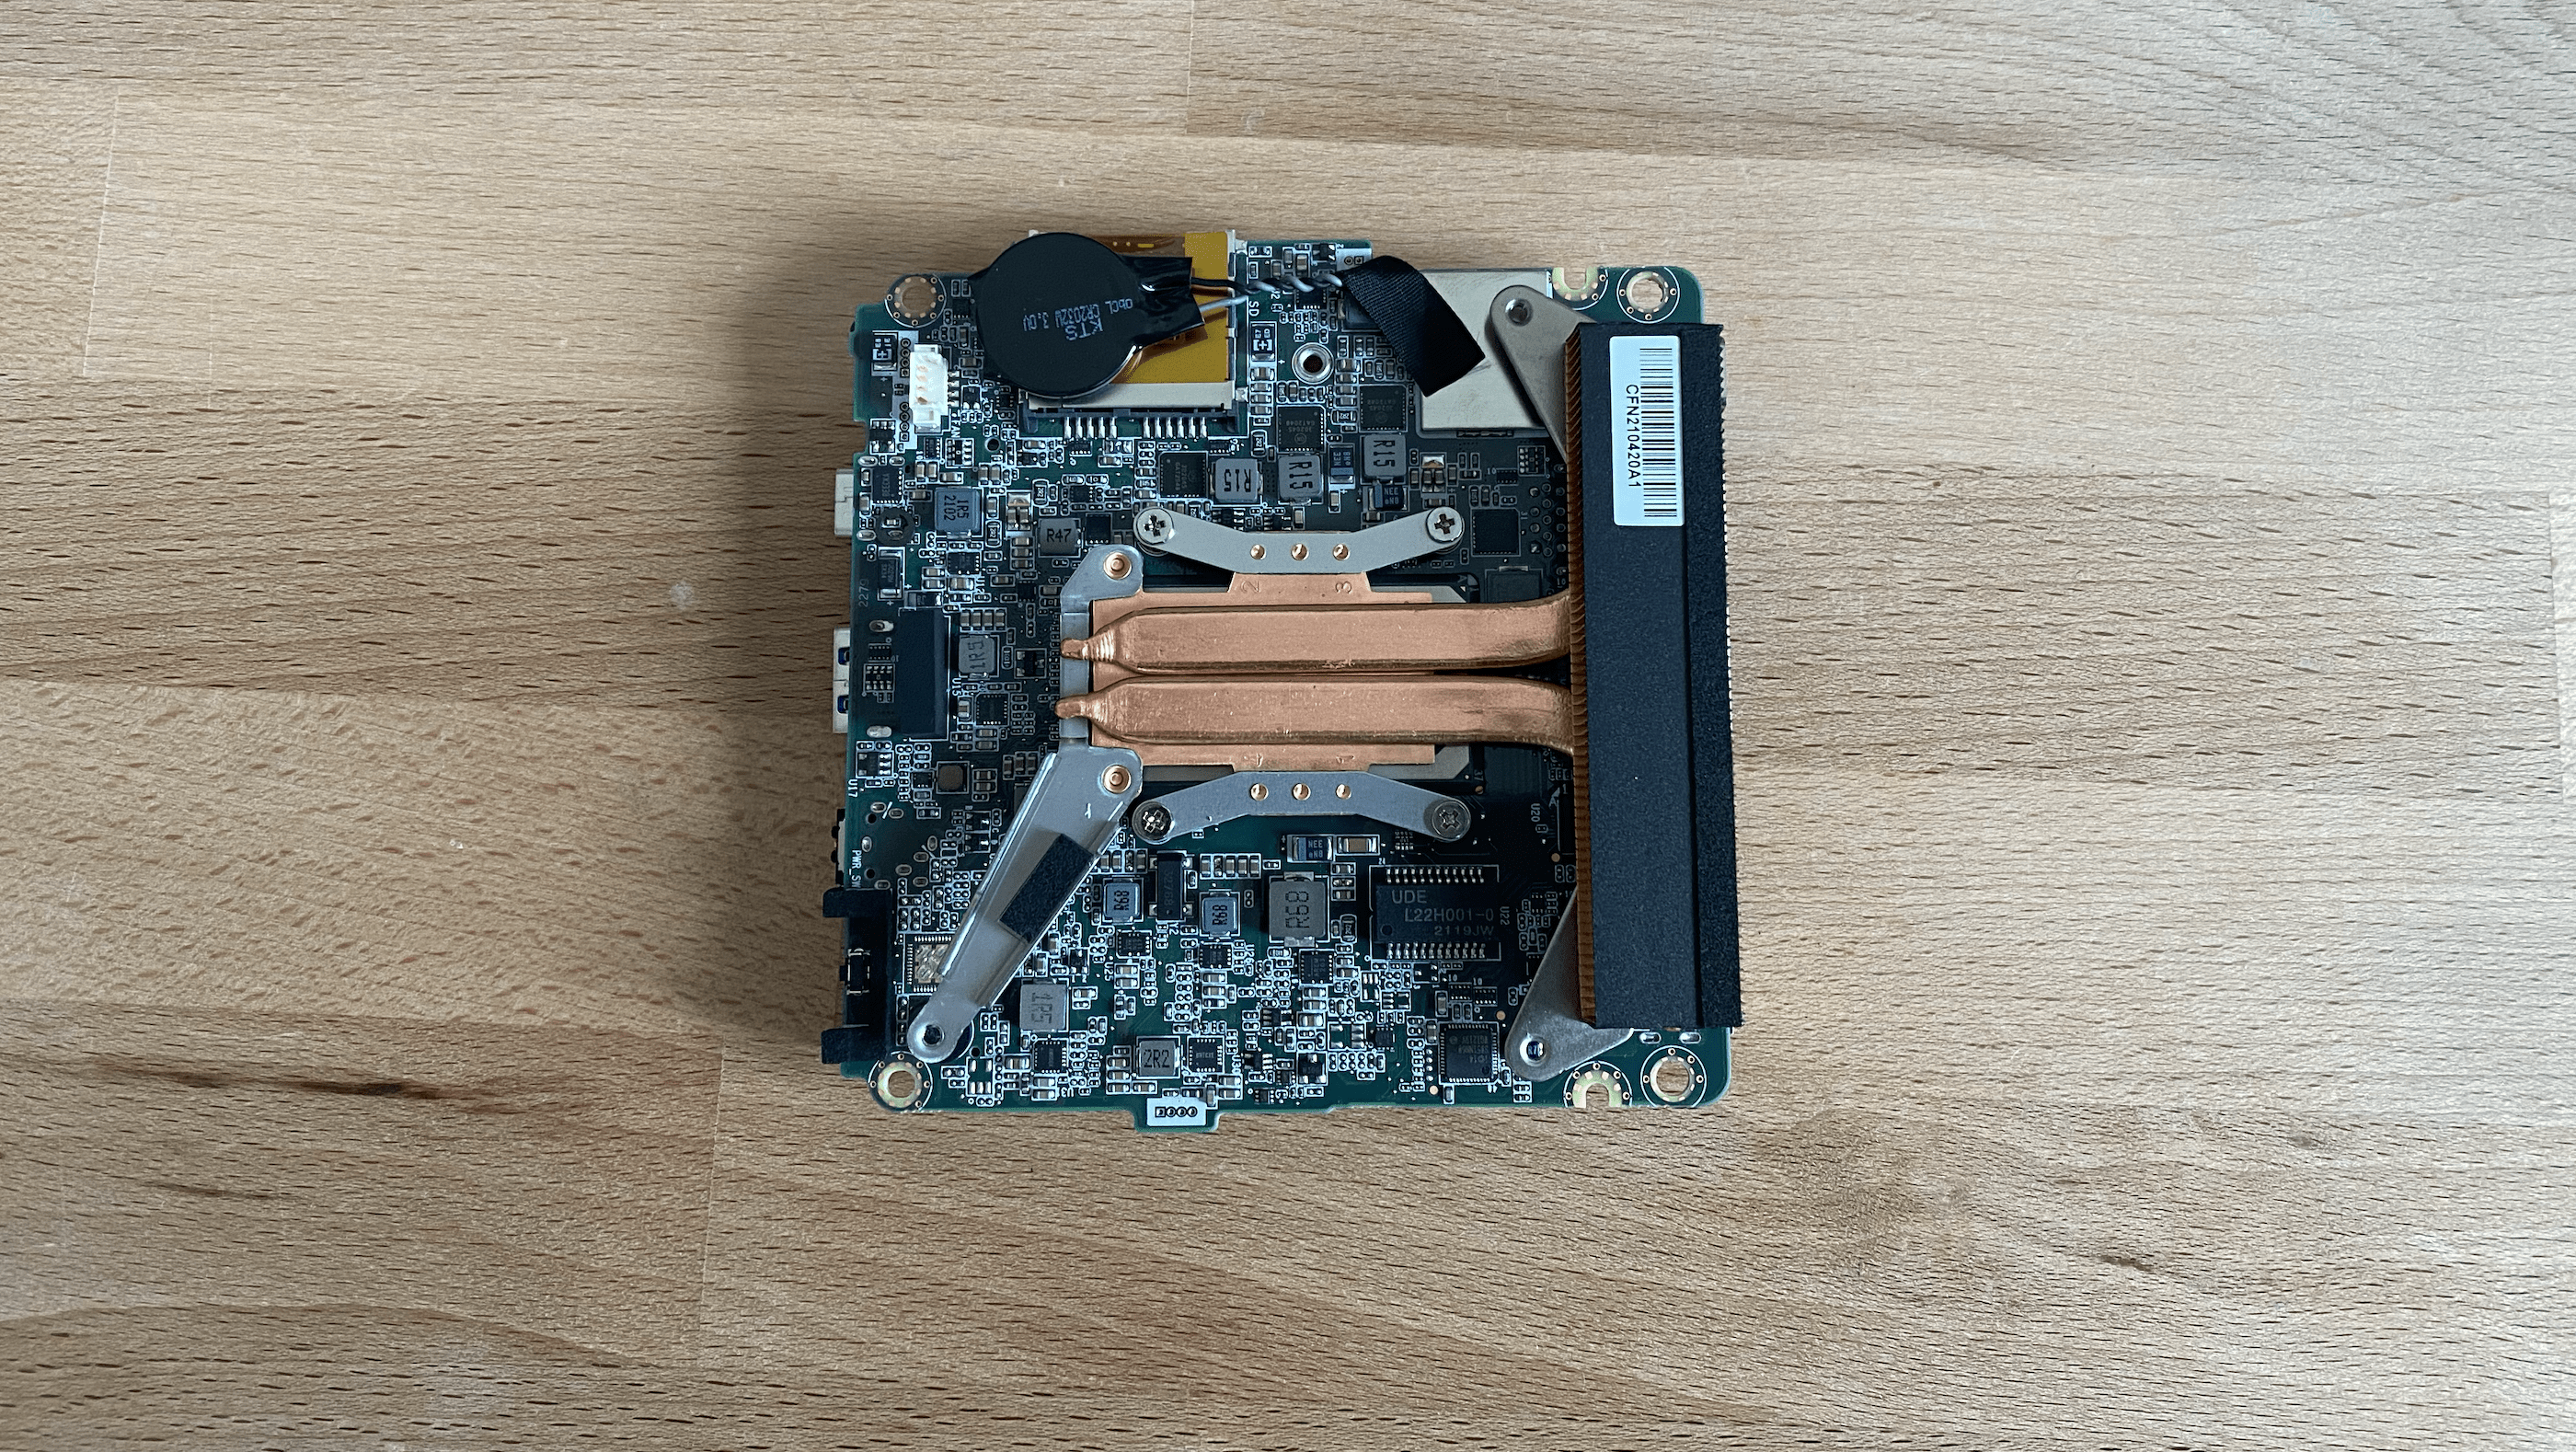
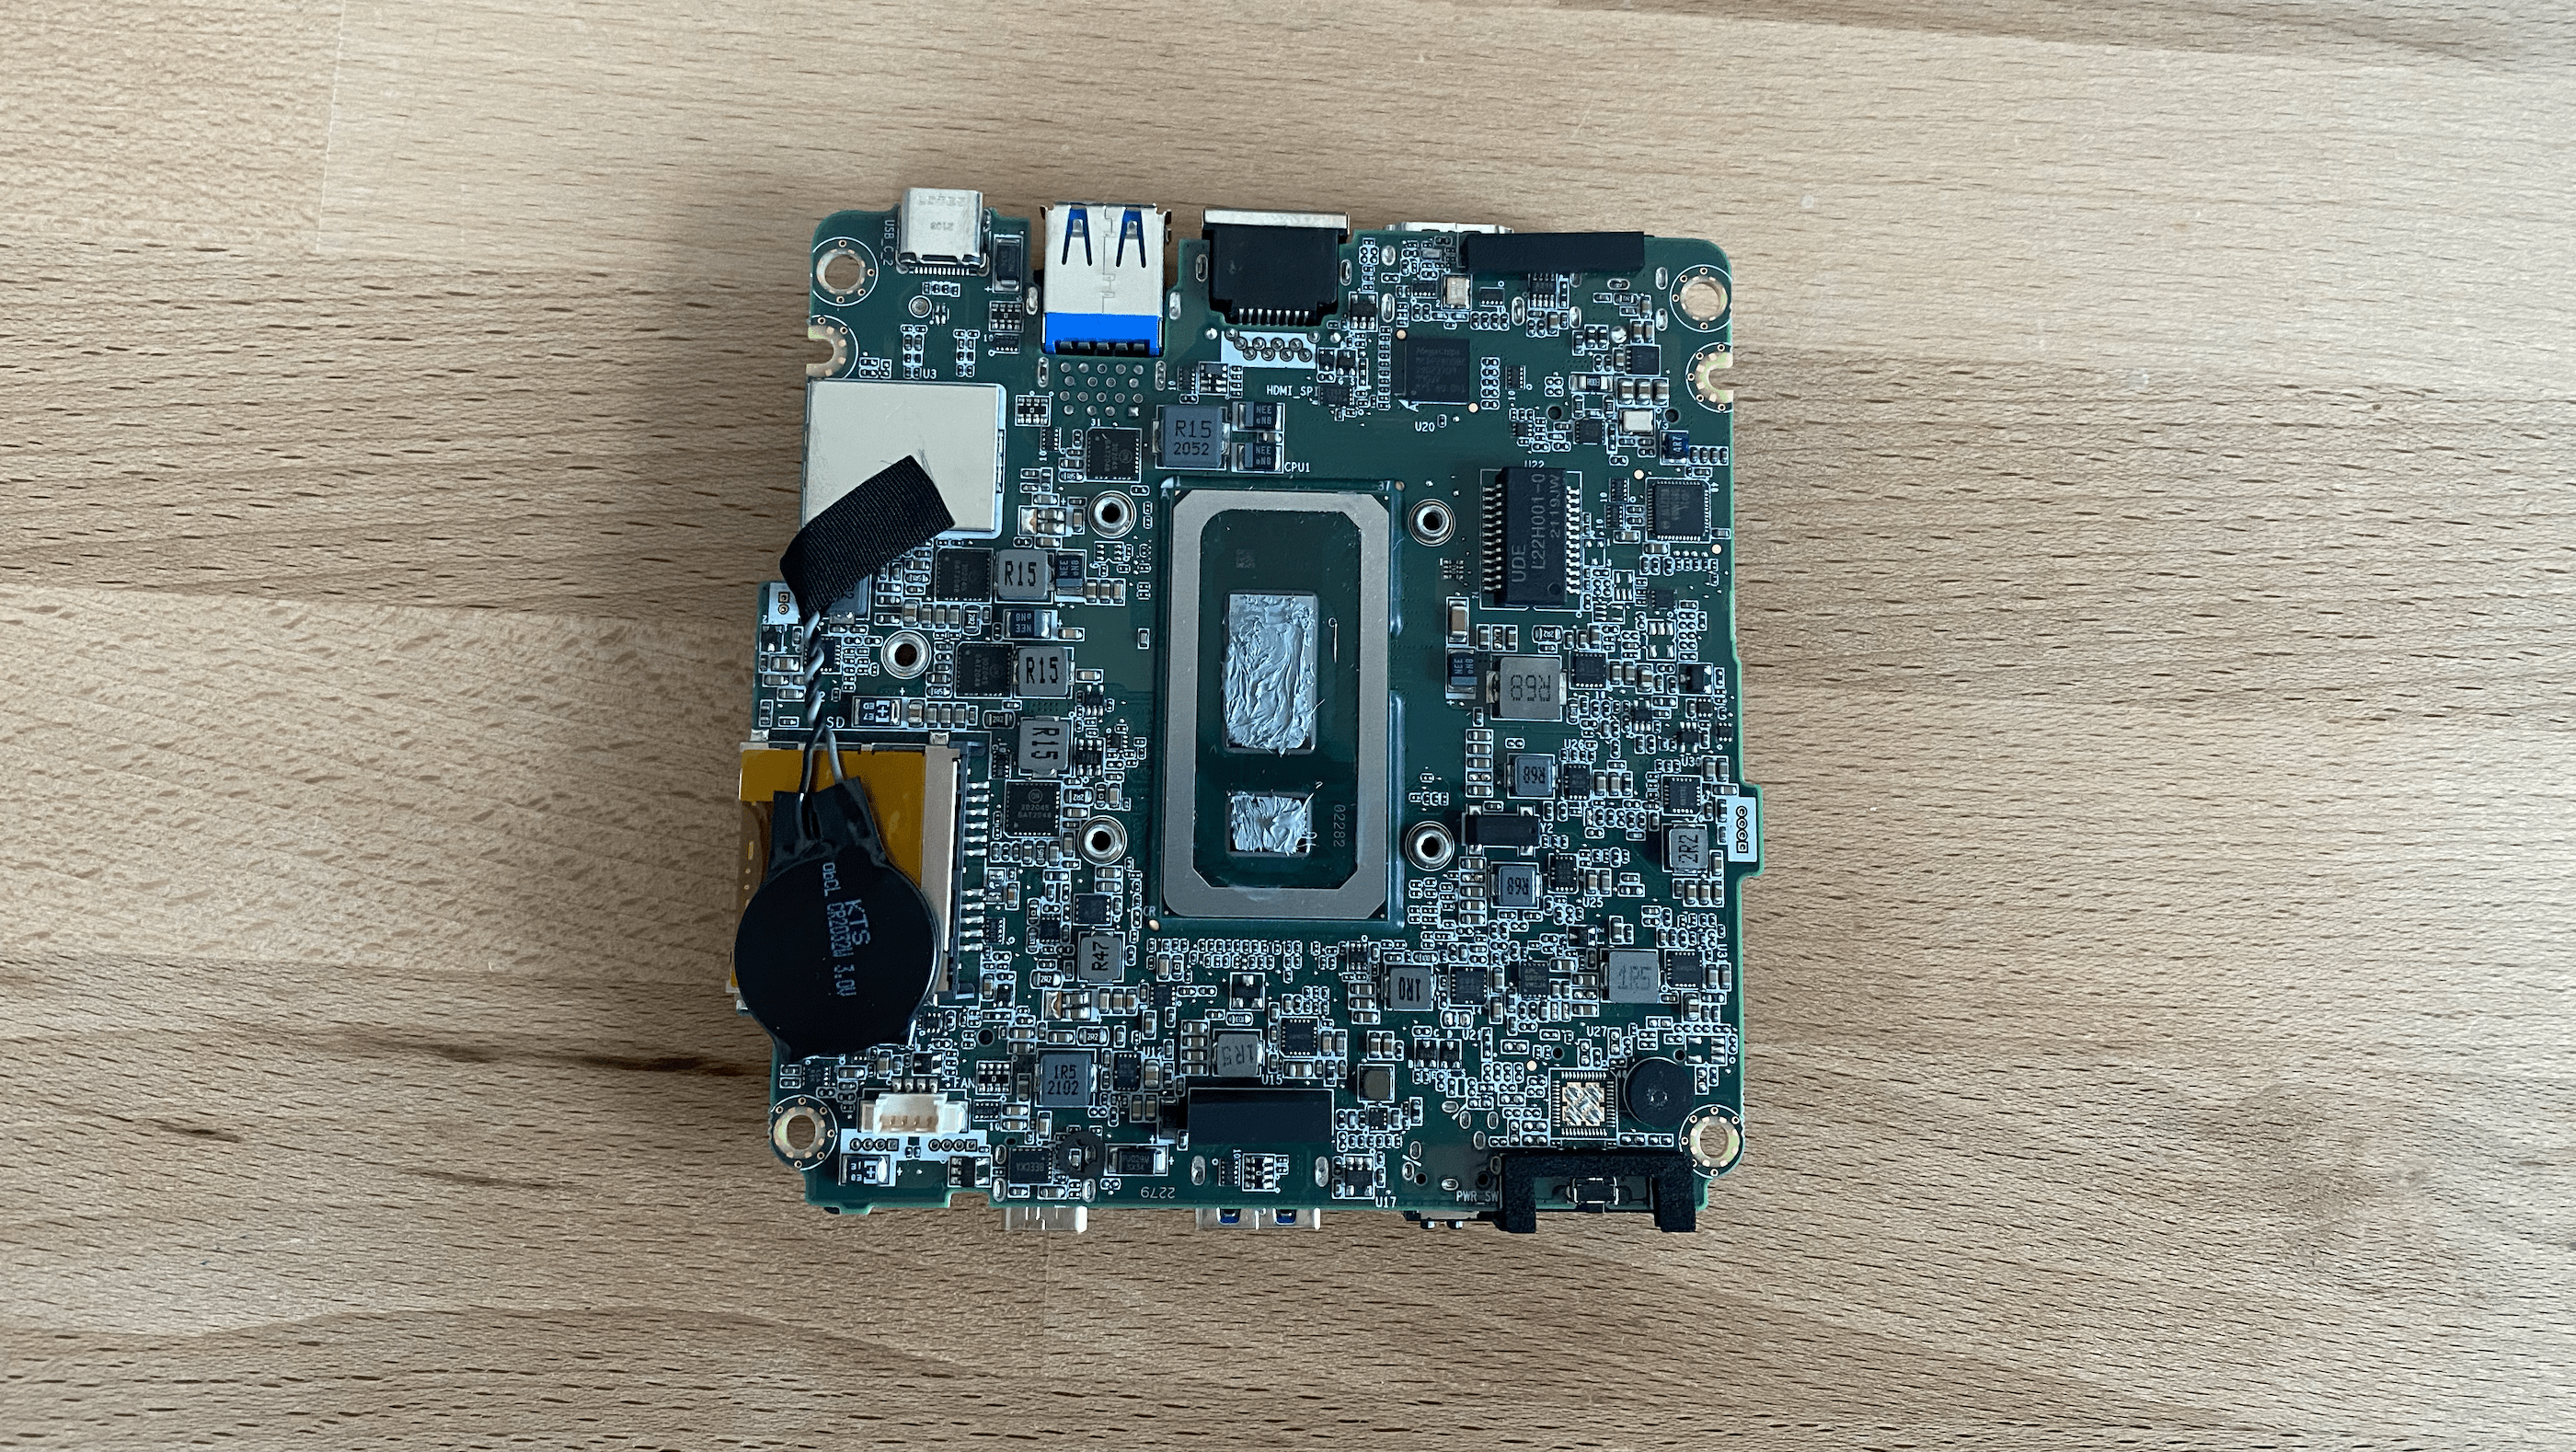
10. Detach the Processor Cooler: Gently pull the processor cooler upward and place it upside down to avoid smearing paste.
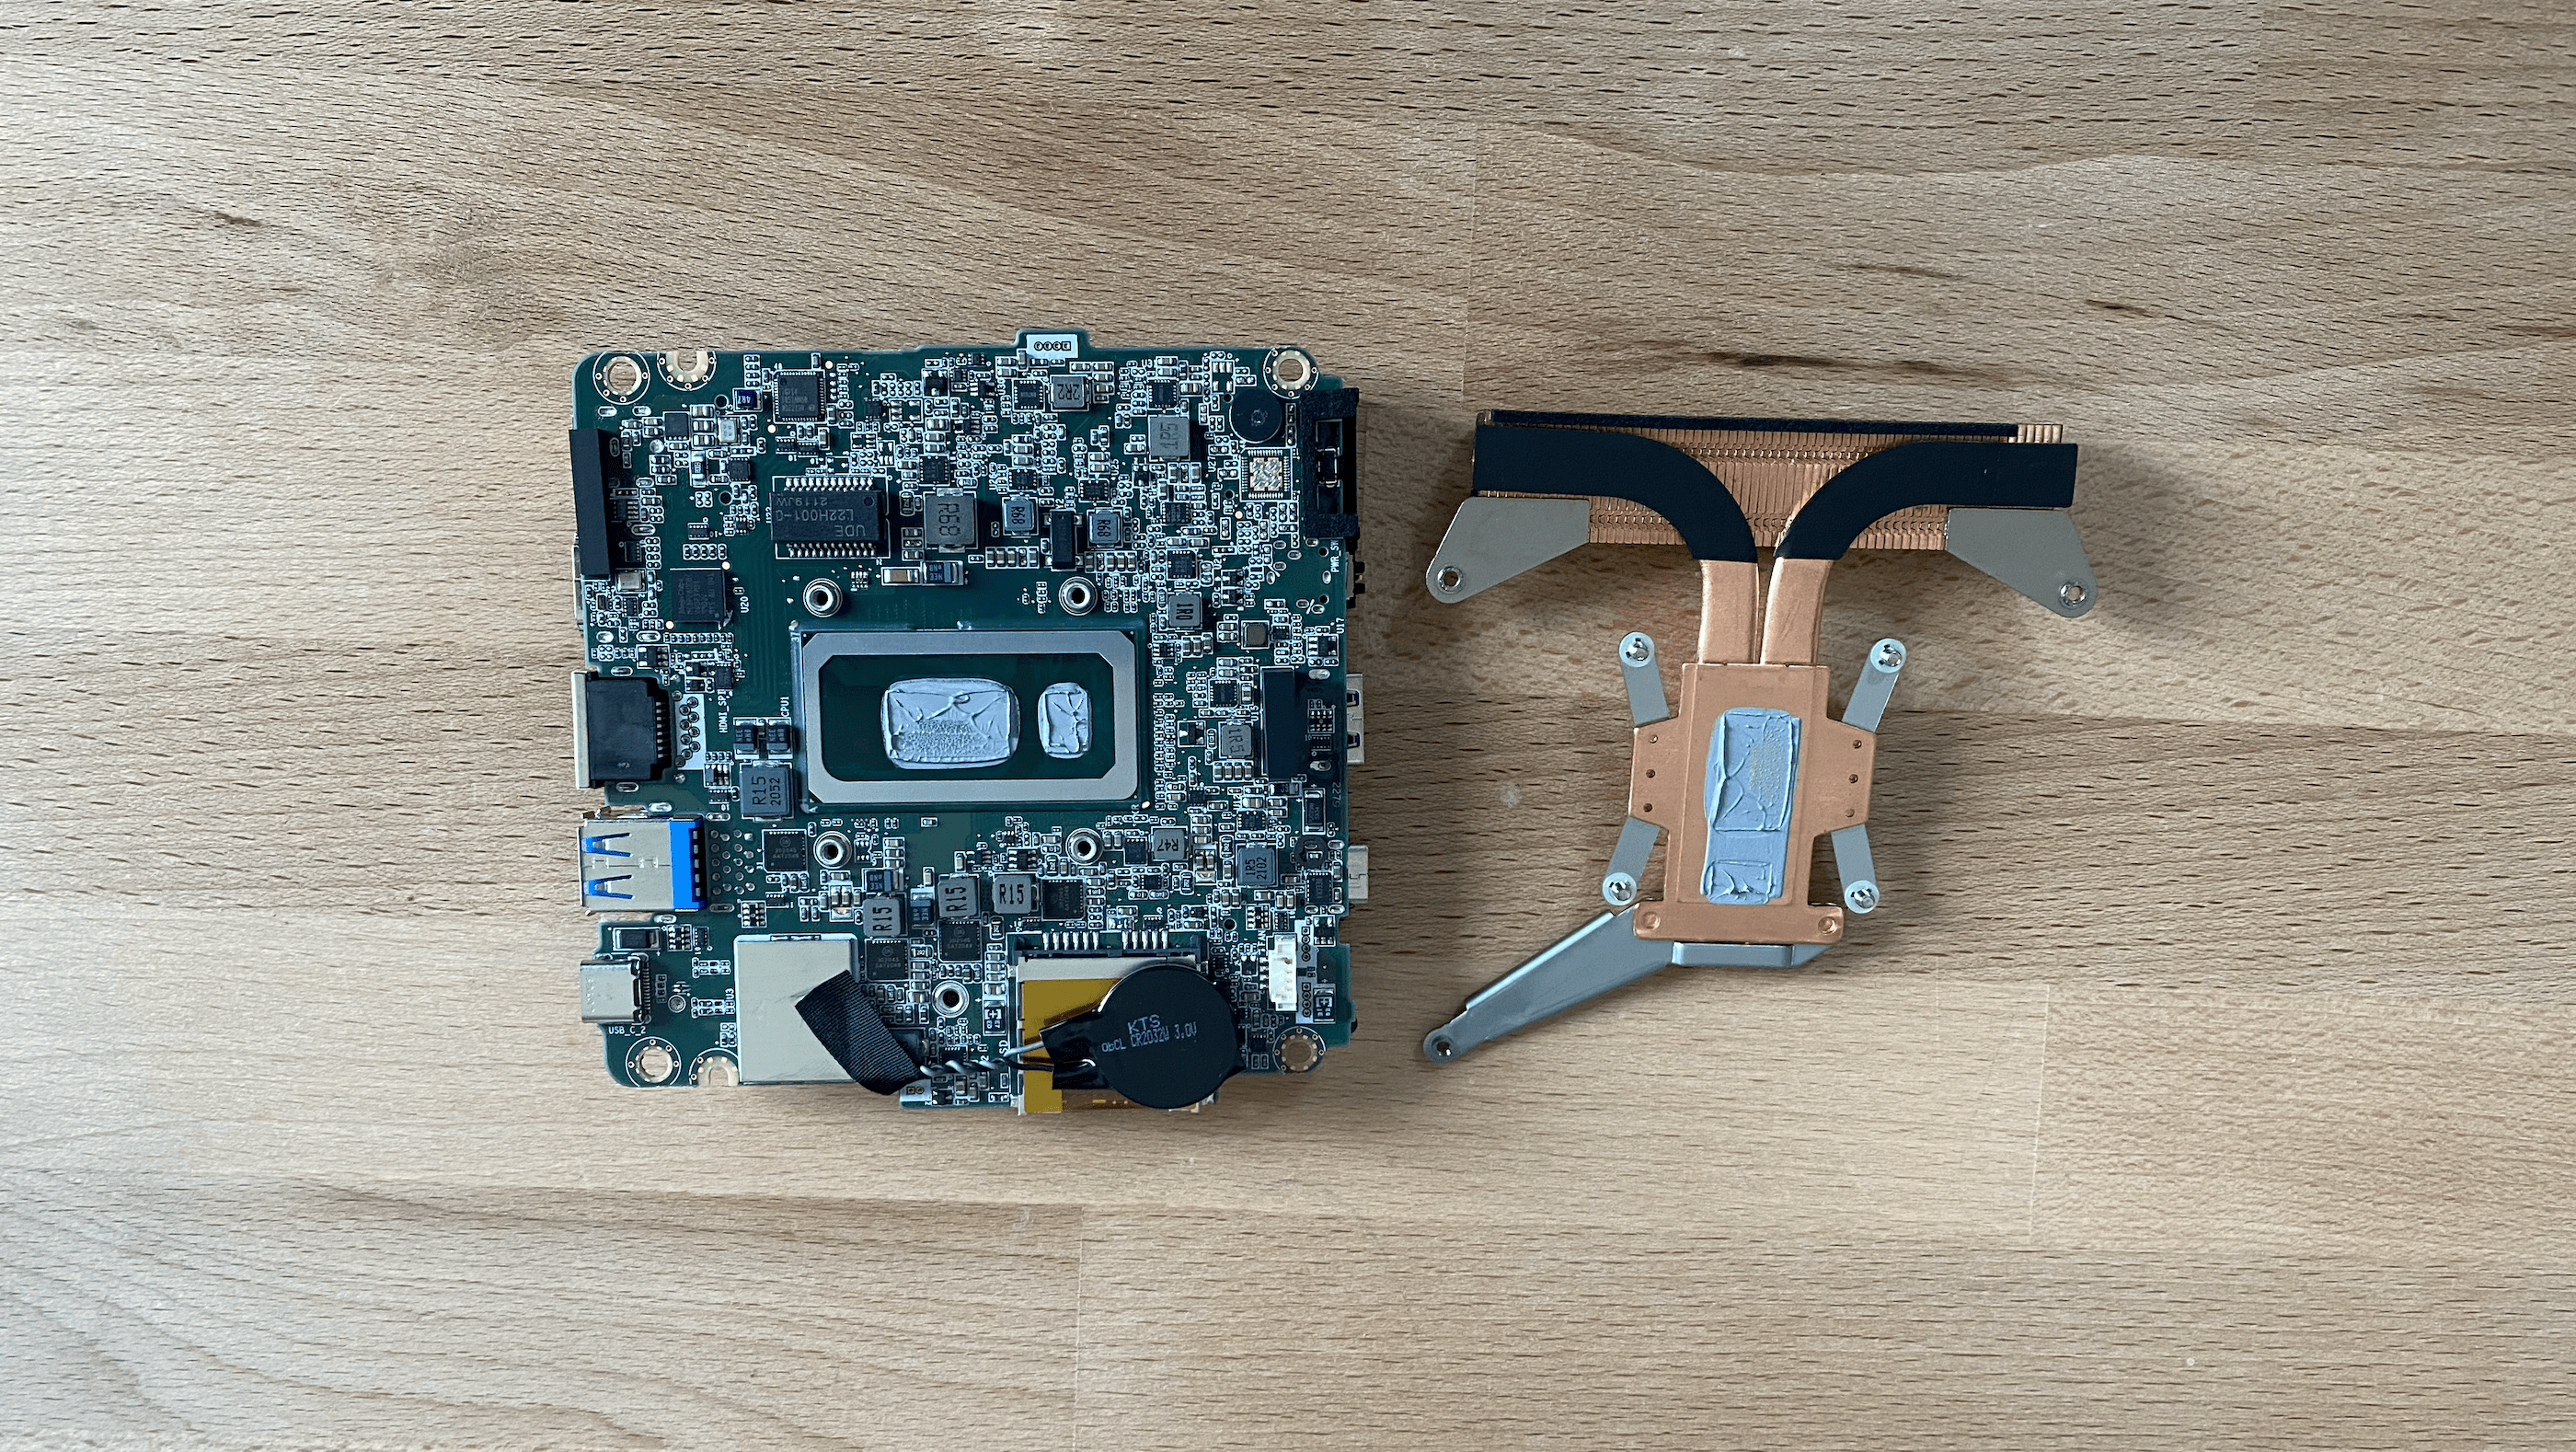
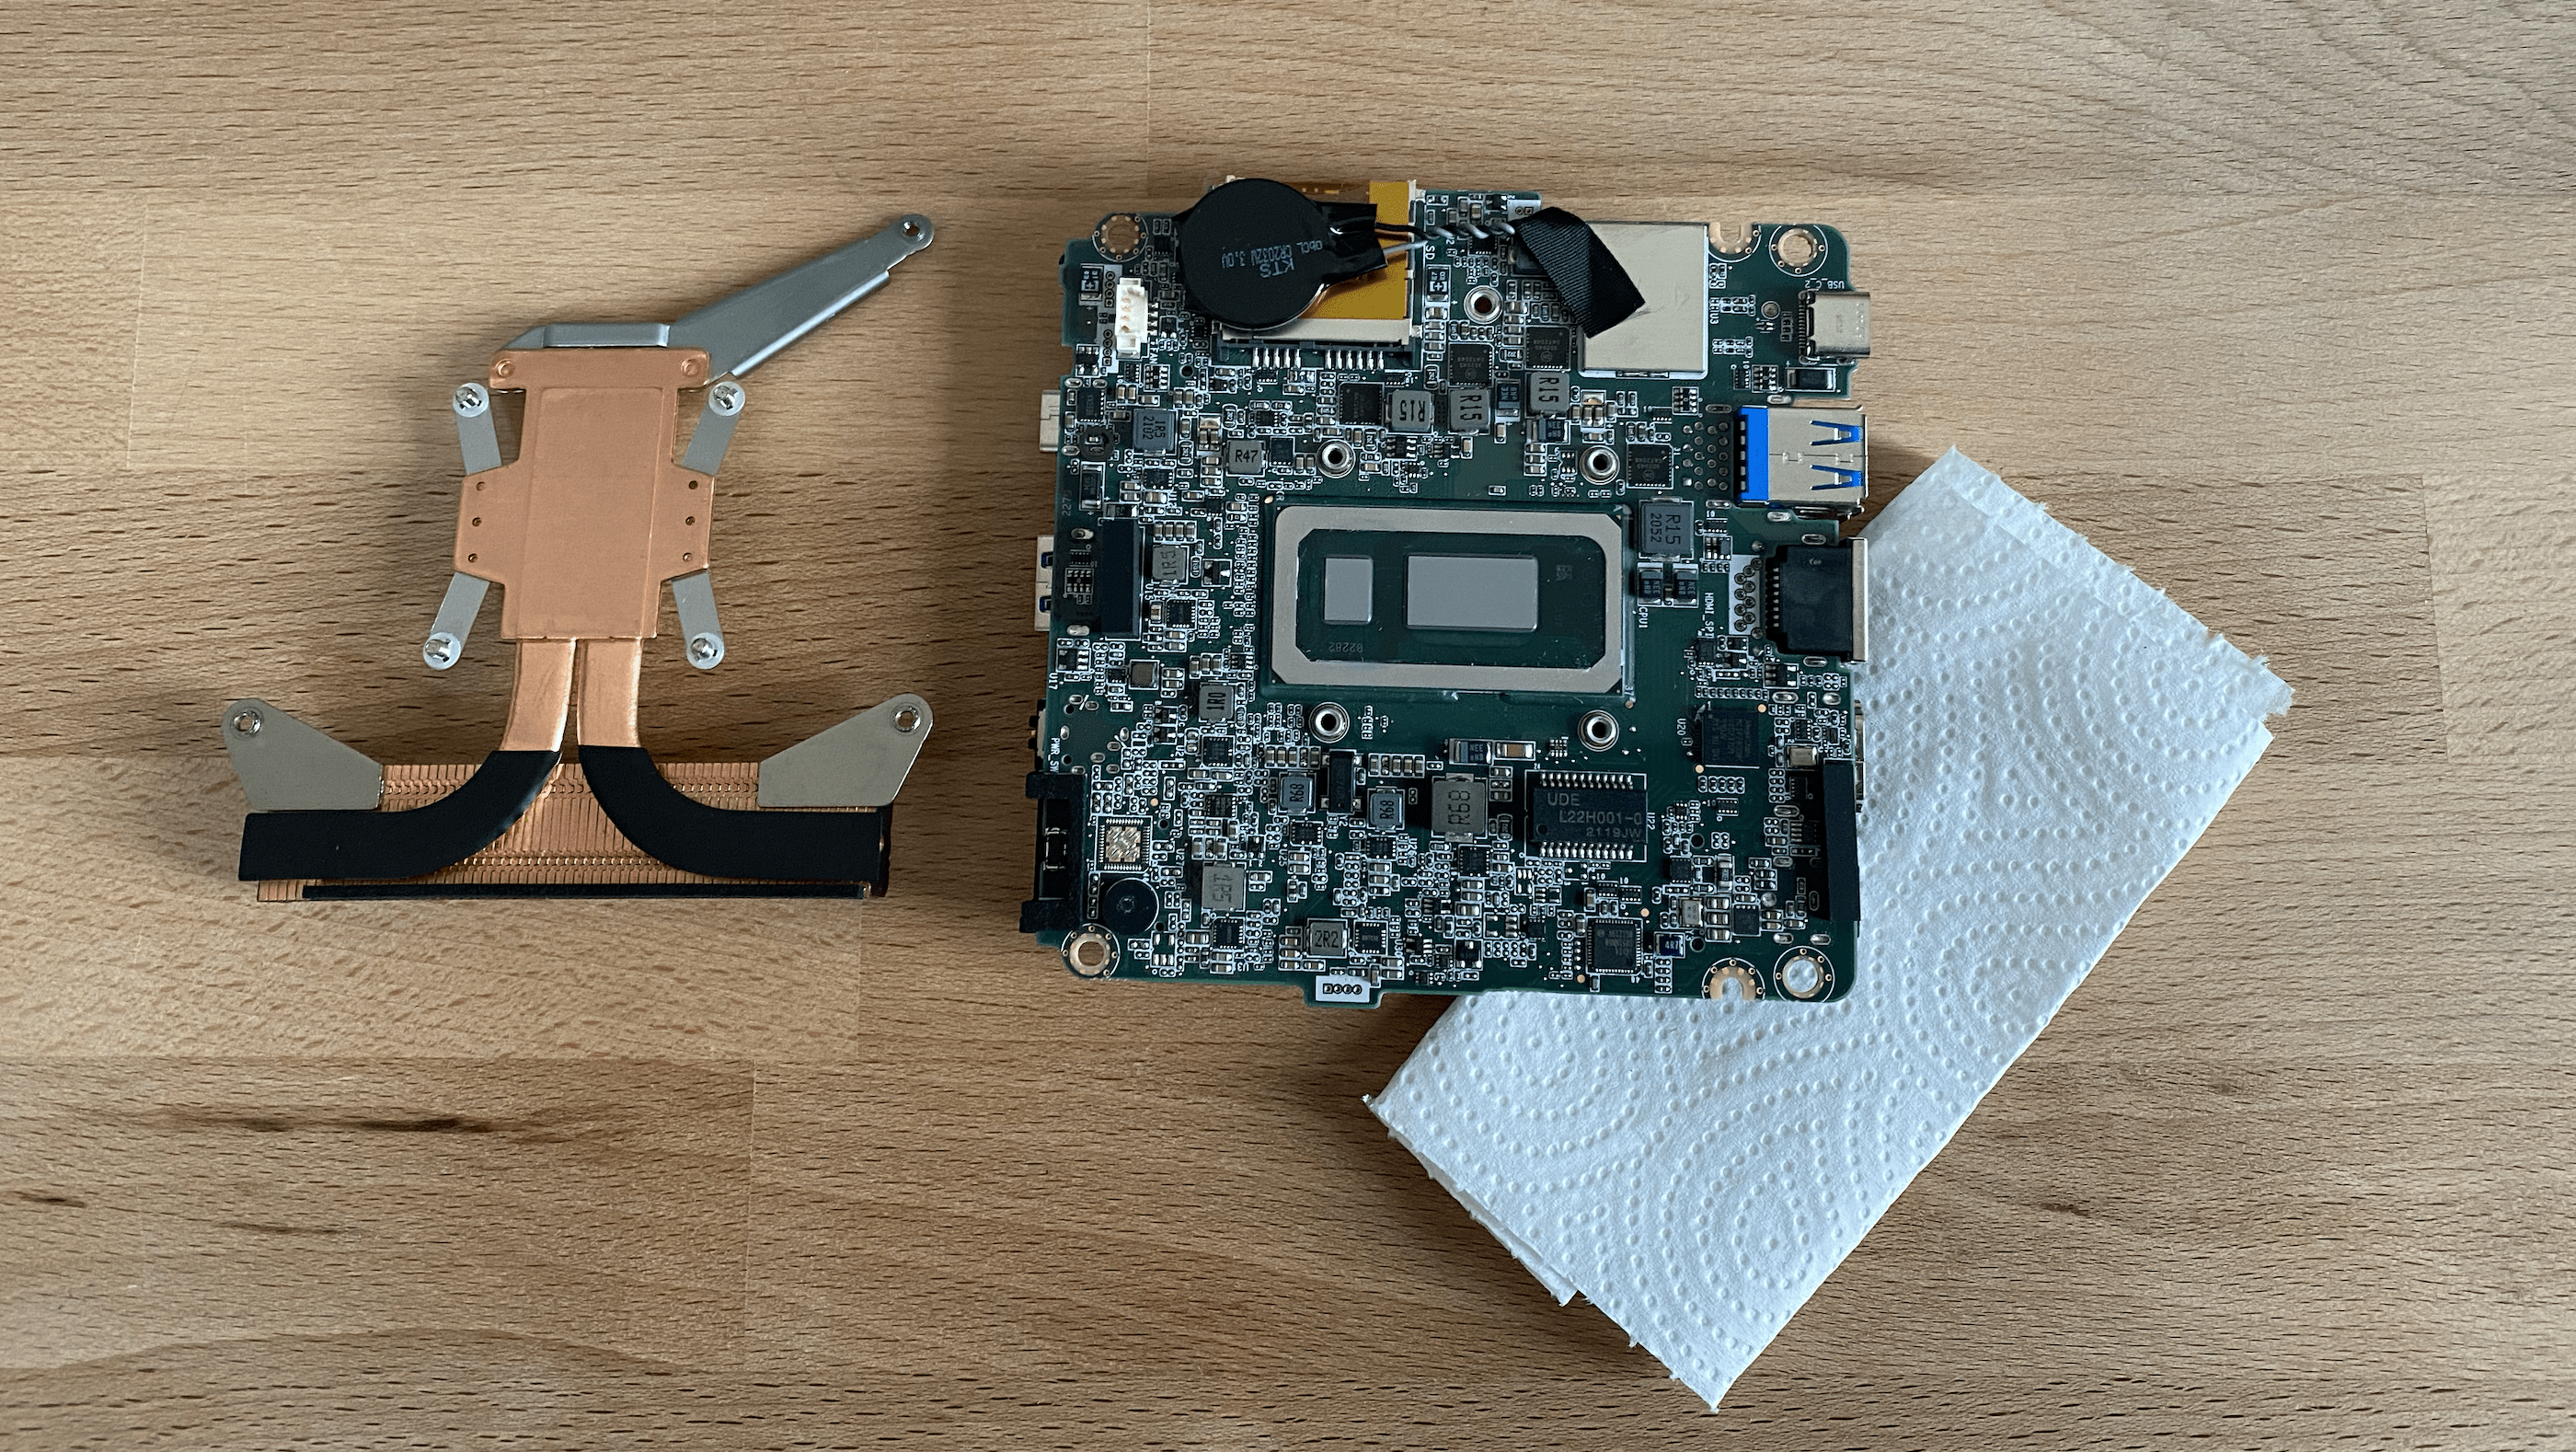
11. Clean Thermal Paste: Remove the thermal paste with an appropriate wipe and isopropyl alcohol.
Swapping the Enclosure
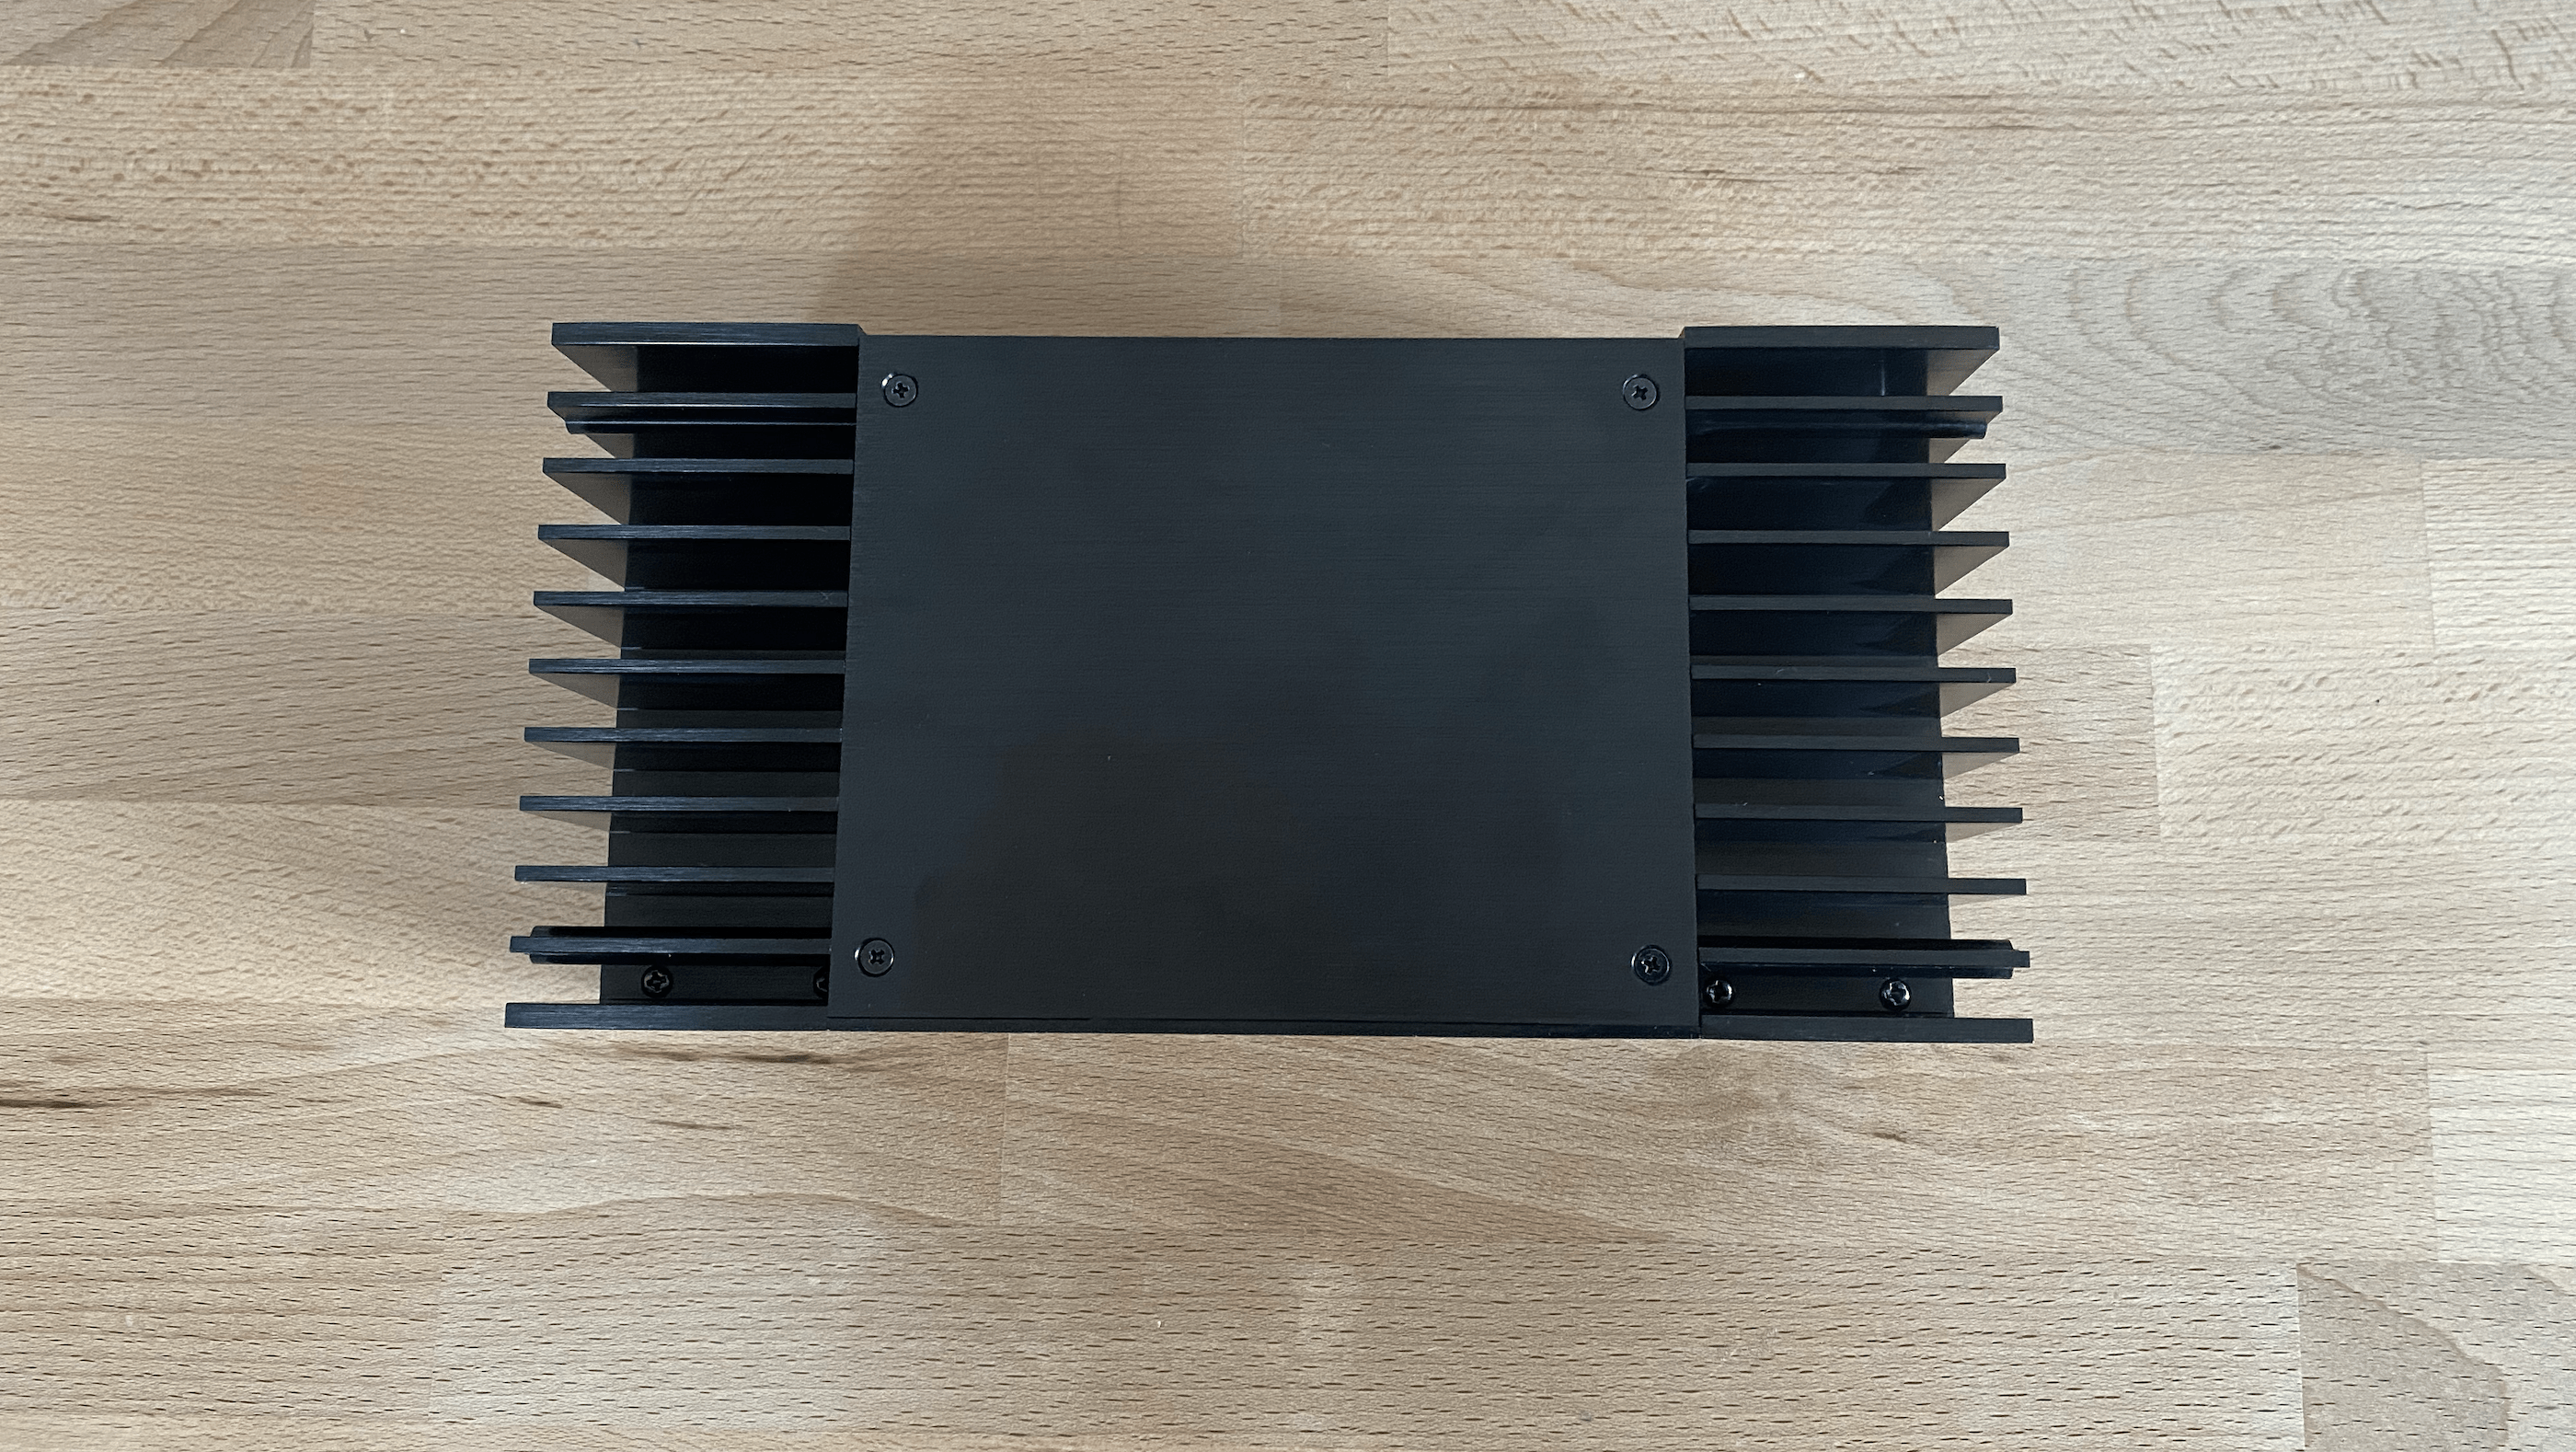
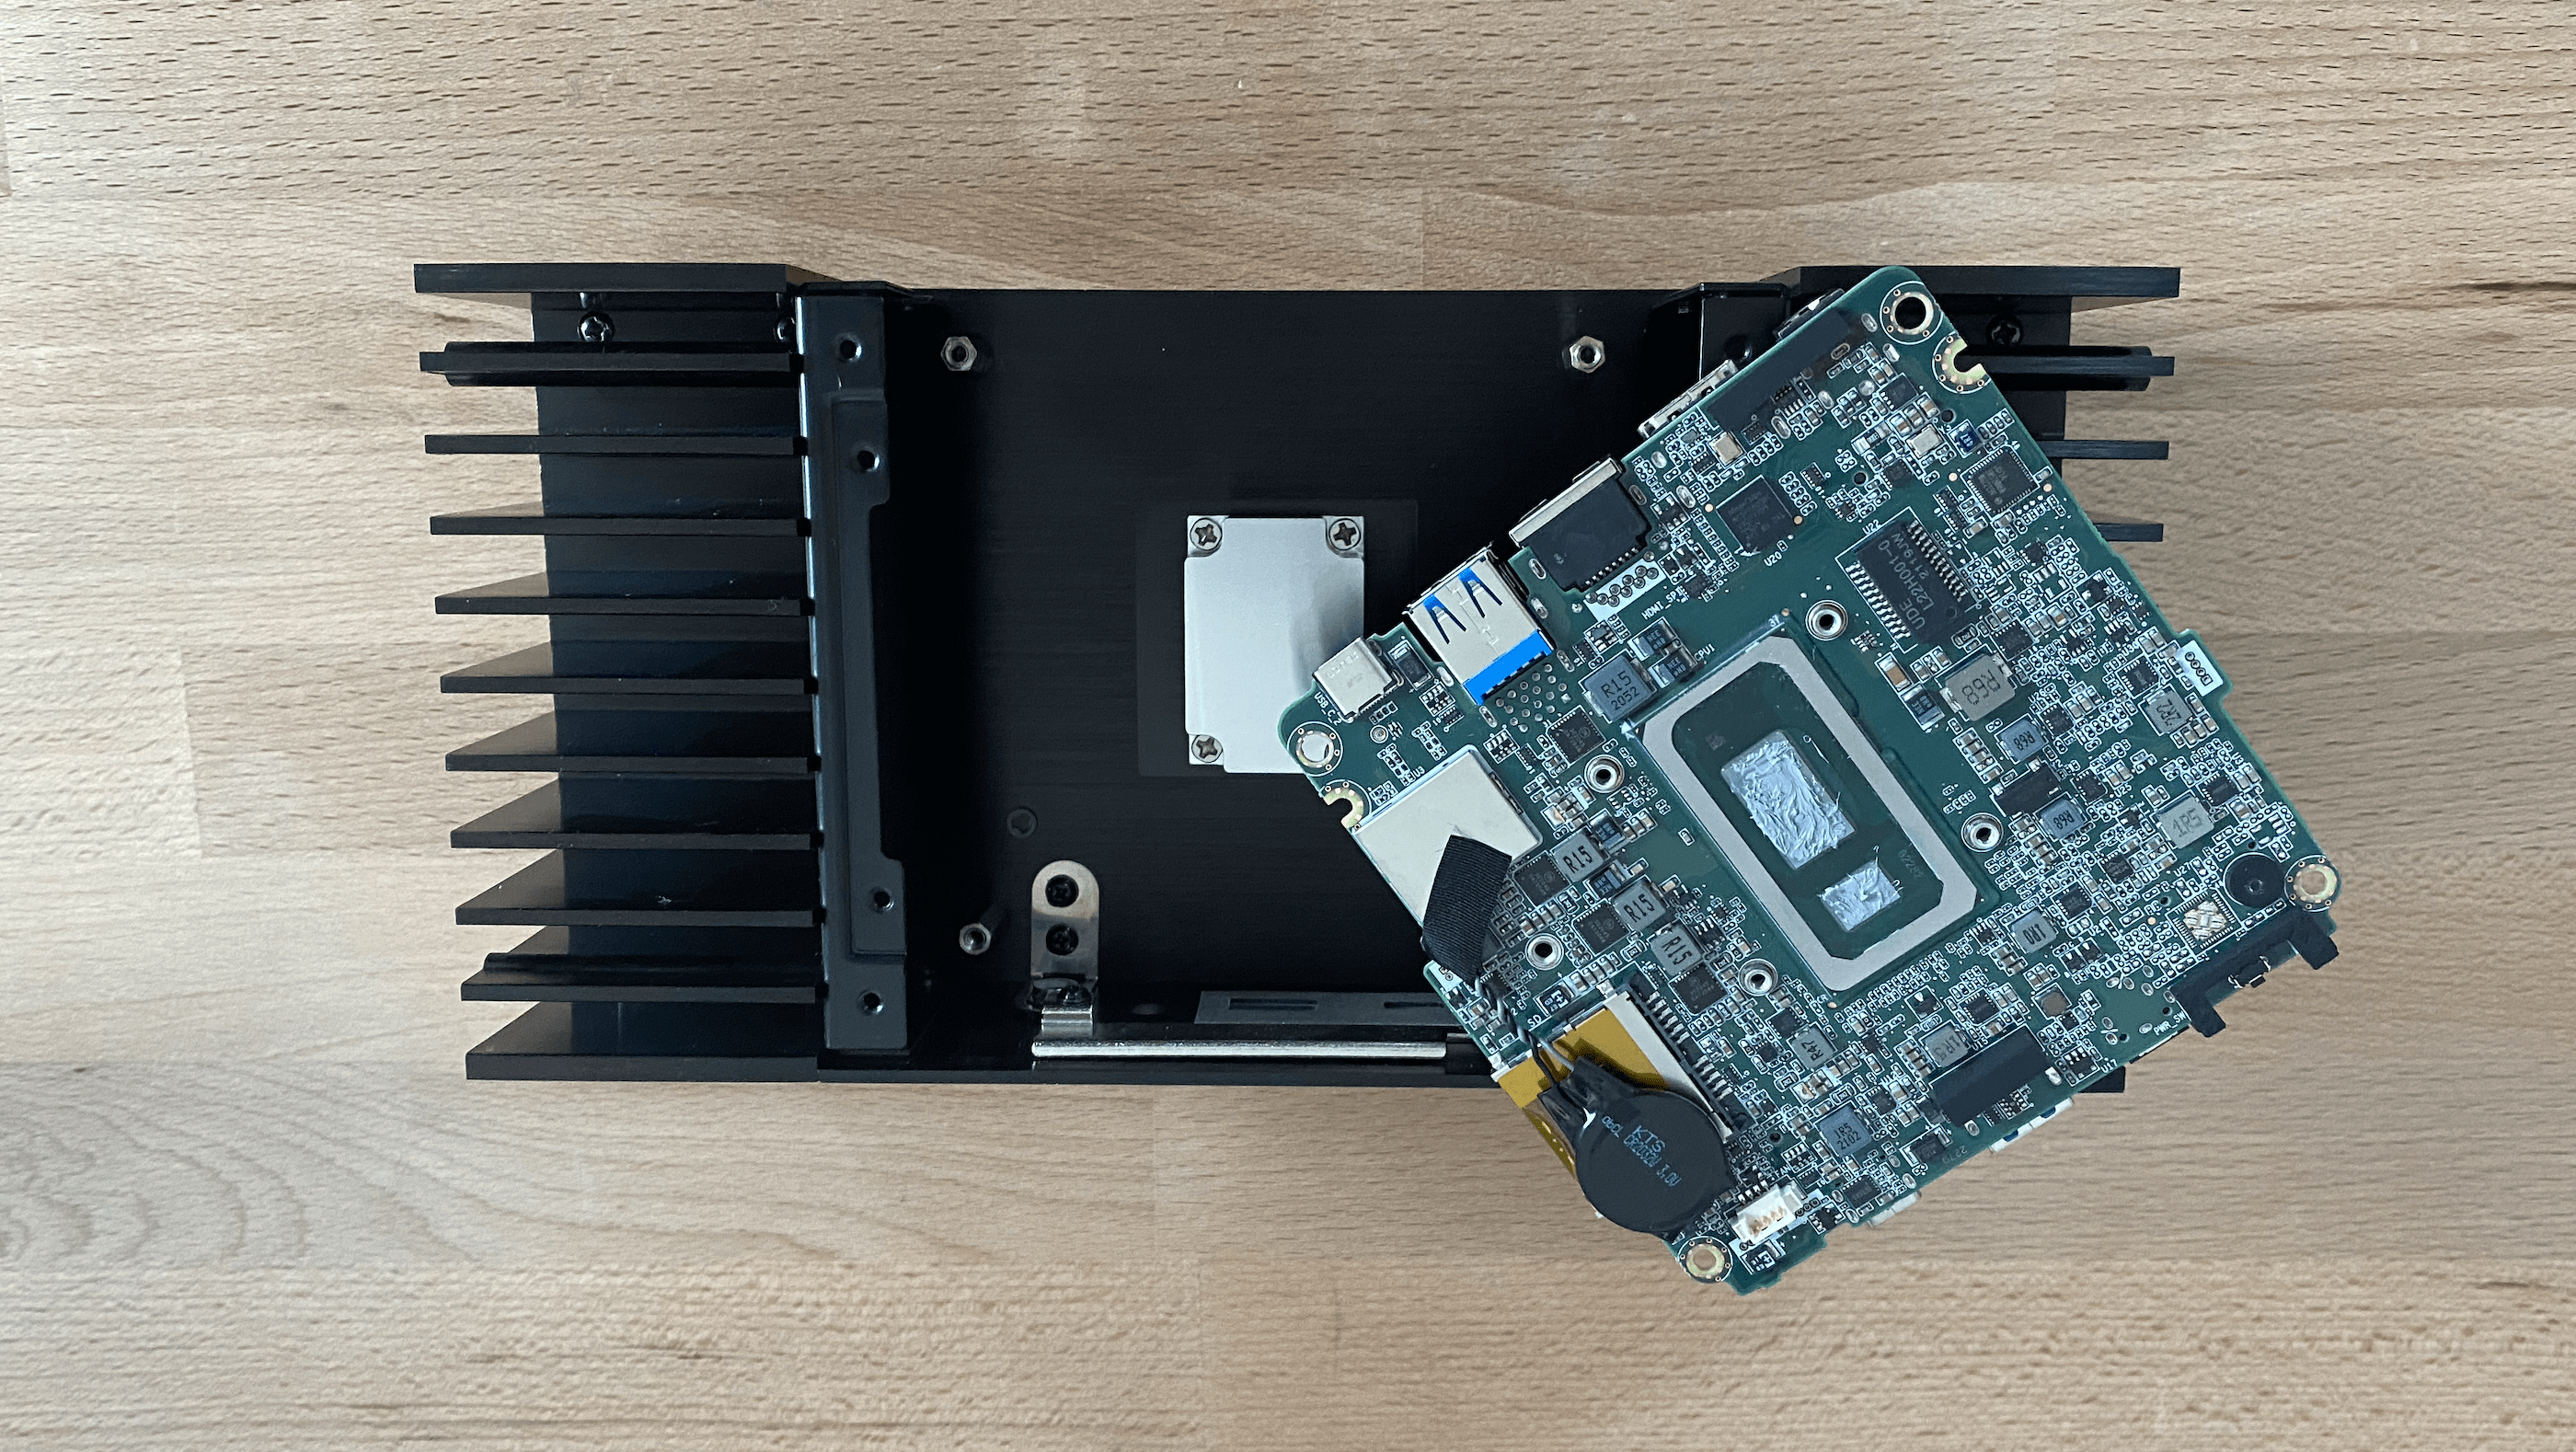
1. Prepare the New Housing: Grab the new fanless housing, which also acts as a cooling block for the motherboard.

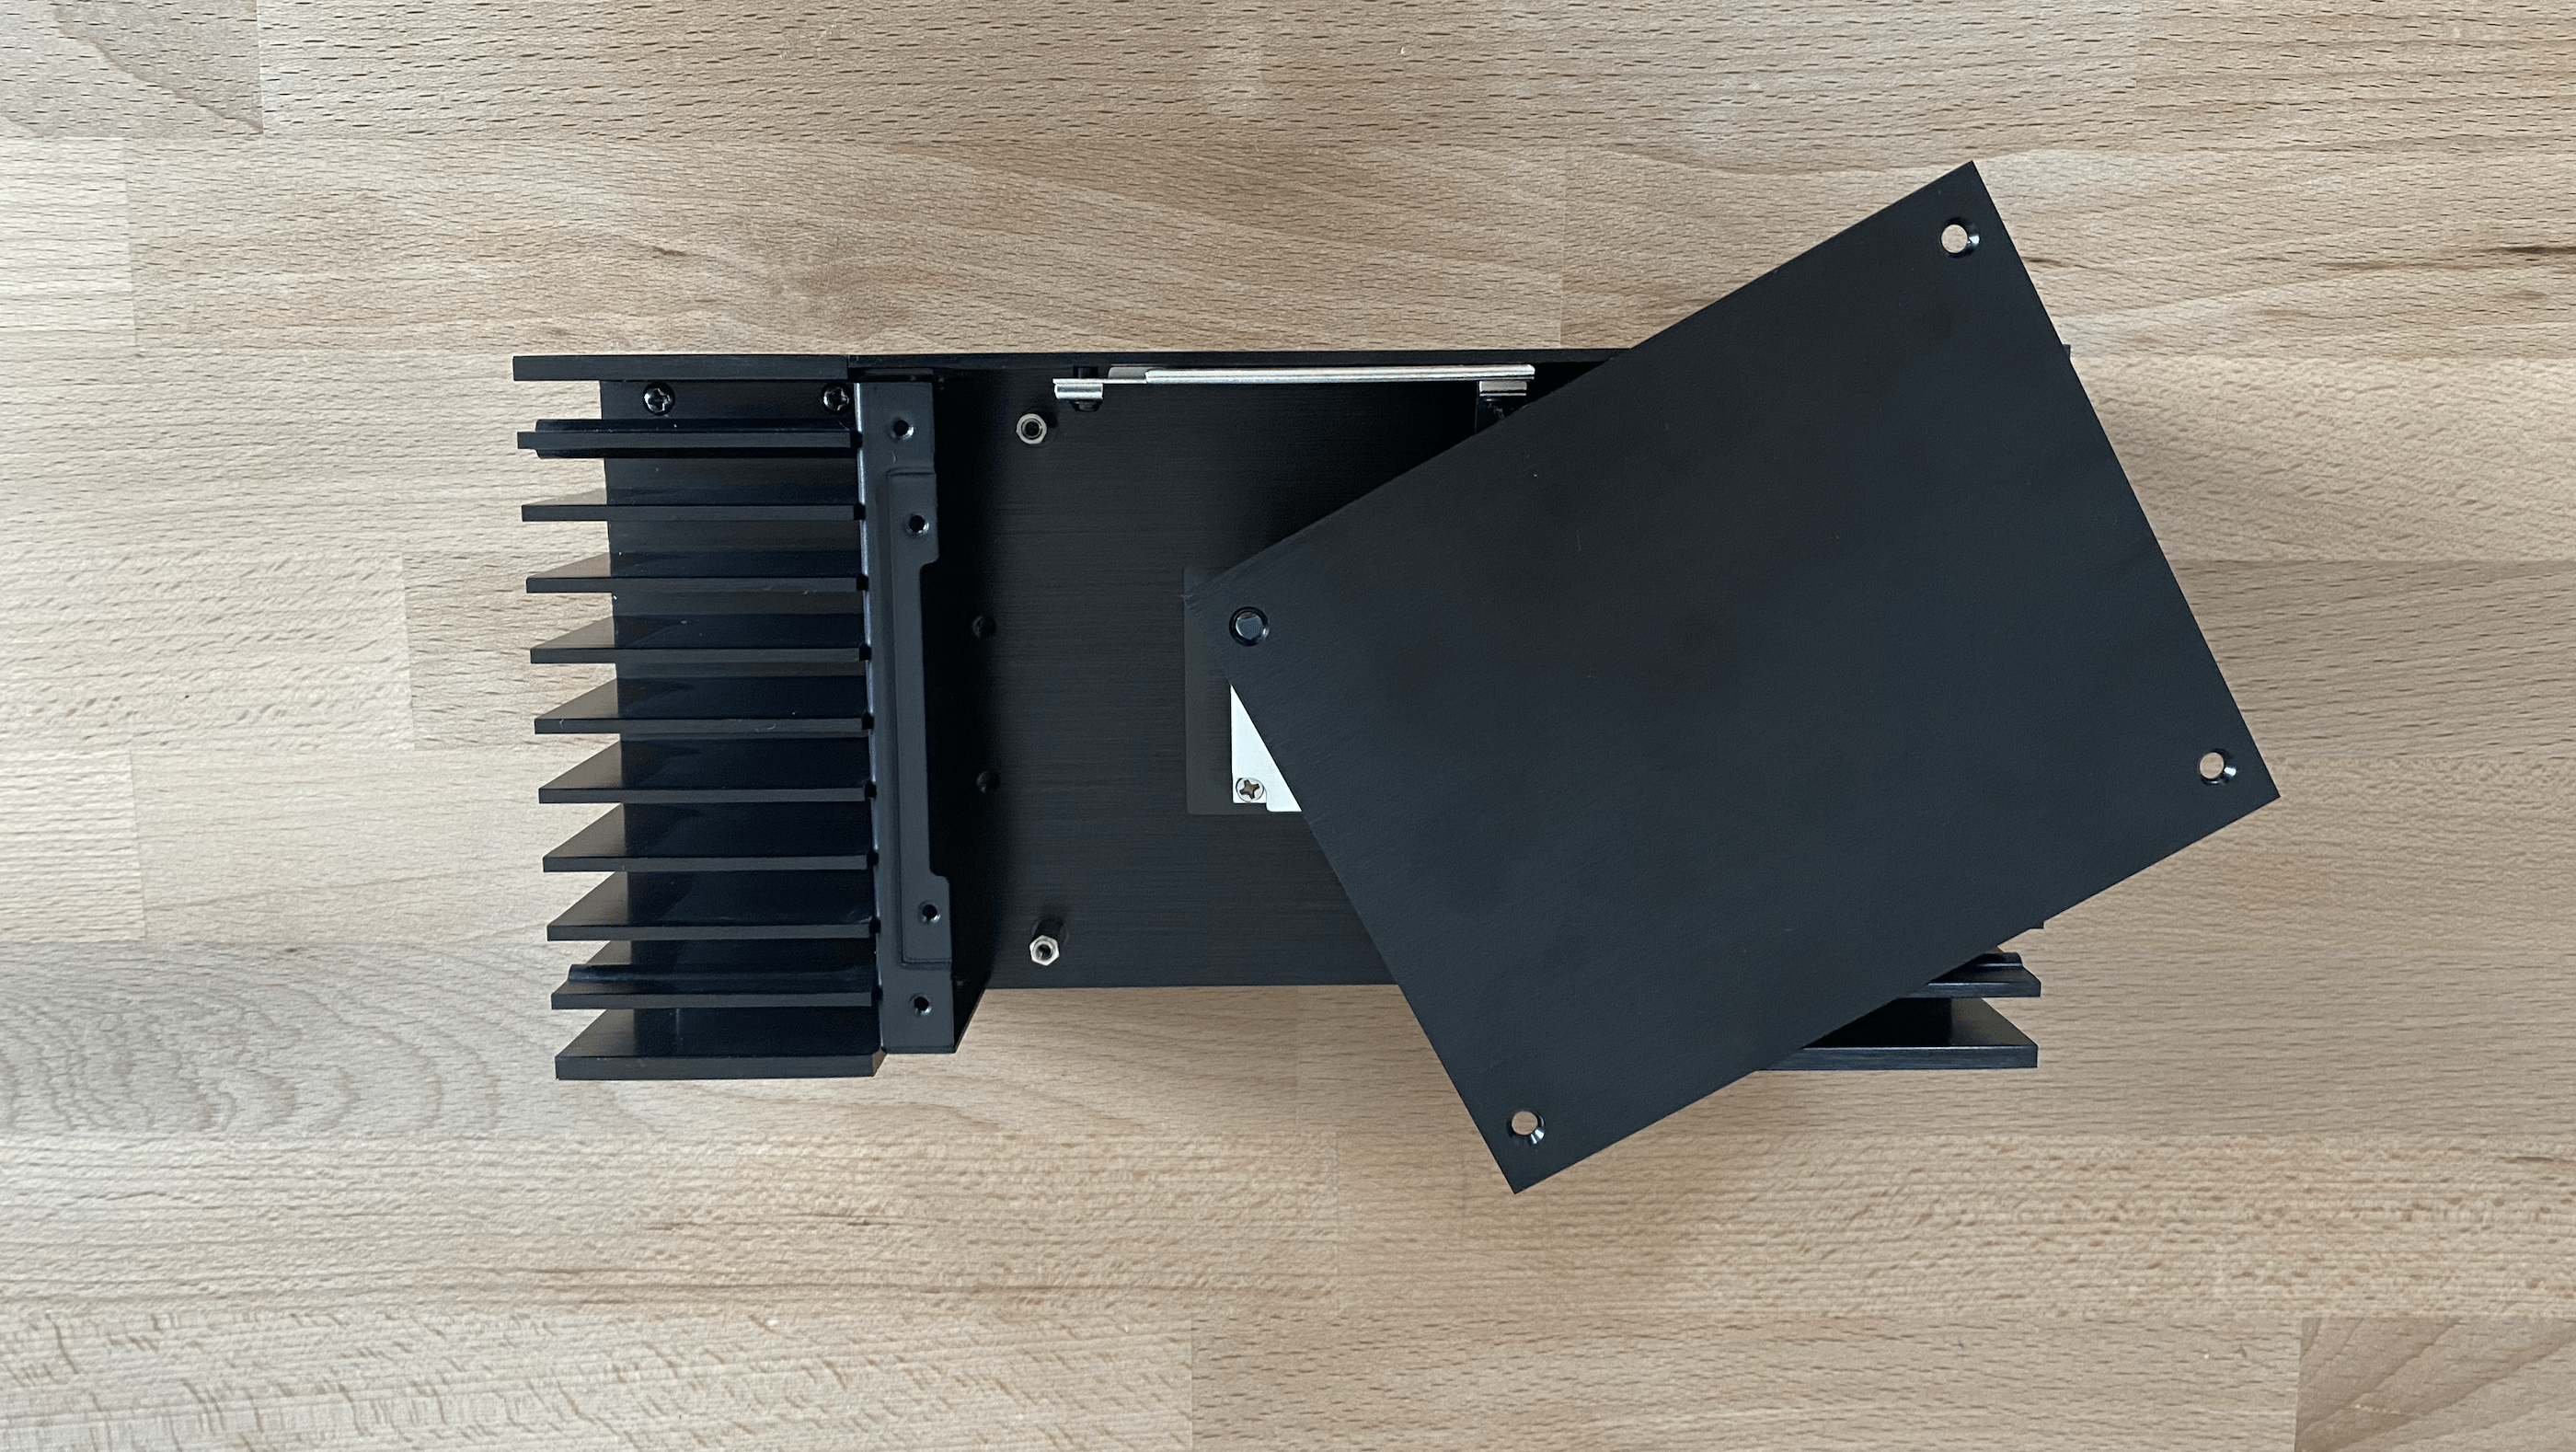
2. Remove the Back Panel: Remove the back panel to access the mounting options for the motherboard.
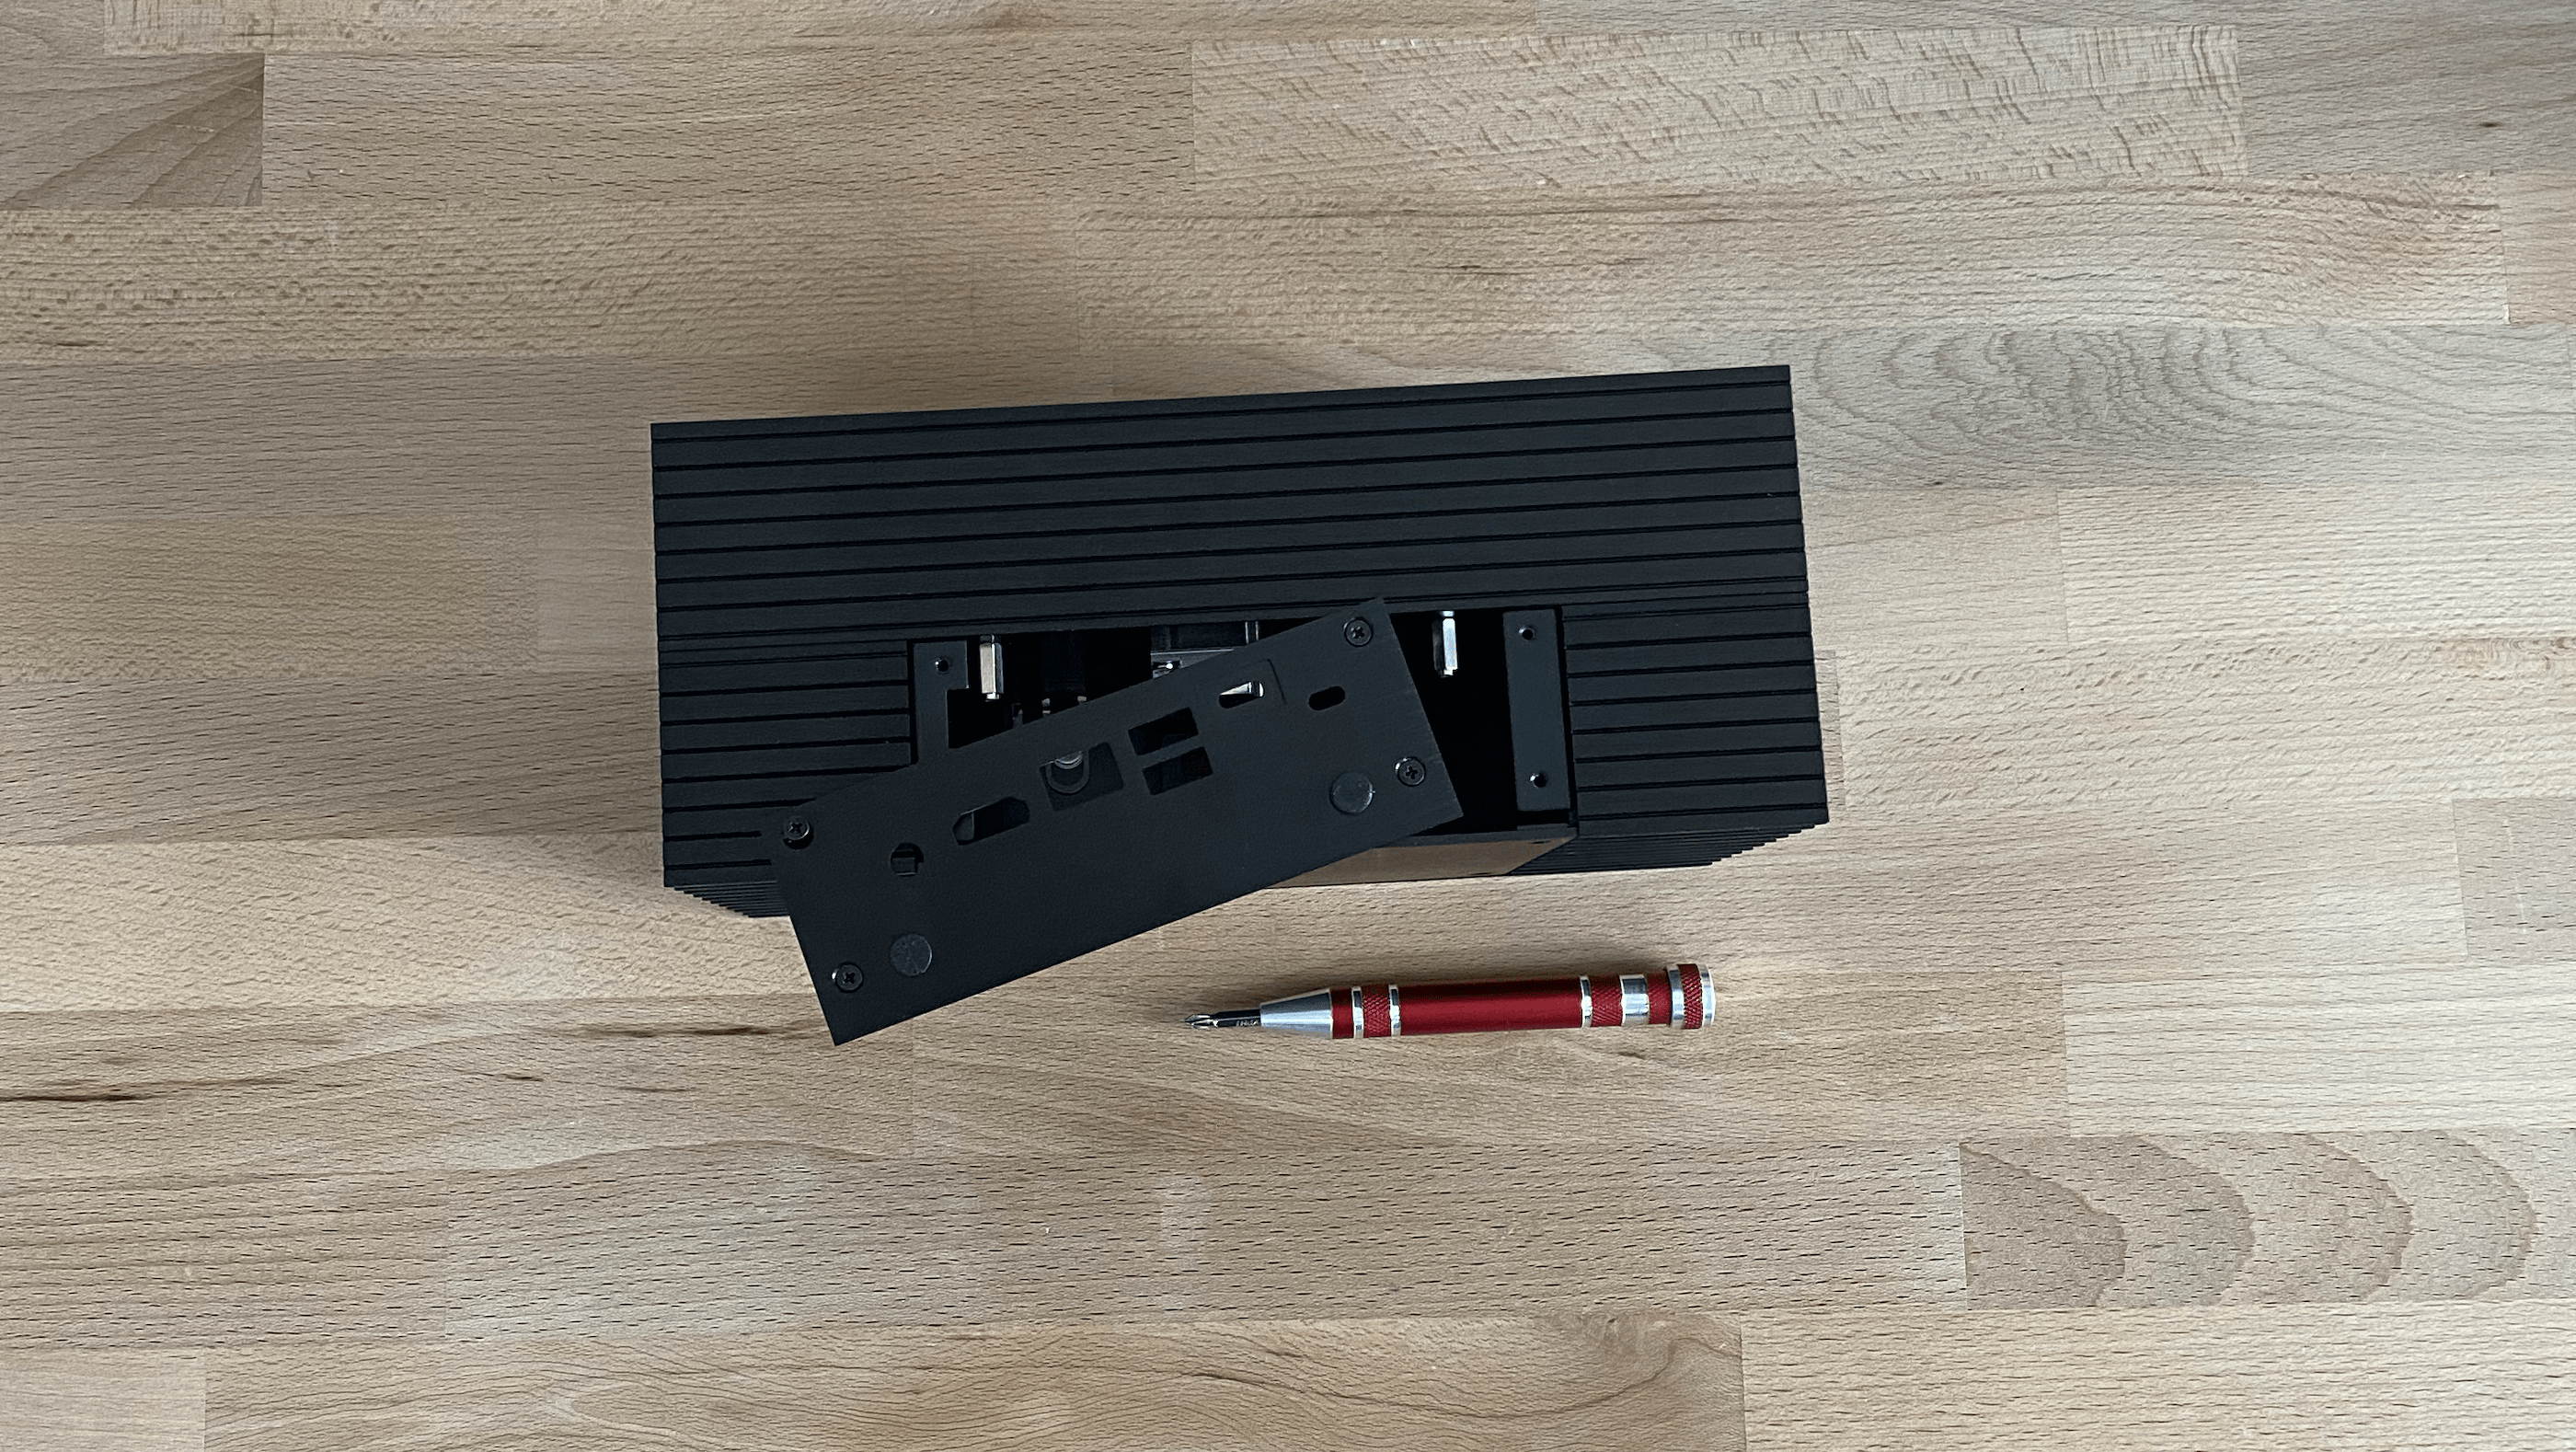
3. Turn the Case: Place the parts aside and turn the case around to facilitate the mounting process.
4. Remove the Bottom Panel: Unscrew the fasteners securing the bottom panel of the enclosure.
5. Clean the Motherboard: Clean the motherboard thoroughly to remove any residue before reinstalling.
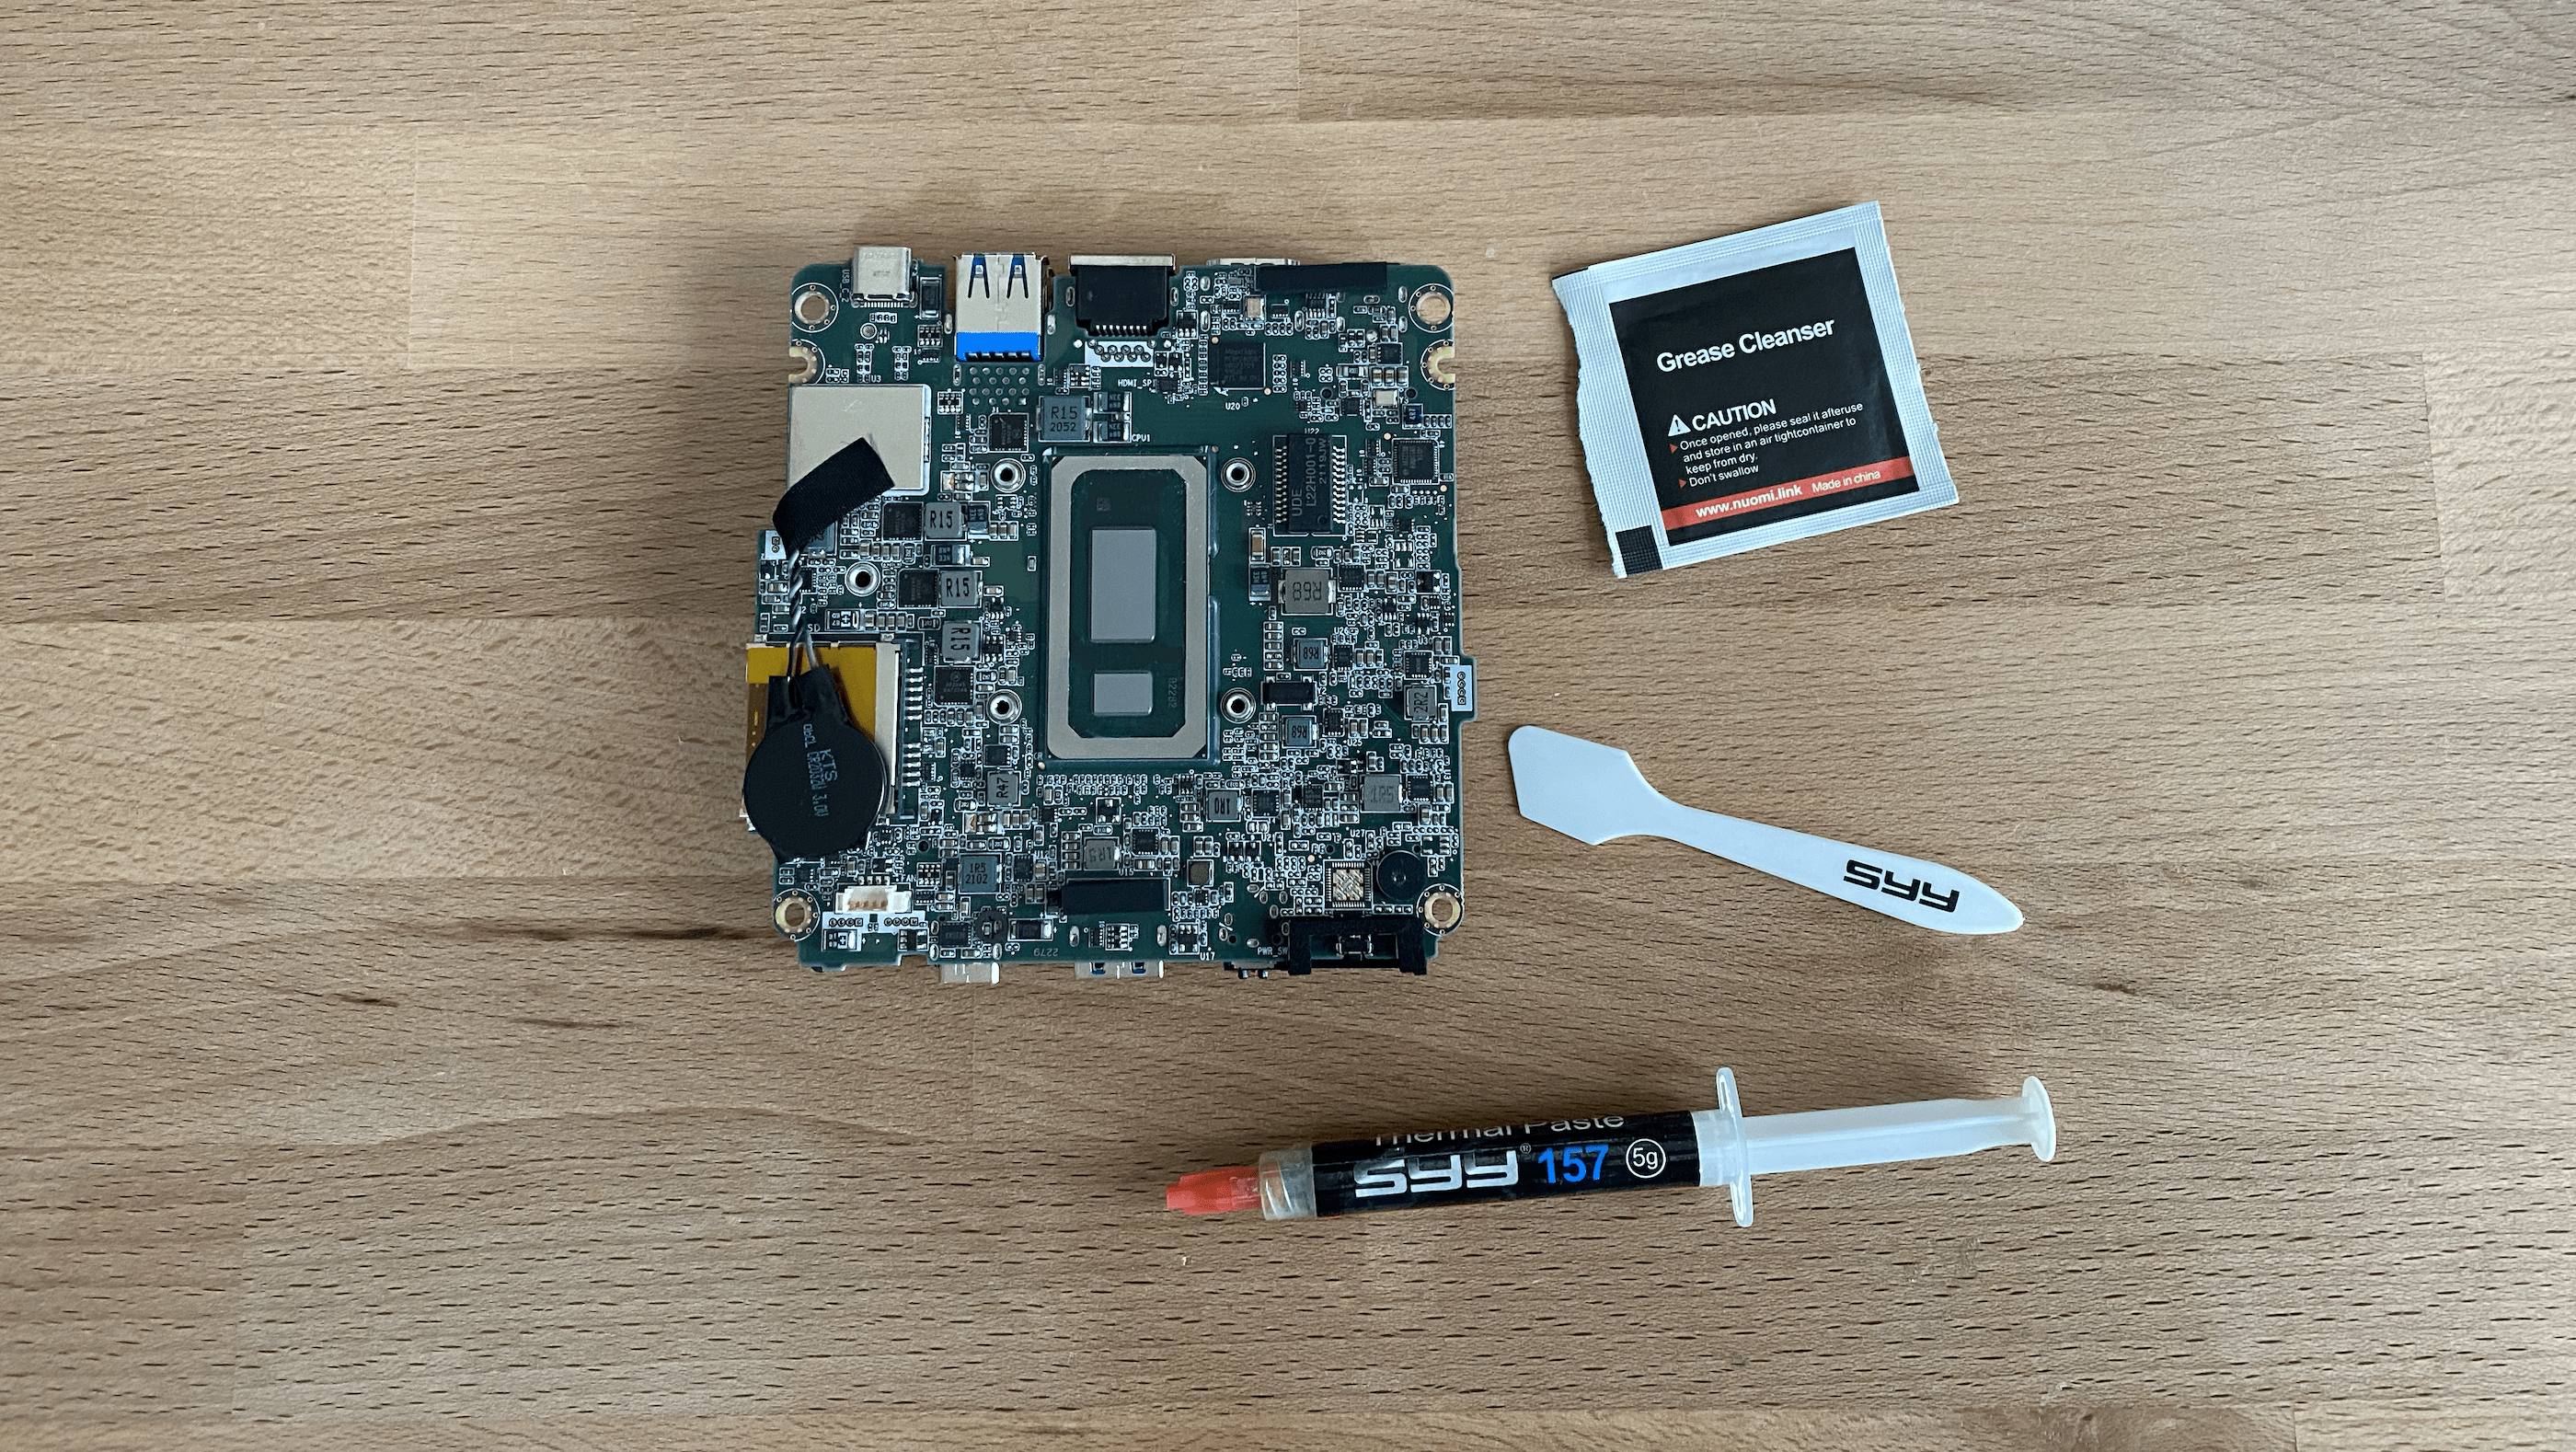
6. Apply New Thermal Paste: Apply and spread a thin, even layer of thermal paste on the processor.
A modest amount is sufficient. Excess paste may be pressed out and cause staining or uneven cooling.
7. Clean the Cooling Surface: Clean the mating surface on the new enclosure that will contact the processor.
8. Gather Mounting Accessories: Identify and set aside the correct screws and spacers required for securing the motherboard.
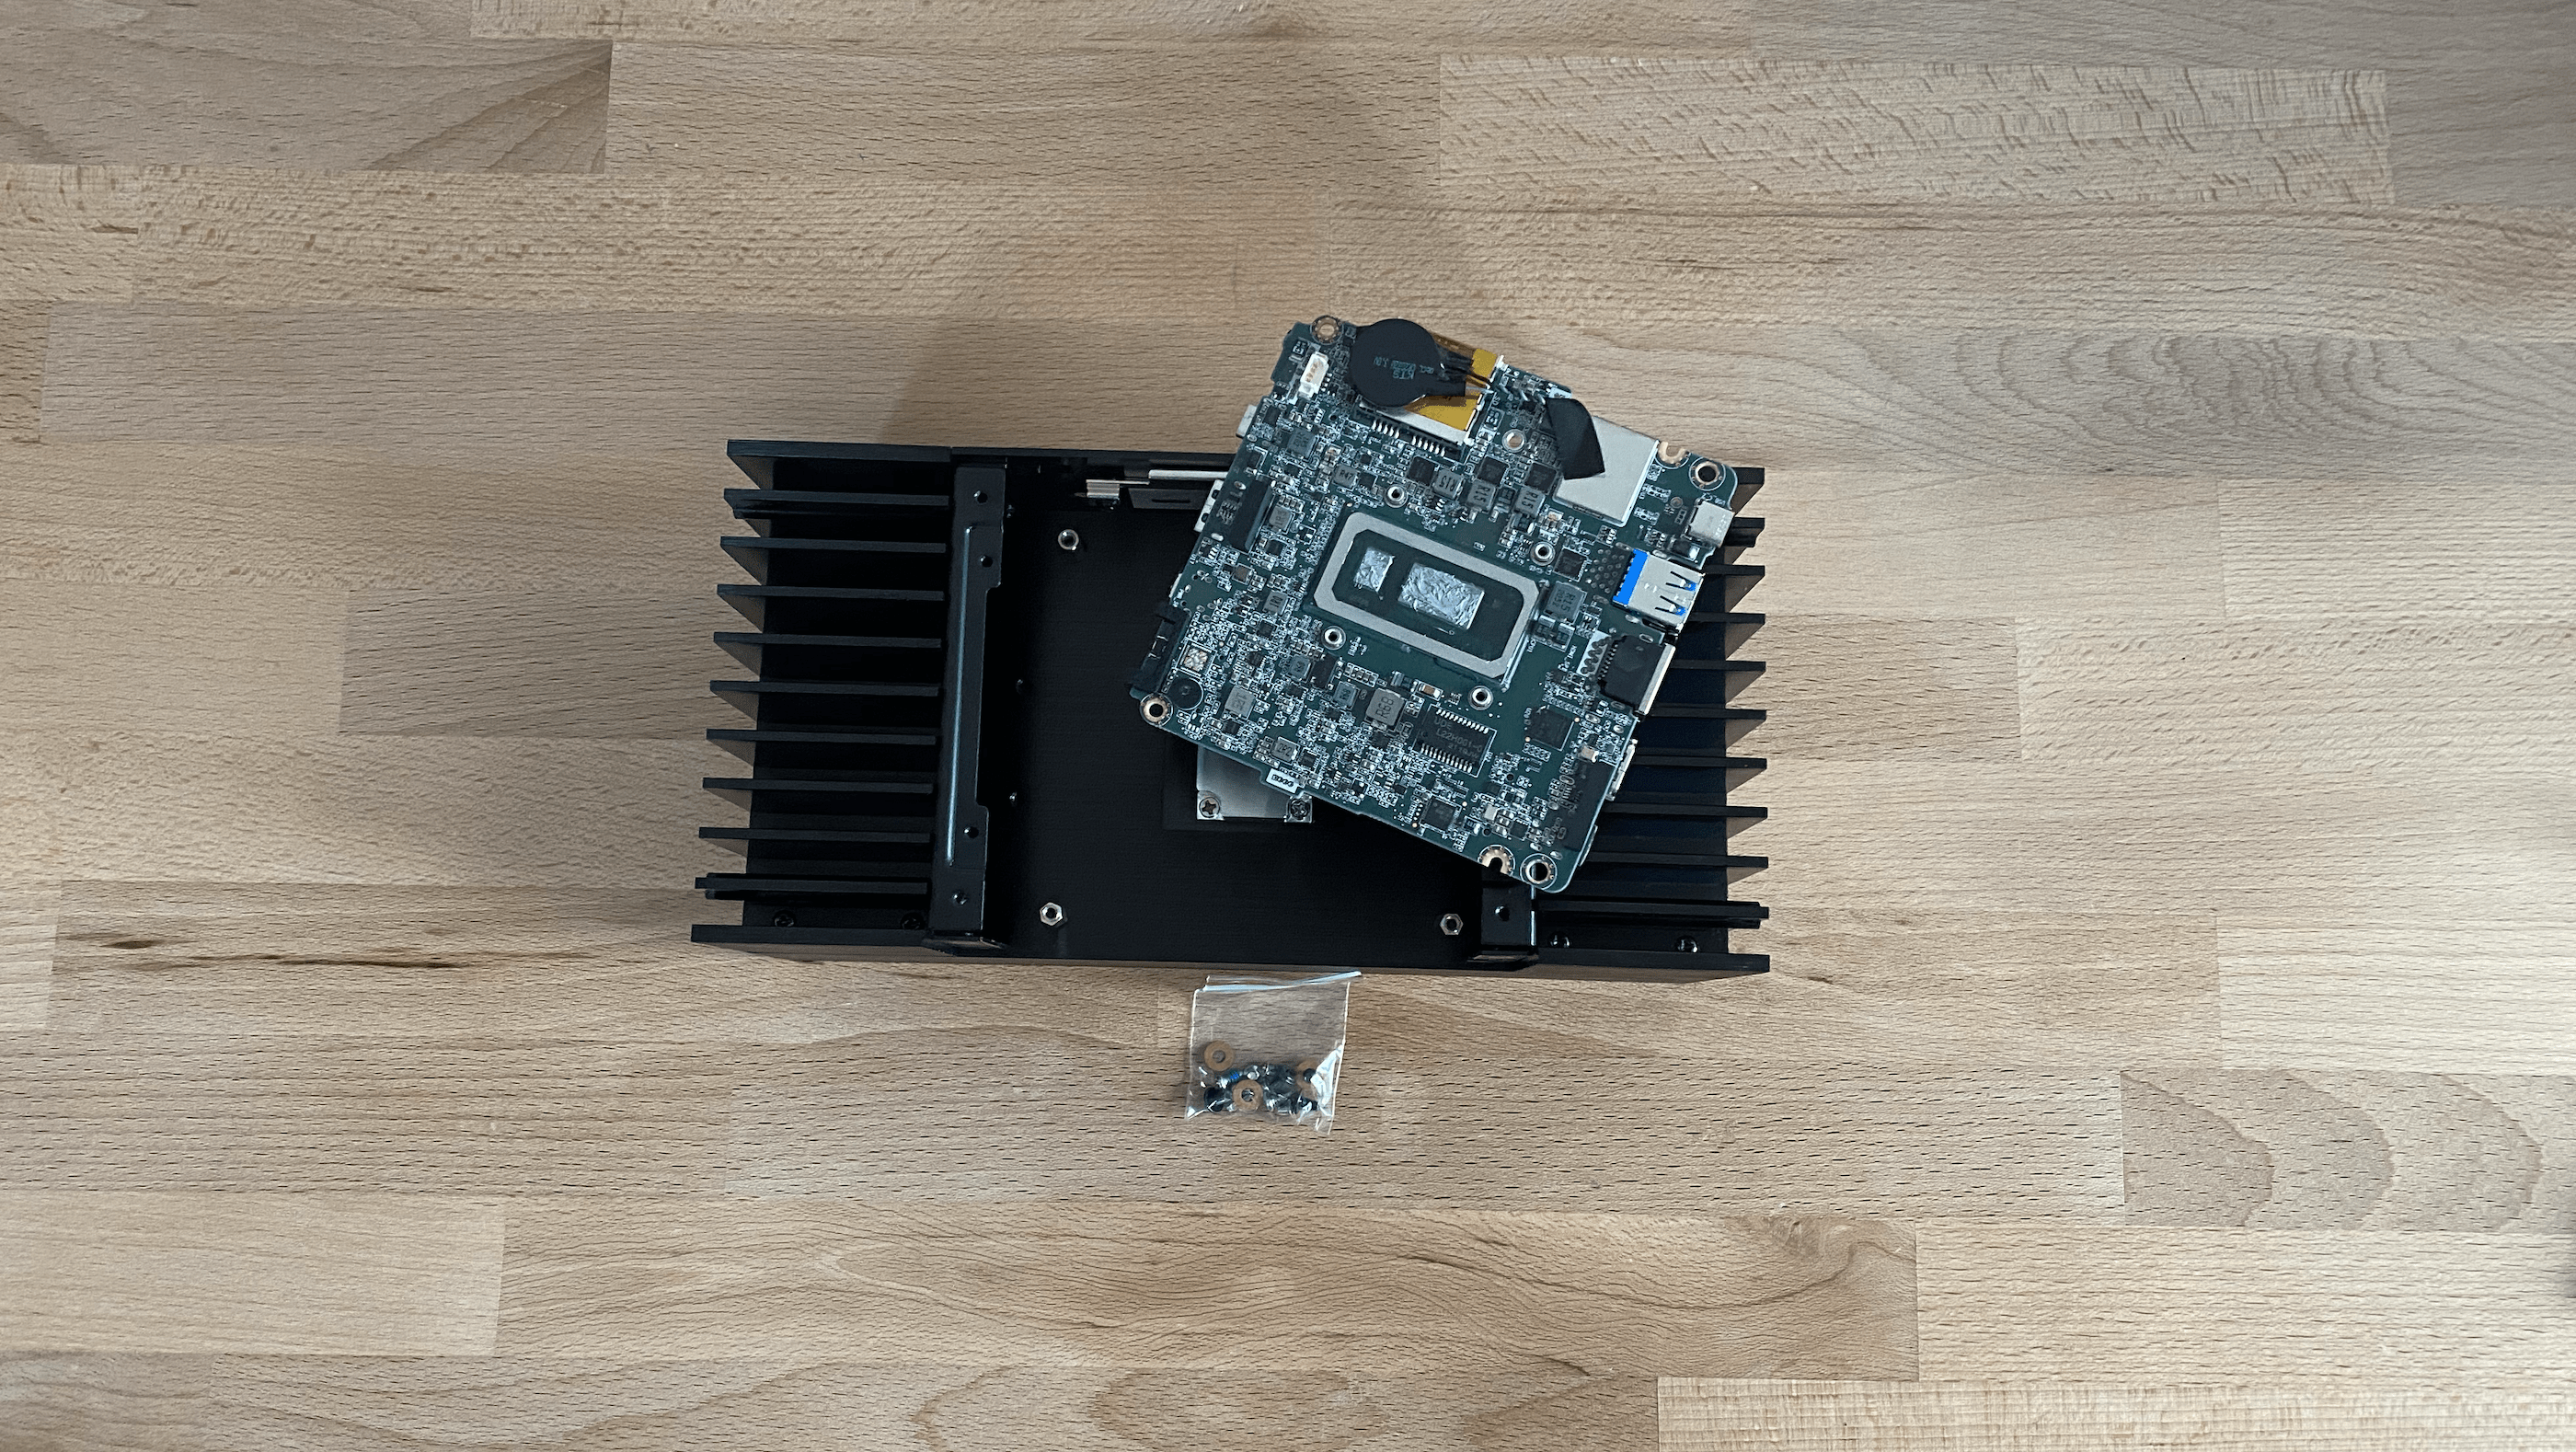
9. Install the Motherboard: Carefully insert the motherboard into the new housing and ensure no paste is smeared.
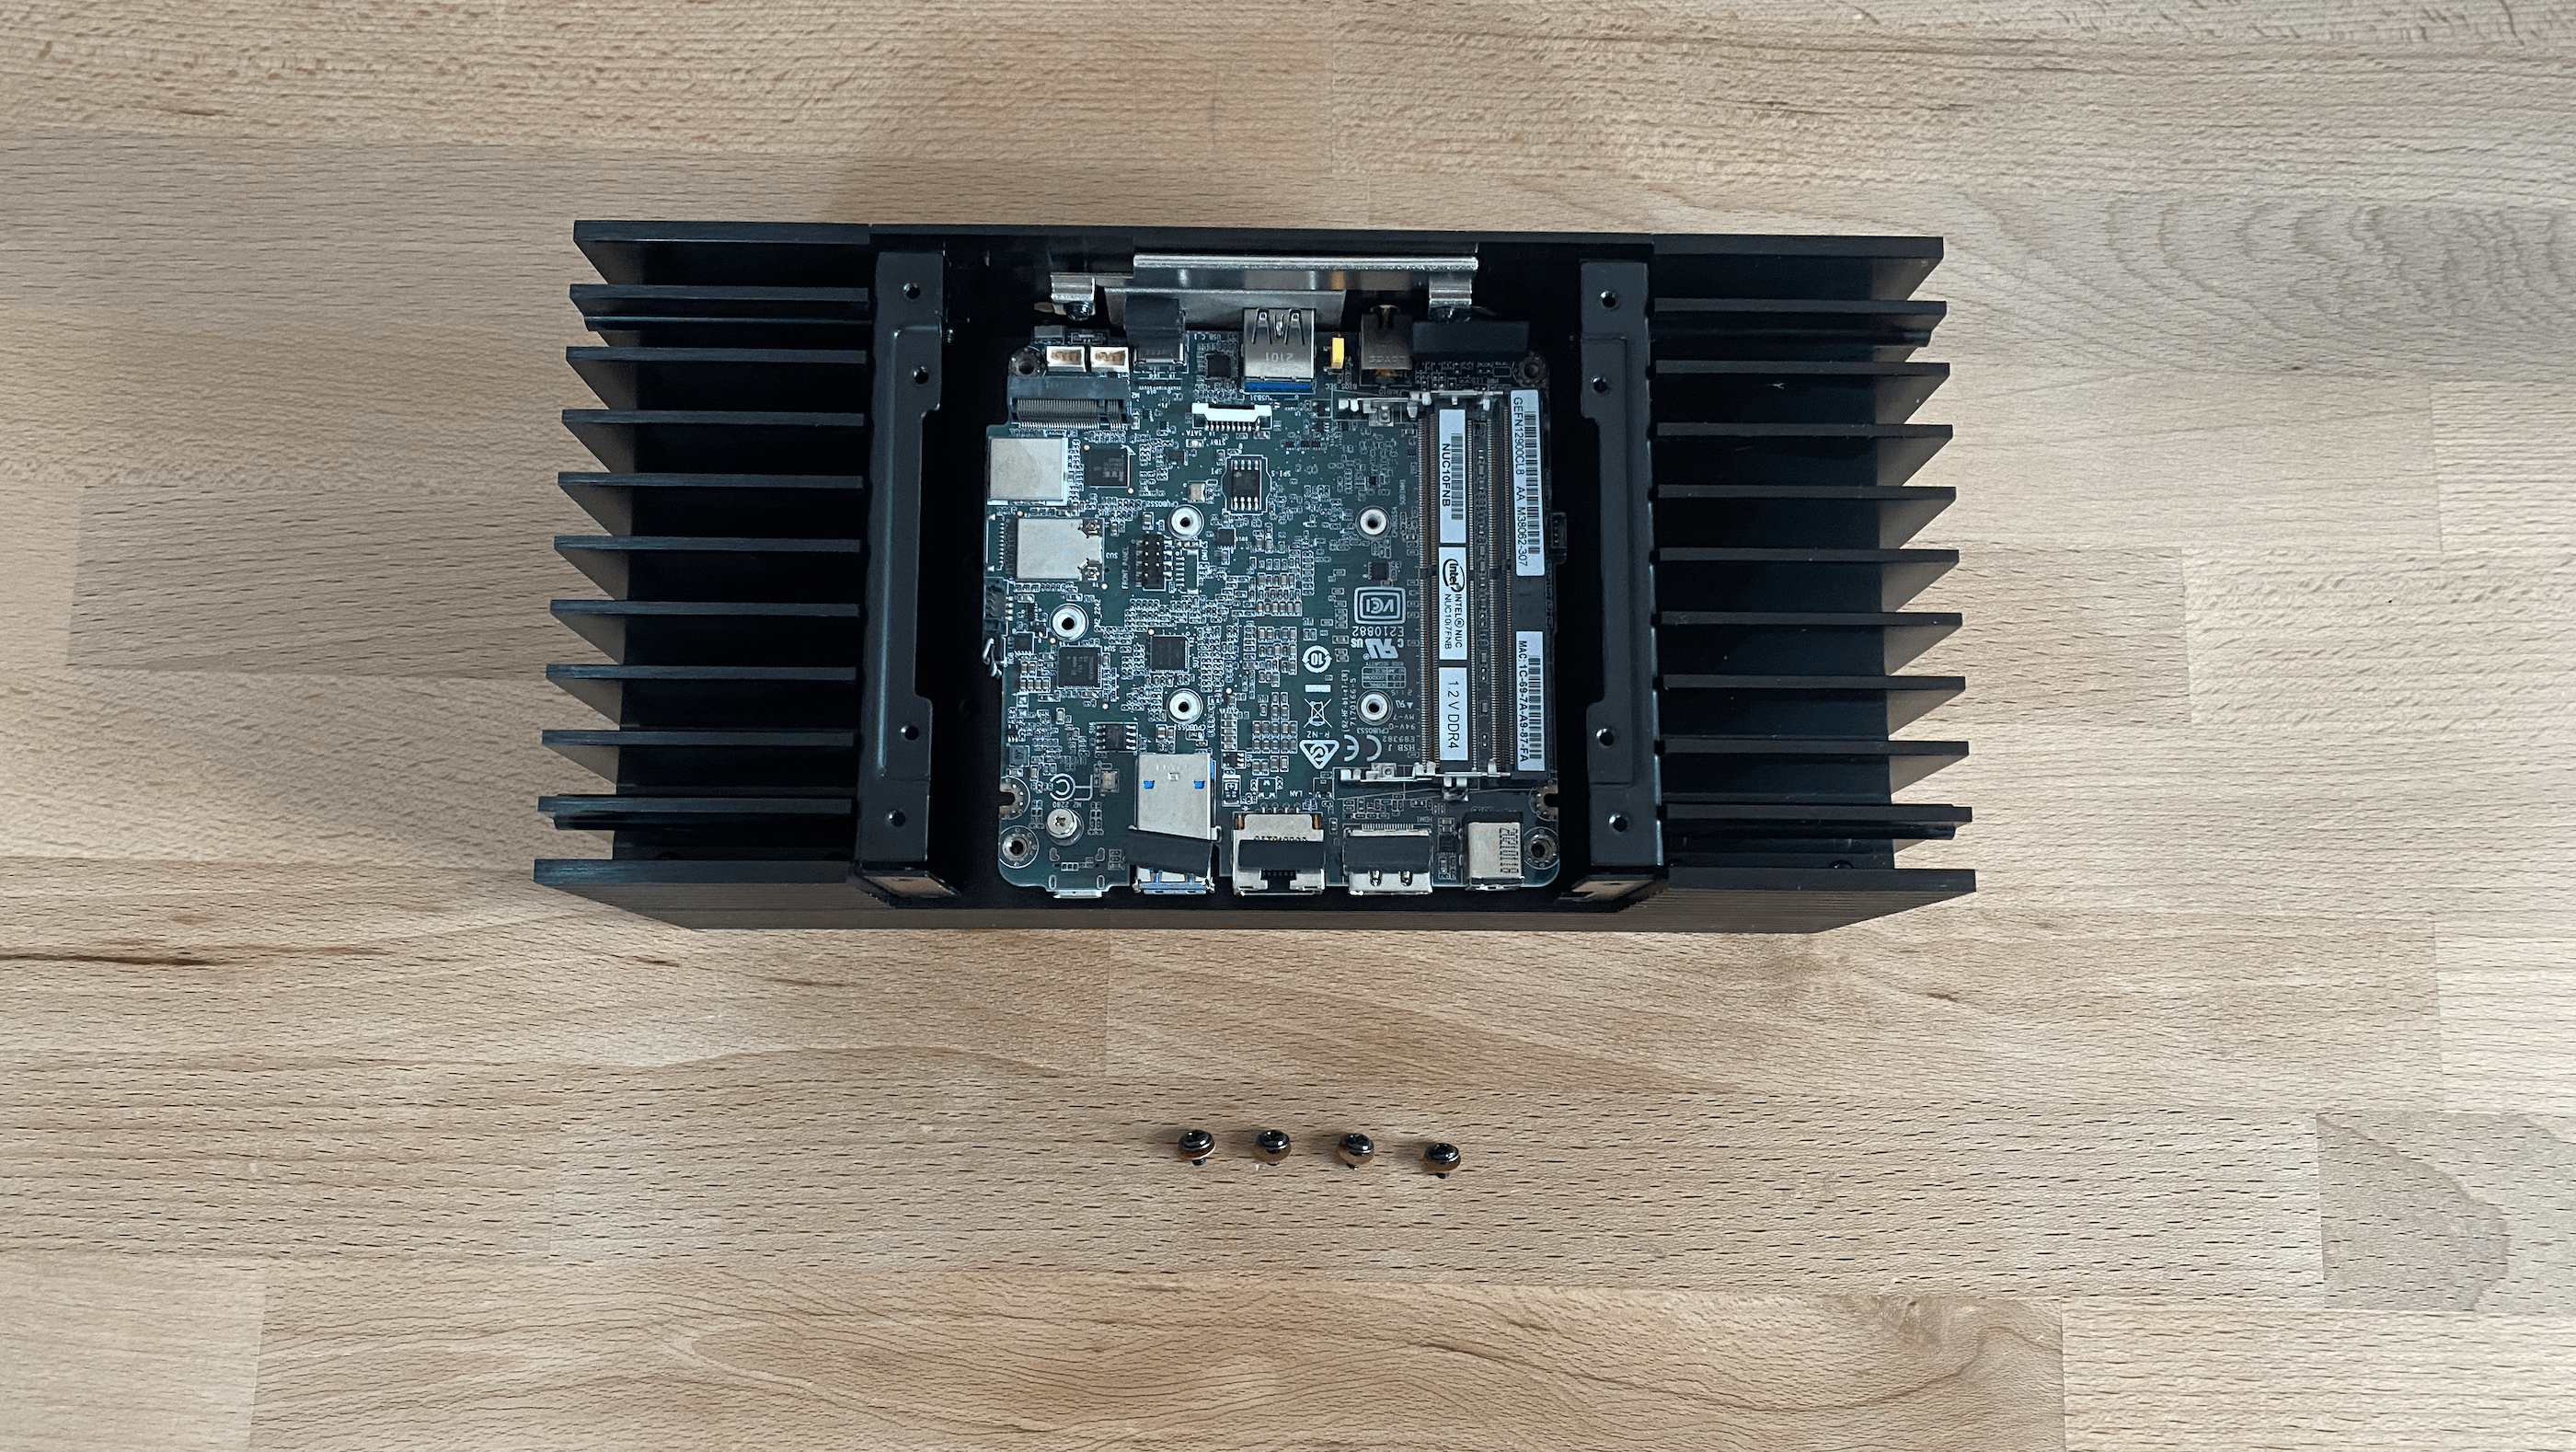
10. Secure the Motherboard: Tighten the screws gradually in opposite directions to ensure an even pressure distribution.